Easter egg decorating is one of those simple traditions that can turn an ordinary spring afternoon into a memorable family activity. The best part is that you do not need expensive supplies or advanced crafting skills to create beautiful results. From watercolor-inspired eggs and cheerful confetti designs to clever marbled patterns and tiny bunny faces, there are plenty of ways for kids and adults to get creative together. These Easter egg decorating ideas include options for different ages, skill levels, and decorating styles, so everyone can find a project they enjoy. Whether you are preparing eggs for an Easter egg hunt, styling a festive centerpiece, or simply looking for a fun weekend craft, these colorful ideas make it easy to create eggs that look special without making the process complicated.
1. Watercolor Easter Eggs
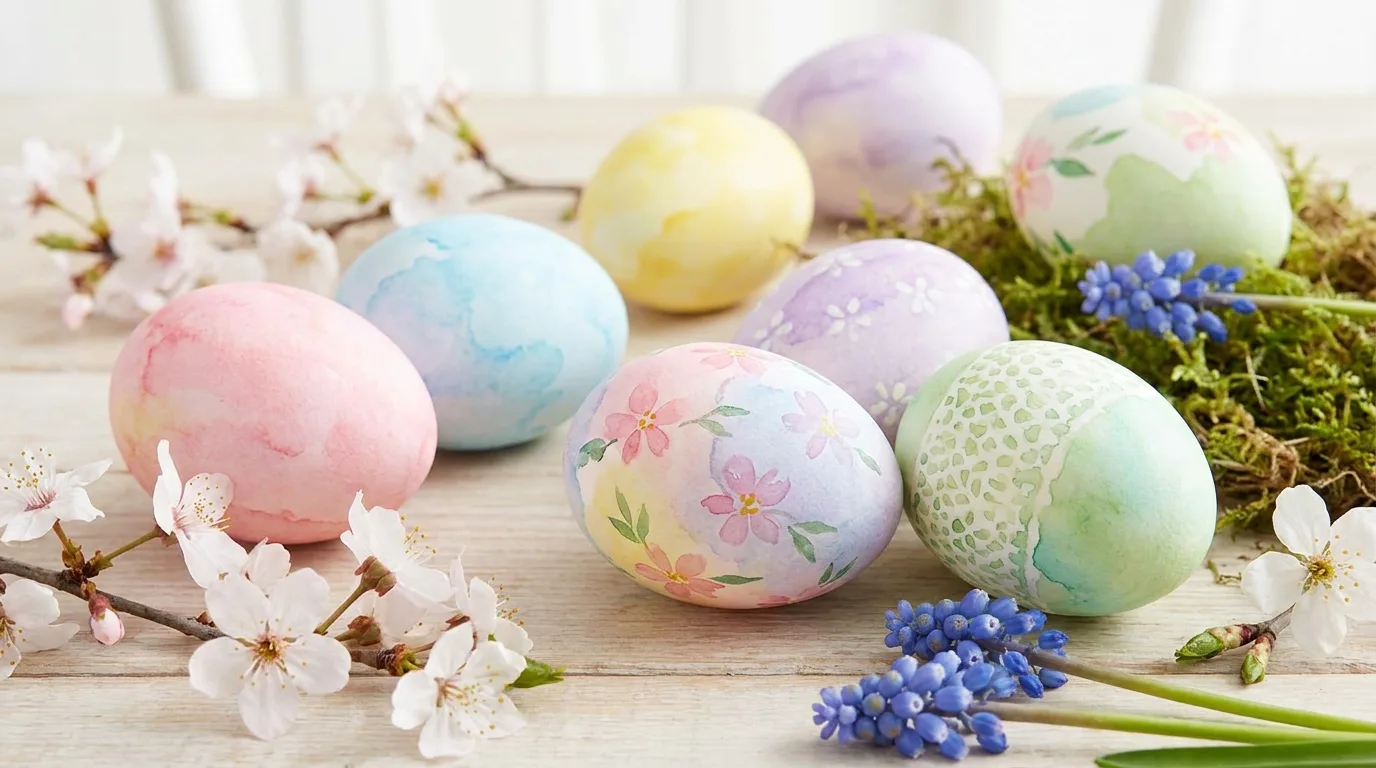
Give your Easter eggs a soft, artistic look with watercolor-style decoration. Start with white or pale eggs and use diluted food coloring or washable watercolor paints to build translucent layers of pink, blue, yellow, lavender, and green. Instead of covering the entire shell evenly, let some areas remain lighter to create a dreamy, hand-painted effect. Kids can experiment with blending colors, while adults can add fine brushstrokes, tiny flowers, or abstract shapes. Allow each color to dry before adding another so the shades remain distinct. A matte finish looks artistic, while a clear food-safe gloss can make the colors appear brighter. These eggs work beautifully in baskets, bowls, or spring table displays.
2. Speckled Robin’s Egg Designs
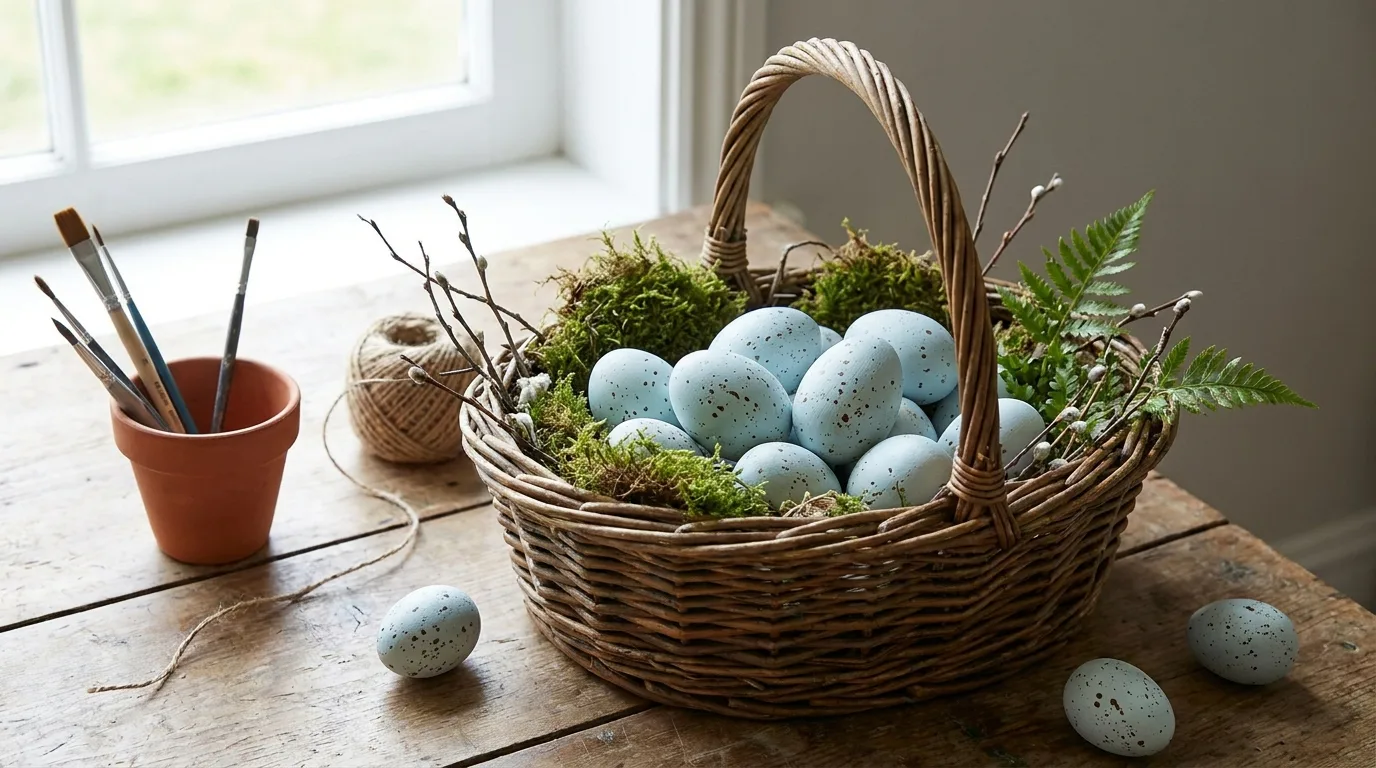
For a naturally inspired Easter look, turn ordinary eggs into charming speckled robin’s eggs. Dye the shells in soft blue, dusty teal, or muted green, then add irregular brown or dark gray speckles once the base color is completely dry. An old toothbrush dipped lightly in diluted paint can create convincing tiny spots, although a small brush gives you more control. Keep the speckles varied in size and placement so the eggs look organic rather than perfectly patterned. This design is simple enough for young children with supervision and sophisticated enough for an adult Easter centerpiece. Arrange the finished eggs with moss, twigs, faux greenery, or pastel flowers for an easy woodland-inspired display.
3. Marbled Easter Eggs
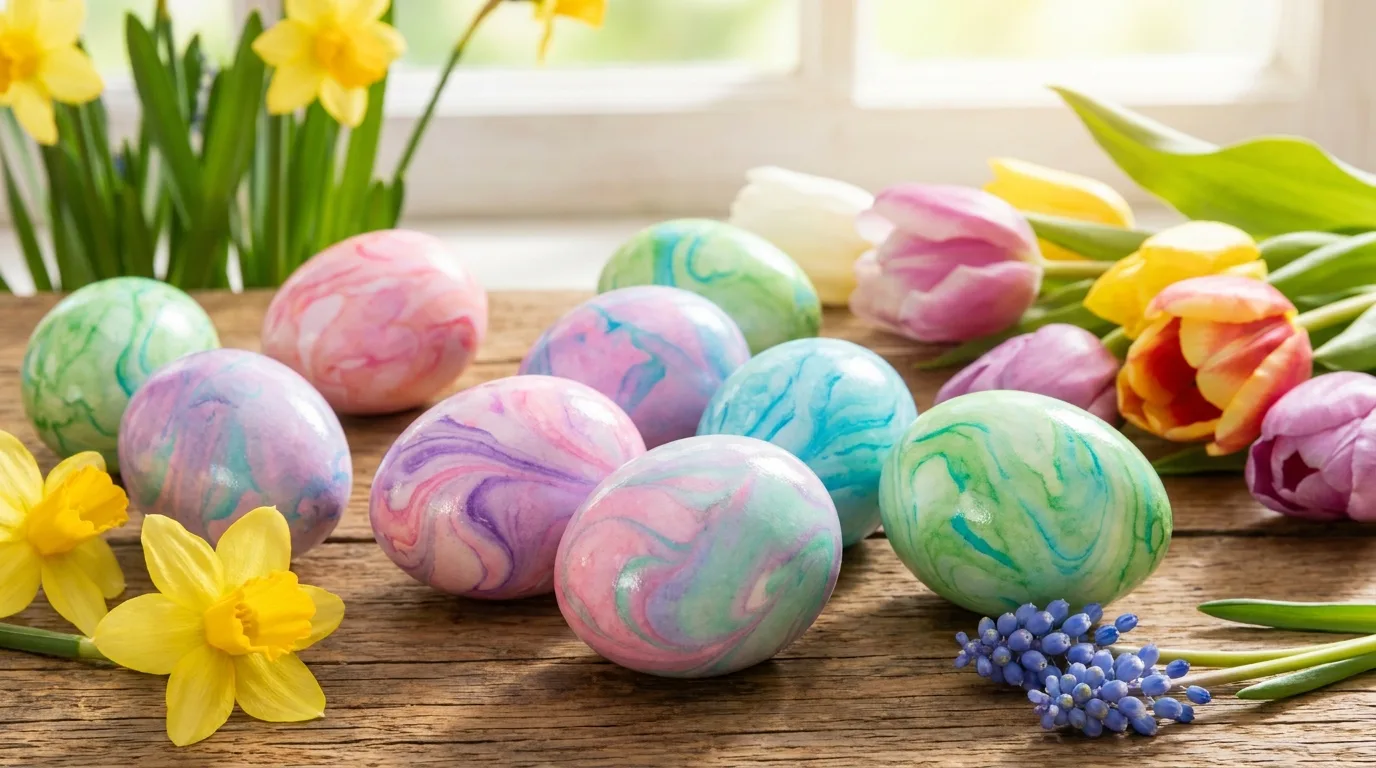
Marbling creates impressive Easter eggs with surprisingly little effort. Fill a shallow container with water and add drops of compatible food coloring, then gently swirl the surface with a skewer or toothpick. Roll a hard-boiled egg through the floating color, lift it carefully, and allow it to dry completely before adding another layer if desired. Combining two or three shades usually produces a more attractive result than using too many colors at once. Try pastel pink and purple for a romantic effect, or blue and green for a fresh spring palette. Because the technique can get messy, cover your work surface first and wear gloves if you want to avoid stained fingers. Each egg will have a unique pattern.
4. Cute Bunny Face Eggs

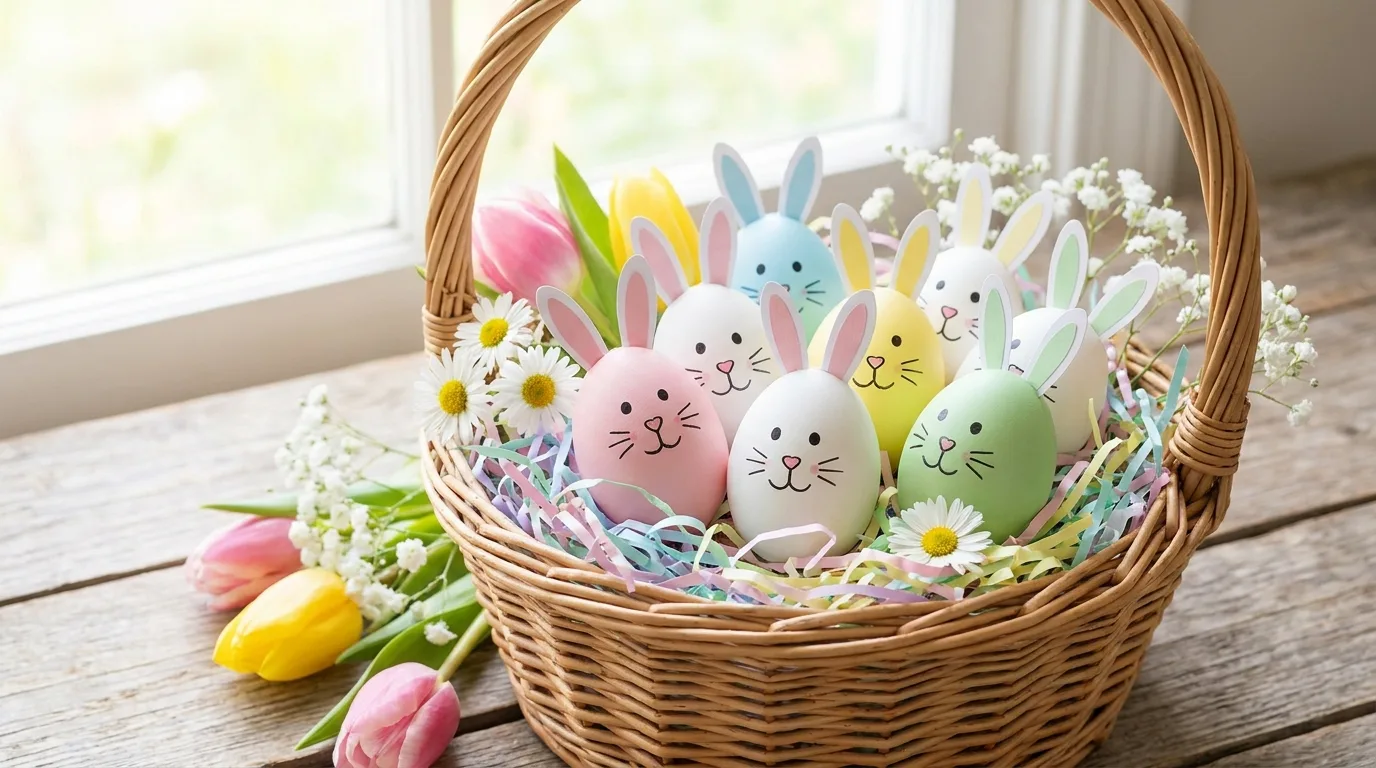
Turn your Easter eggs into adorable little bunnies with a few simple details. Begin with white, cream, pink, or pastel-dyed eggs, then draw eyes, whiskers, a tiny nose, and a smiling mouth using food-safe decorating pens. Add paper or edible ears at the top, depending on whether the eggs will be eaten. You can make every bunny slightly different by changing the expressions, ear positions, or cheek colors. This is an especially fun project for younger children because the faces do not need to be perfectly symmetrical. For a more polished finish, add tiny floral crowns or pastel bows. Display the bunny eggs in an Easter basket filled with shredded paper or soft fabric grass.
5. Floral Easter Eggs
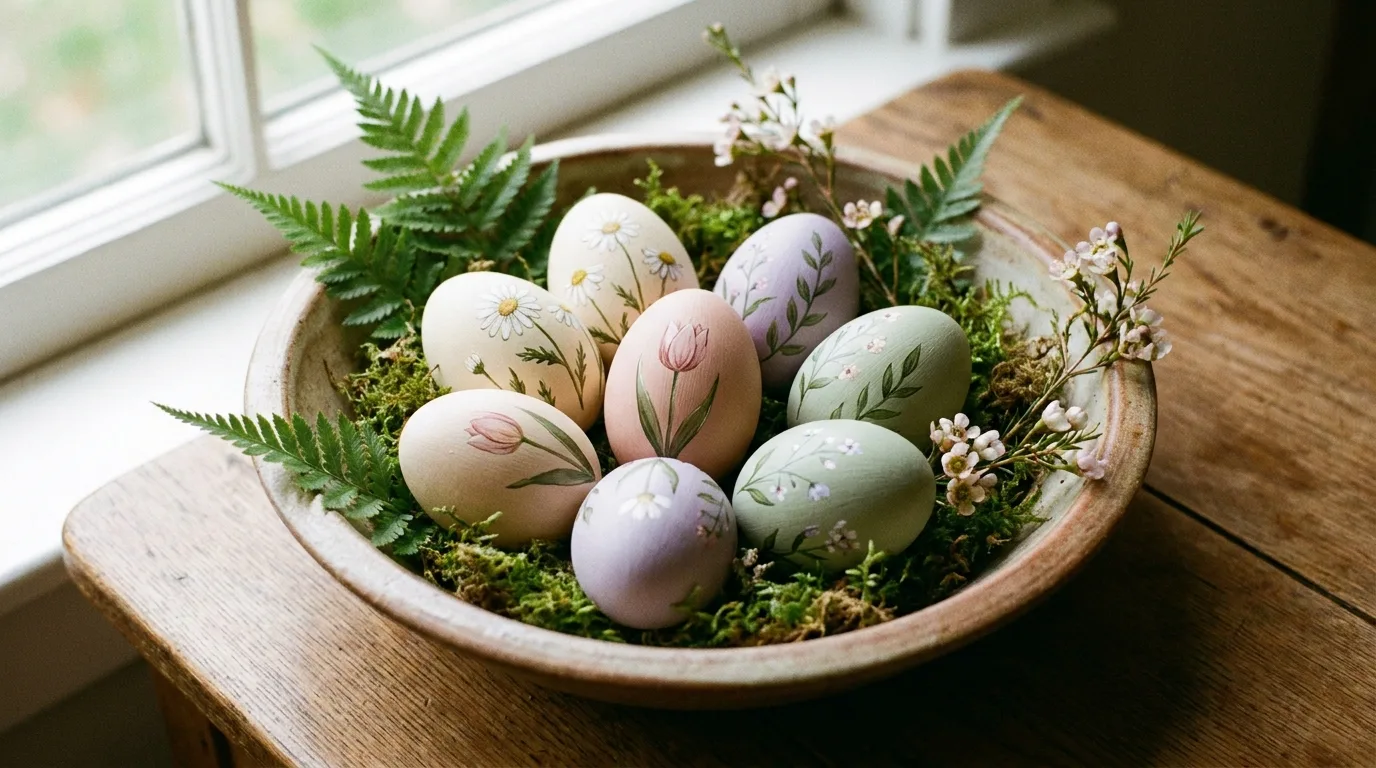
Bring the look of a spring garden to your Easter table with floral egg designs. Paint small daisies, tulips, leaves, or simple five-petal blossoms over a pale base color. Soft cream, blush, lavender, and sage create an elegant palette, while brighter flowers make the eggs feel more playful and kid-friendly. You do not need detailed botanical painting skills: small dots and curved lines can create surprisingly convincing flowers. For an easier approach, use food-safe floral stickers or edible decorations on eggs intended for eating. Keep the background light so the flowers remain easy to see. A collection of different flower patterns looks lovely arranged together in a shallow bowl or scattered around an Easter brunch centerpiece.
6. Confetti Sprinkle Eggs
Make Easter eggs party-ready with a colorful confetti effect. Dye the eggs in a light pastel shade, then add tiny dots, short dashes, and irregular shapes using food-safe decorating pens or small edible decorations. Another option is to apply edible confetti with a thin layer of icing or edible adhesive. Mix several bright colors while leaving plenty of the base color visible so the design does not become visually crowded. This idea is especially suitable for children because perfection is not necessary; random placement actually makes the eggs more cheerful. For a coordinated Easter party, match the confetti colors to your tableware, napkins, cupcakes, or other decorations.
7. Ombre Easter Eggs
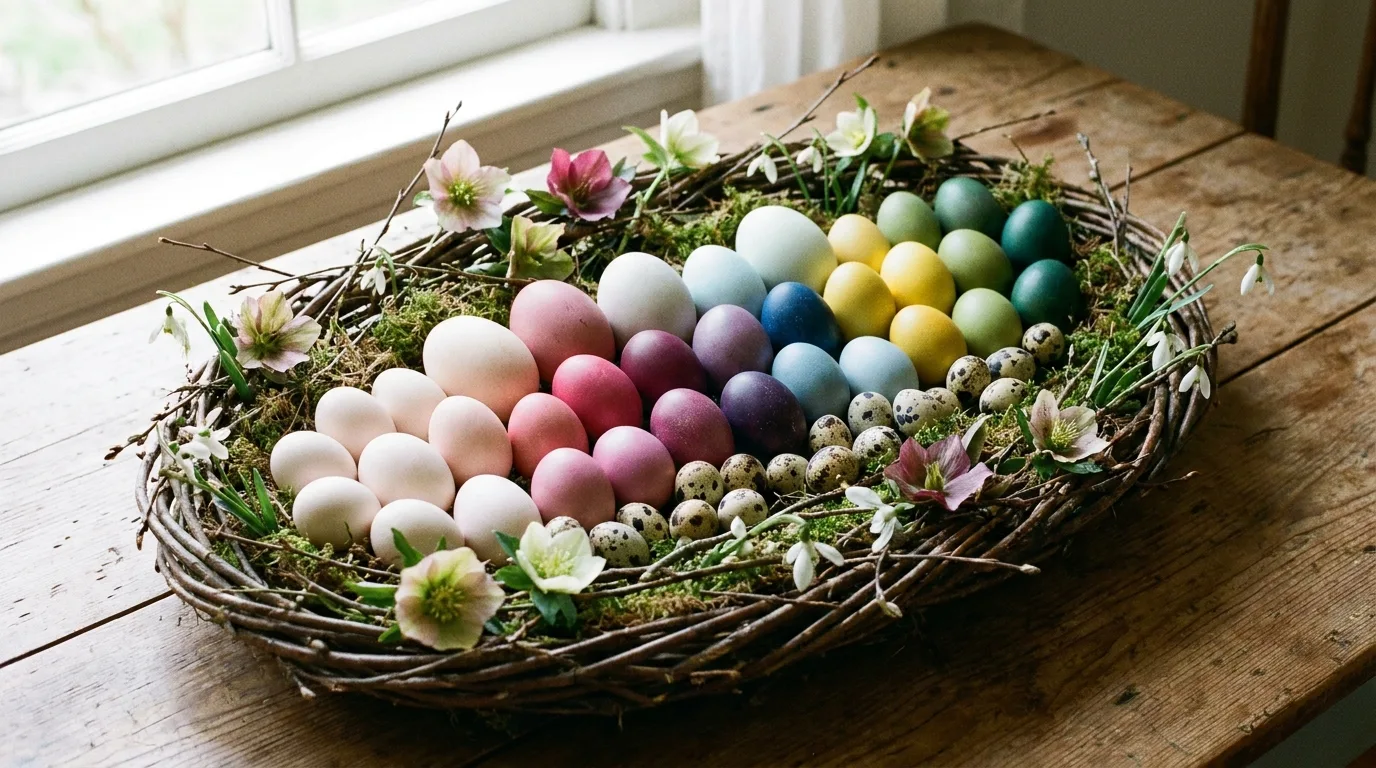
Ombre eggs offer a simple way to create a sophisticated Easter display using one color family. Choose a shade such as pink, purple, blue, yellow, or green and prepare several dye baths with gradually increasing color intensity. Dip each egg for a different amount of time so the finished collection moves from very pale to richly saturated. You can also create an ombre effect on a single egg by repeatedly dipping only part of the shell, allowing each layer to dry between applications. Arrange the eggs from lightest to darkest for a dramatic centerpiece. This technique is easy enough for a family craft session and polished enough to complement a modern Easter tablescape.
8. Gold-Accent Easter Eggs
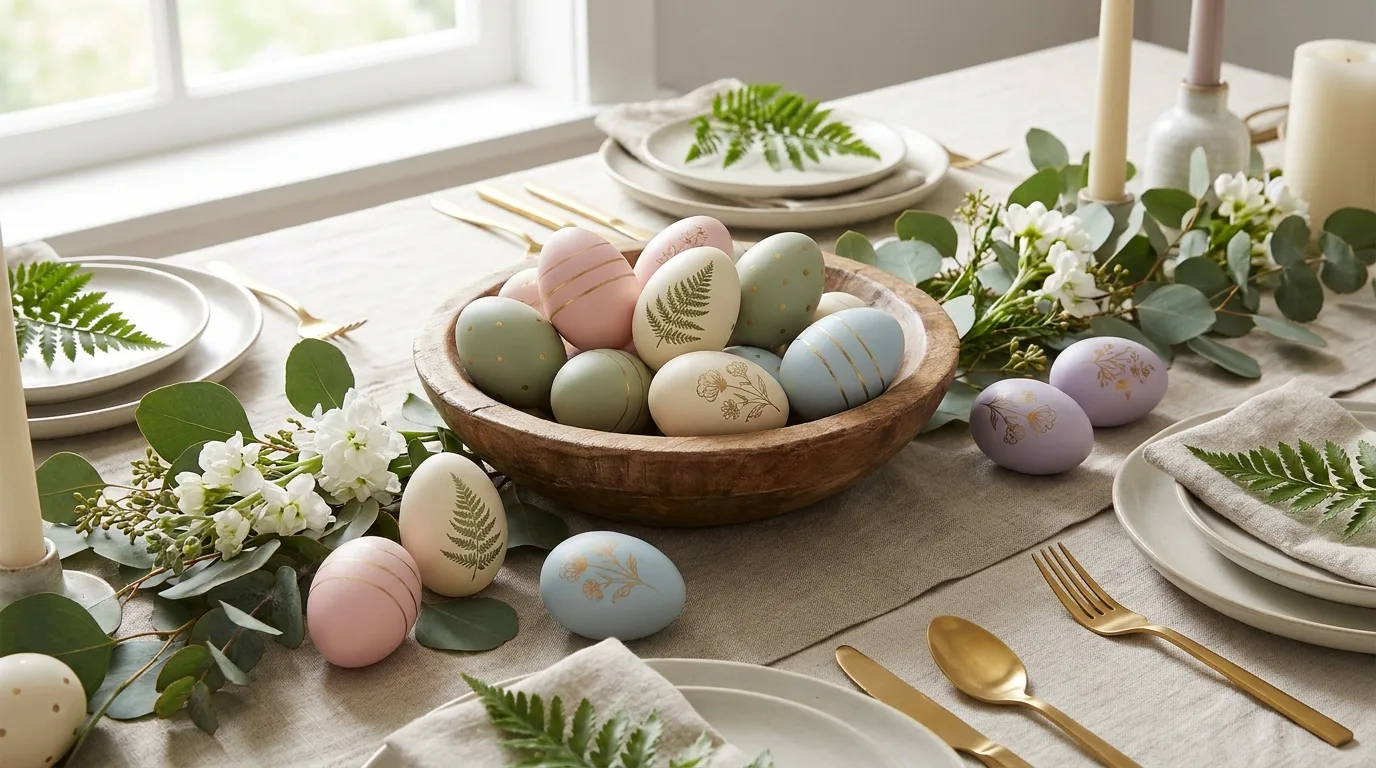
Add a touch of elegance to your Easter decorating with delicate gold accents. Start with eggs dyed in soft pink, sage, cream, pale blue, or lavender, then add thin gold lines, tiny dots, geometric shapes, or simple botanical details. Use food-safe edible gold decorations if the eggs will be eaten, or craft-safe metallic paint on decorative eggs that will not be consumed. The key is restraint: a few metallic details can look far more sophisticated than covering the entire shell. Gold accents are especially beautiful when paired with neutral-colored eggs and natural materials such as linen, wood, greenery, or ceramic dishes. This idea is perfect when you want your Easter decorations to feel festive without looking overly childish.
9. Polka Dot Easter Eggs
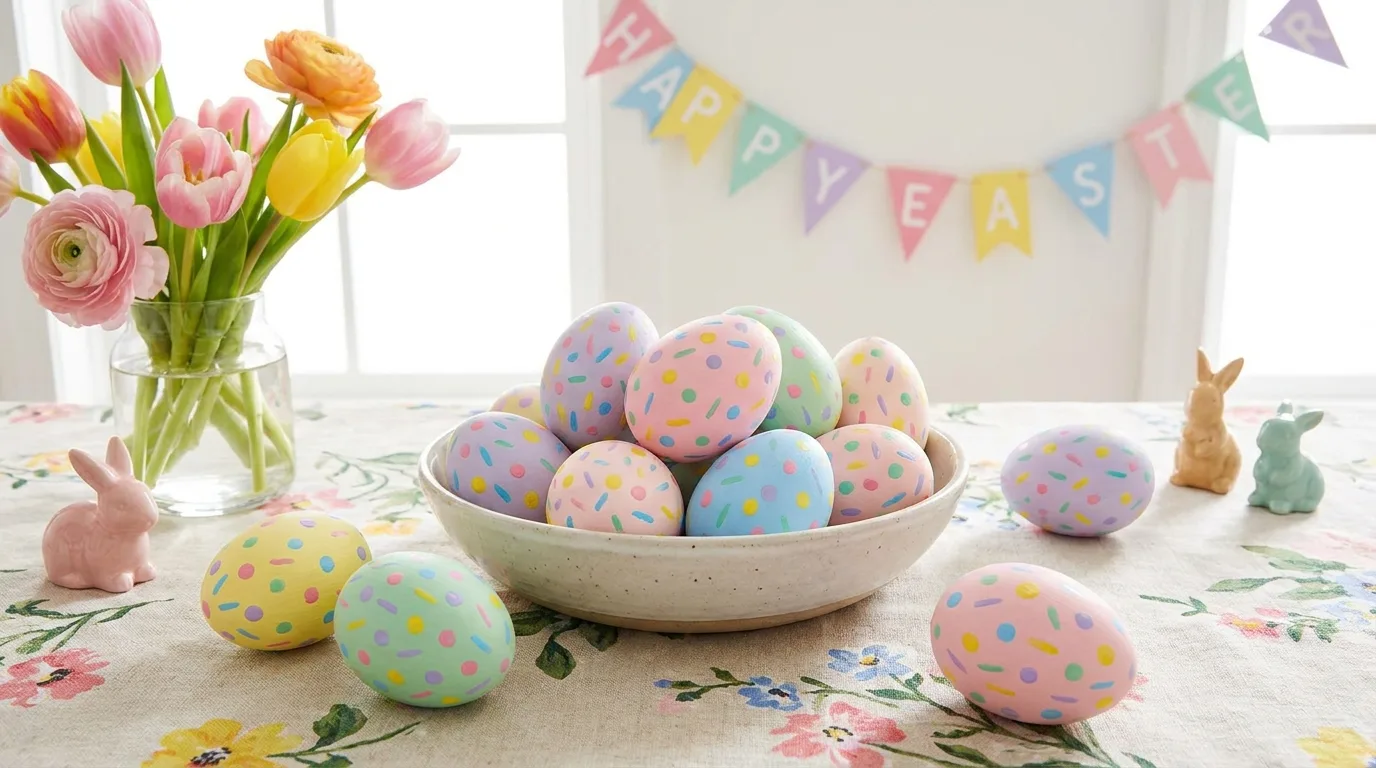
Polka dots are a timeless choice for Easter eggs because they are colorful, easy to customize, and friendly for decorators of every age. Begin with a solid pastel base, then add dots in one contrasting color or several complementary shades. Use a small round brush, cotton swab, food-safe pen, or edible decorations to create the pattern. Varying the dot sizes gives the eggs a more playful handmade appearance, while evenly spaced dots create a cleaner modern look. Try yellow dots on blue eggs, pink dots on lavender eggs, or multicolored dots on white shells. For a family project, give everyone the same color palette and let each person invent their own dot pattern.
10. Sprinkle-Covered Easter Eggs
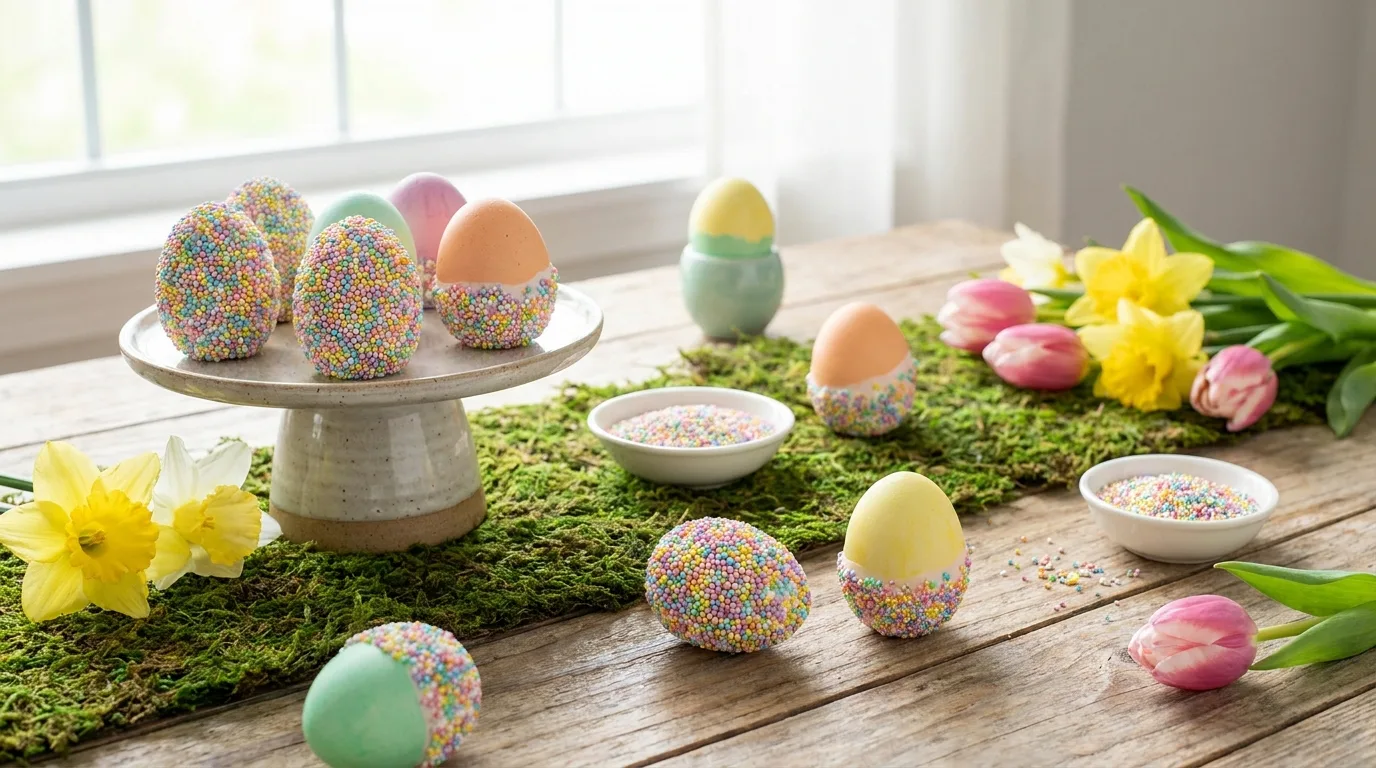
For a texture-rich Easter craft, decorate eggs with colorful sprinkles. This method works particularly well with edible eggs because the sprinkles can be attached using a thin layer of icing or another food-safe adhesive. Choose a single sprinkle shape for a tidy appearance, or combine tiny rods, confetti pieces, and sugar pearls for a more festive result. Cover the whole egg or decorate only the top half for a modern dipped effect. Pastel sprinkles create a classic spring look, while rainbow colors make the eggs feel like miniature party treats. If children are helping, place sprinkles in shallow dishes to make them easier to pick up and reduce spills during the decorating process.
11. Rainbow Easter Eggs
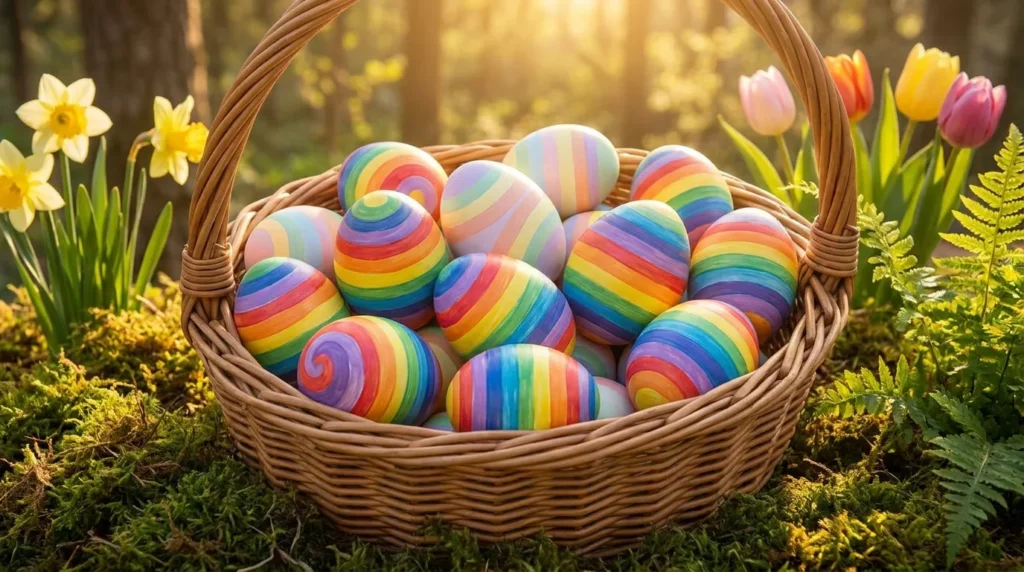
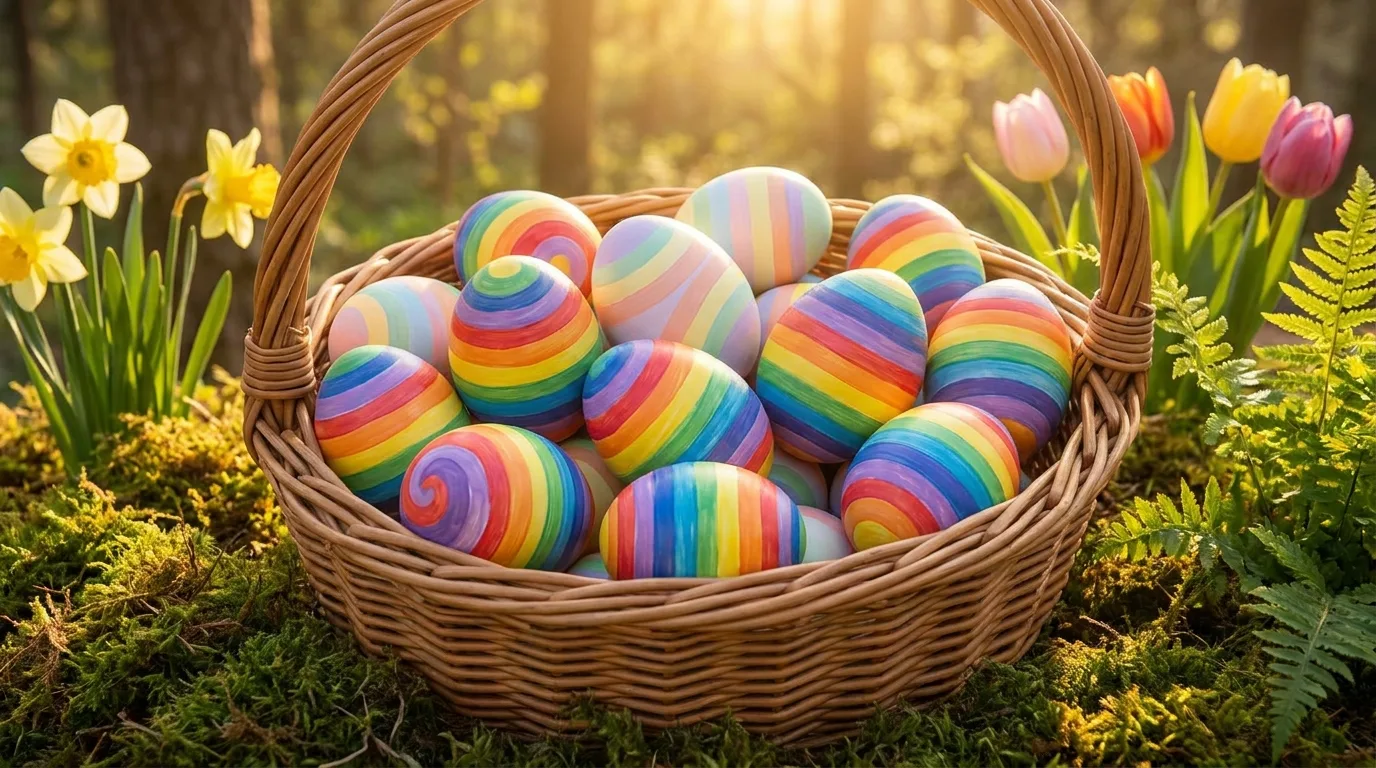
Brighten your Easter celebration with rainbow-inspired eggs featuring cheerful bands of color. You can paint curved stripes across each shell, create vertical sections, or dip the eggs repeatedly to build a multicolored pattern. For younger children, broad stripes are easier to manage than detailed designs, while older kids can experiment with blending and gradients. Keep the colors arranged in a consistent order if you want a traditional rainbow effect, or use a softer pastel palette for a more delicate spring look. Rainbow eggs are especially fun for Easter egg hunts because their bright colors are easy to spot in baskets and displays. Arrange several together for an energetic centerpiece that instantly adds personality.
12. Black-and-White Modern Easter Eggs
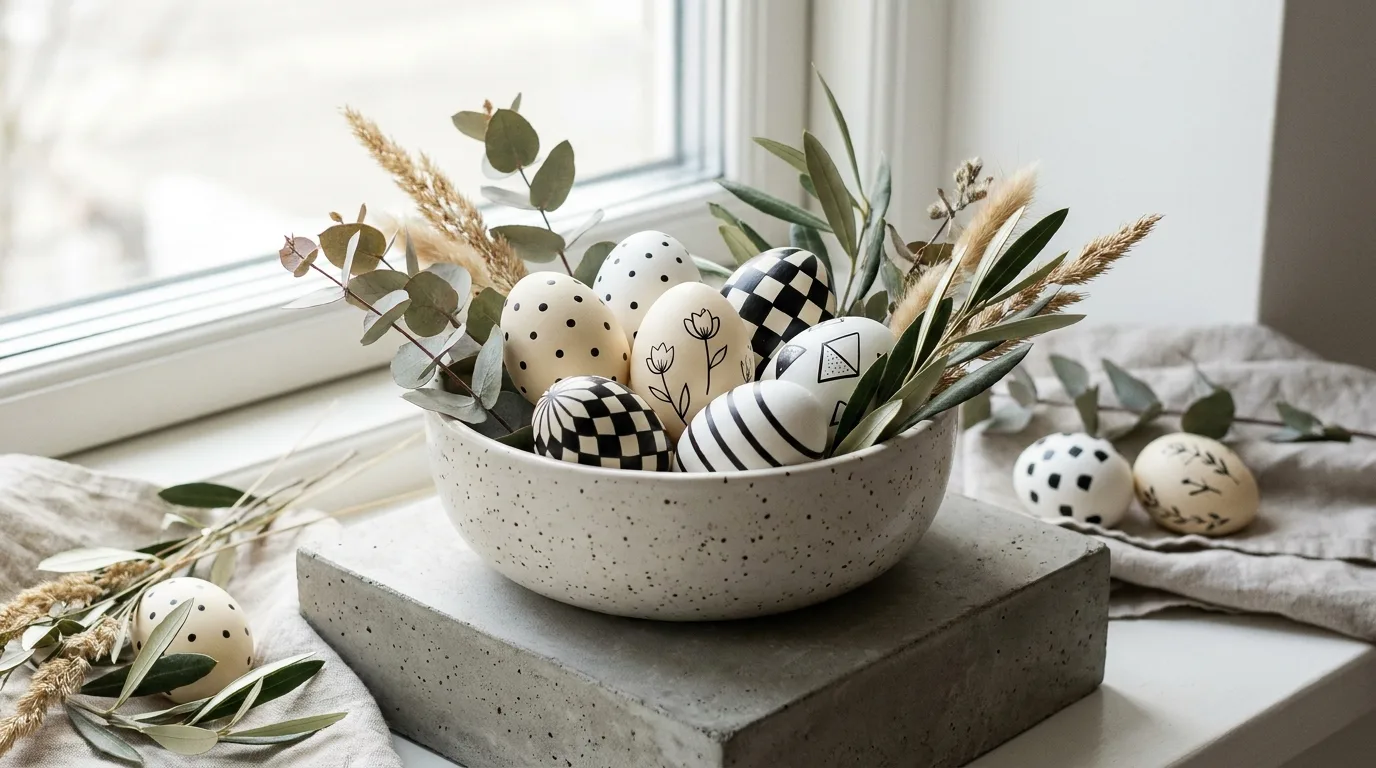
Not every Easter decoration needs to be pastel. Black-and-white eggs create a striking contemporary look that works beautifully in modern homes. Start with white or cream eggs and add black dots, stripes, checkerboard patterns, simple florals, or minimalist geometric shapes using food-safe decorating pens. You can also reverse the palette on a few eggs for contrast. Keep the designs crisp and relatively simple so the collection feels cohesive rather than chaotic. Adding just one metallic accent color can soften the monochrome effect without taking away its modern character. These eggs are particularly effective when displayed in a black, white, or natural woven basket with neutral greenery for a stylish Easter centerpiece.
Easy Tips for a Successful Easter Egg Decorating Session
Before decorating, decide whether your eggs are intended for eating or display because this determines which paints, adhesives, and embellishments are appropriate. Protect your table with parchment paper or a washable covering, and prepare small containers for dyes and decorating supplies. Let dyed eggs dry completely before adding paint or markers to prevent smudging. For younger children, simple patterns such as dots, stripes, and faces are easier and more rewarding than intricate designs. If you are decorating hard-boiled eggs, refrigerate them promptly after the activity and follow safe food-handling practices. Most importantly, embrace imperfect results. Hand-decorated eggs are supposed to have personality, and different skill levels can make a finished collection even more charming.
How to Display Your Decorated Easter Eggs
Once the eggs are finished, turn them into part of your Easter decor instead of hiding them away. Place them in a woven basket with shredded paper grass, arrange them in a ceramic bowl, or scatter them around a spring centerpiece. For decorative eggs that will not be eaten, try displaying them on a cake stand, inside a glass cloche, or along a mantel with flowers and greenery. Grouping eggs by color creates a polished effect, while mixing several patterns gives a more playful family-made feel. If you are planning an Easter egg hunt, keep the decorated eggs in a separate display area and use suitable eggs for outdoor hiding.
Final Thoughts
From simple polka dots to artistic florals and playful bunny faces, these Easter egg decorating ideas make it easy to create something memorable at any skill level. Choose a technique that suits your family, gather a few cheerful colors, and let everyone add their own personality to the finished eggs. The result will be a festive collection that looks beautiful in your Easter decorations and makes the decorating tradition even more enjoyable.