Spring is the perfect season for colorful, creative projects that let kids explore nature, experiment with simple materials, and make something they can proudly display. These easy spring crafts for kids are designed for a range of ages and skill levels, from simple paper projects for preschoolers to more detailed creations for older children. Most use inexpensive supplies you may already have at home, so there is no need for a complicated shopping trip. Whether you are planning a rainy-day activity, a classroom project, a spring break craft session, or a weekend afternoon together, these ideas offer plenty of inspiration. Choose a few favorites, adapt them to your child’s age, and enjoy making cheerful spring decorations, animals, flowers, and nature-inspired art together.
1. Paper Plate Spring Flowers
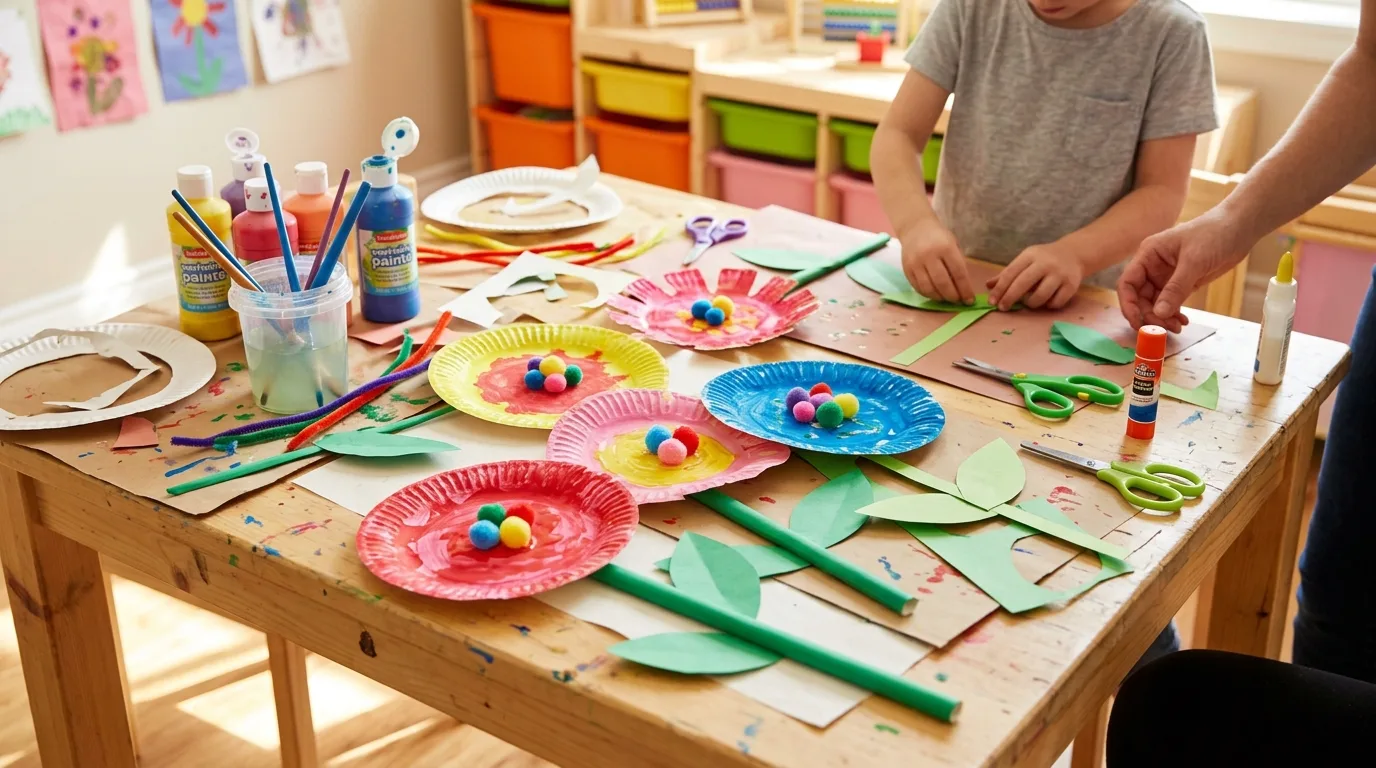
Turn an ordinary paper plate into a bright spring flower with just a few basic craft supplies. Start by cutting the outer edge of the plate into petal shapes, leaving the center intact. Kids can paint the petals in cheerful colors or cover them with tissue paper, crayons, or washable markers. Add a yellow paper circle to the middle and finish with a green paper stem and leaves. Younger children can focus on decorating while an adult handles the cutting. Older kids can experiment with layered petals, different flower shapes, or several colors blended together. These paper plate flowers work especially well as window decorations, classroom displays, or a homemade spring bouquet. For a nature-inspired variation, press small leaves or lightweight dried petals onto the finished design.
2. Rainbow Paper Strip Craft
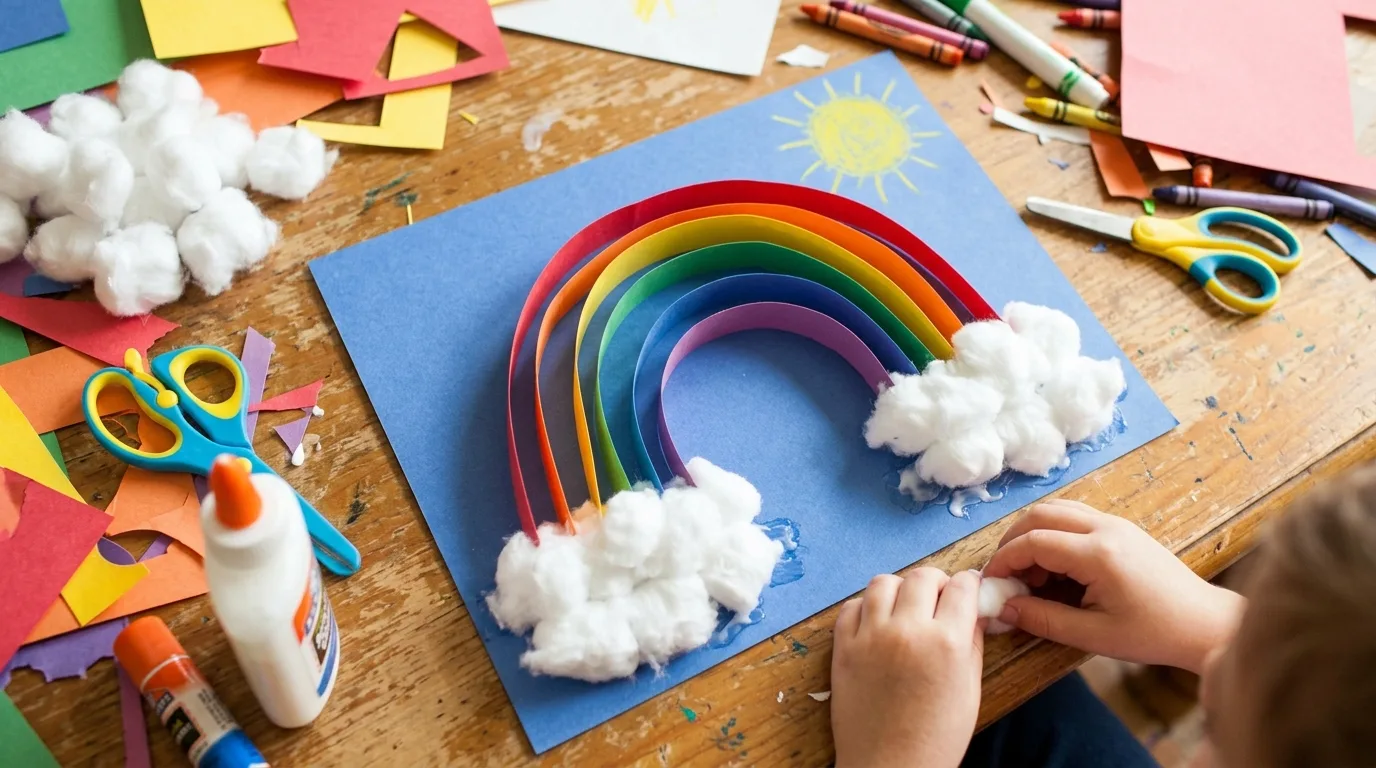
A rainbow made from paper strips is an easy spring craft that encourages children to practice colors, cutting, arranging, and gluing. Cut strips of construction paper in rainbow colors and arrange them from shortest to longest. Kids can glue the strips onto a sheet of blue paper in curved rows, creating a simple rainbow shape. Add fluffy cotton-ball clouds at each end for extra texture. Preschoolers can help choose colors and glue pre-cut pieces, while older children can measure and cut their own strips. To make the project more playful, add tiny paper flowers, butterflies, raindrops, or smiling clouds around the rainbow. This craft is also a useful way to introduce younger children to color sequencing and simple patterns while creating cheerful spring artwork for a bedroom, playroom, or refrigerator.
3. Egg Carton Caterpillars
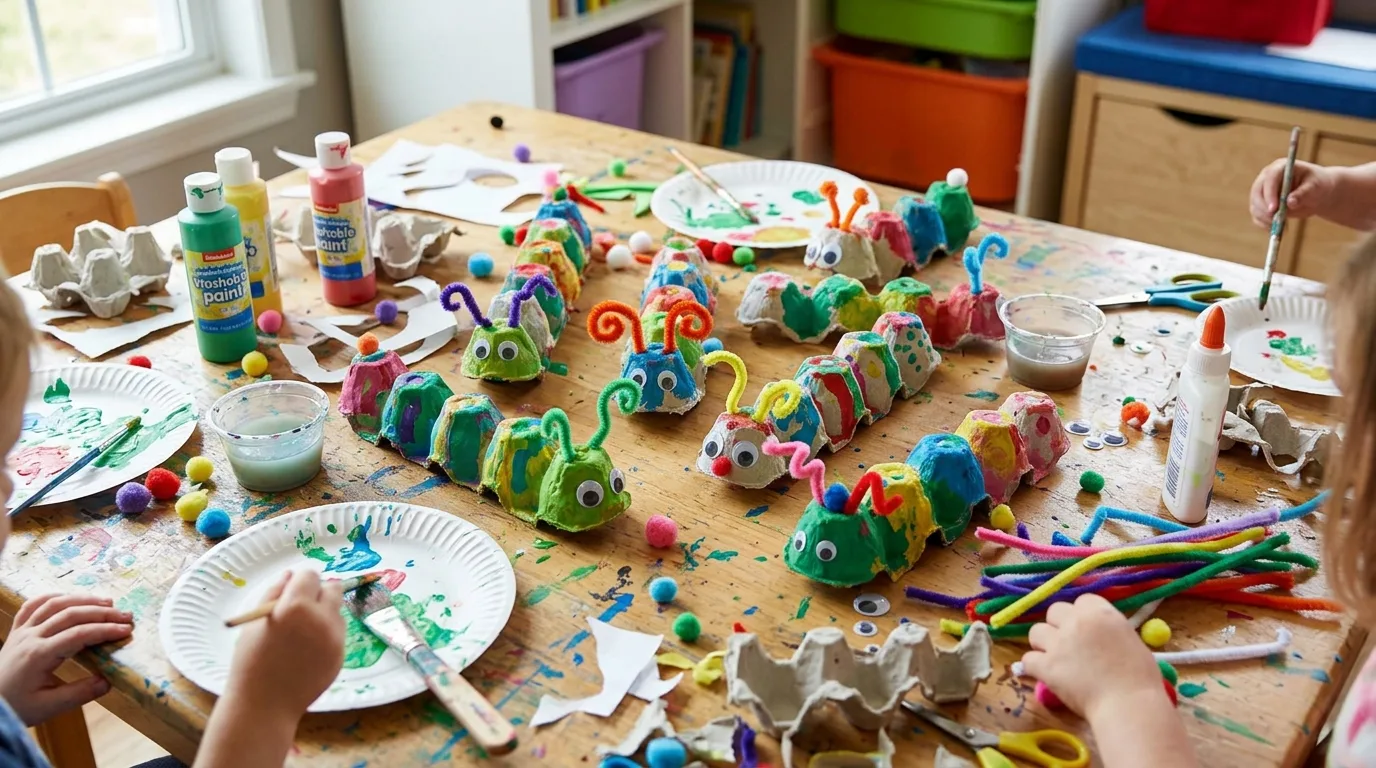
Save a few sections from an empty egg carton and transform them into adorable spring caterpillars. Cut a row of connected cups and let children paint each section in different colors. Once dry, add googly eyes, pipe-cleaner antennae, and a small smile. Older children can decorate their caterpillars with spots, stripes, dots, or tiny paper leaves. For younger kids, use washable paint and pre-cut decorations so the activity stays simple and manageable. This craft is a fun opportunity to talk about how caterpillars change into butterflies, making it a natural companion activity for a spring nature lesson. If you want to turn the craft into a toy, attach the finished caterpillar to a strip of cardboard or add paper legs underneath. Several colorful caterpillars together can also become a playful spring centerpiece.
4. Handprint Spring Tree
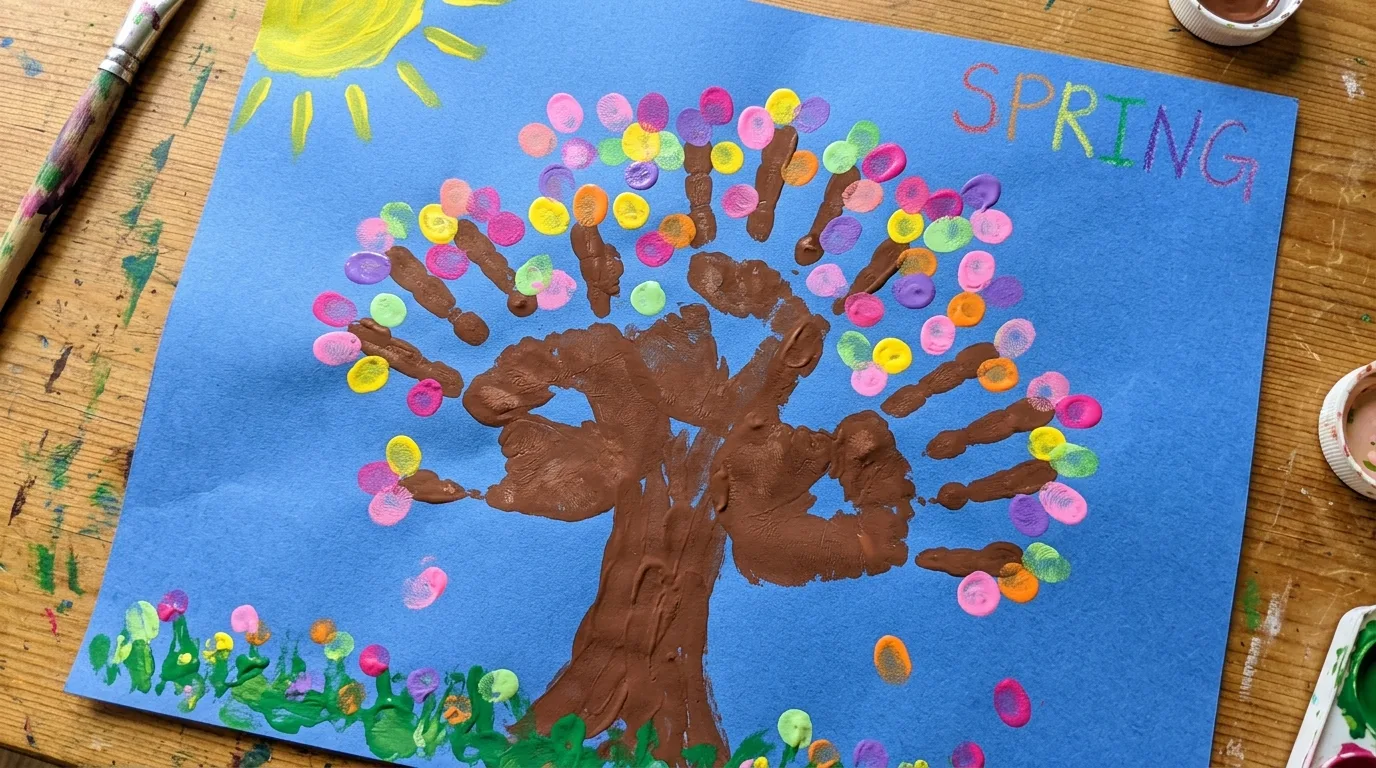
Create a personalized spring tree using your child’s handprint as the trunk and branches. Have the child place a hand and forearm on brown construction paper, trace around it, and cut out the shape. Glue it onto blue or white paper, then add colorful blossoms around the branches using fingerprints, small paper circles, or tiny pieces of tissue paper. Younger children especially enjoy using their fingertips to create flower petals, while older kids can design a more detailed tree with birds, butterflies, grass, and falling petals. This craft can become a lovely keepsake because every child’s handprint creates a slightly different tree. For a family project, make several trees with different hand sizes and arrange them together on one large sheet of paper. It is a simple way to capture a moment in childhood while celebrating the arrival of spring.
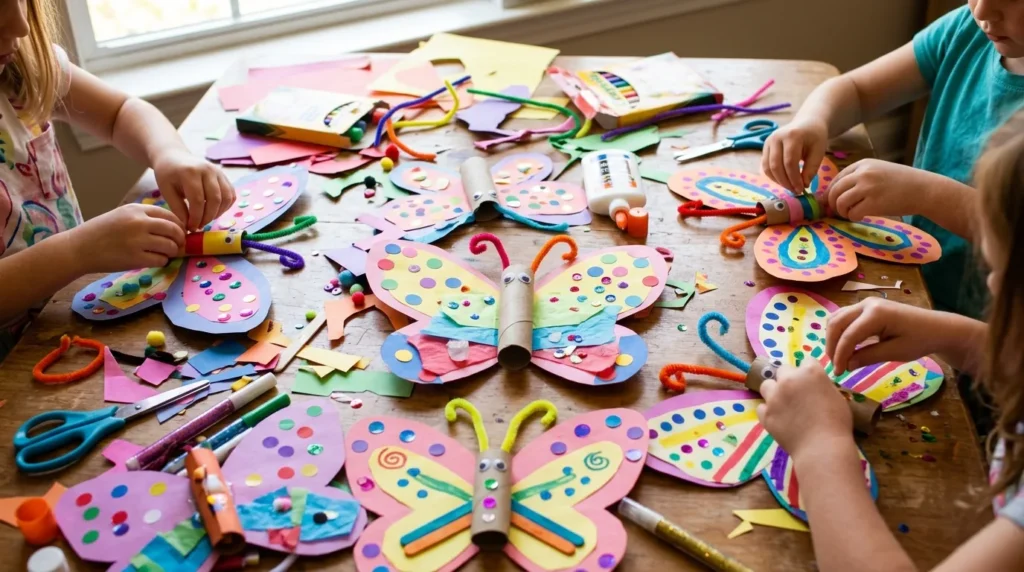
5. Paper Butterfly Craft
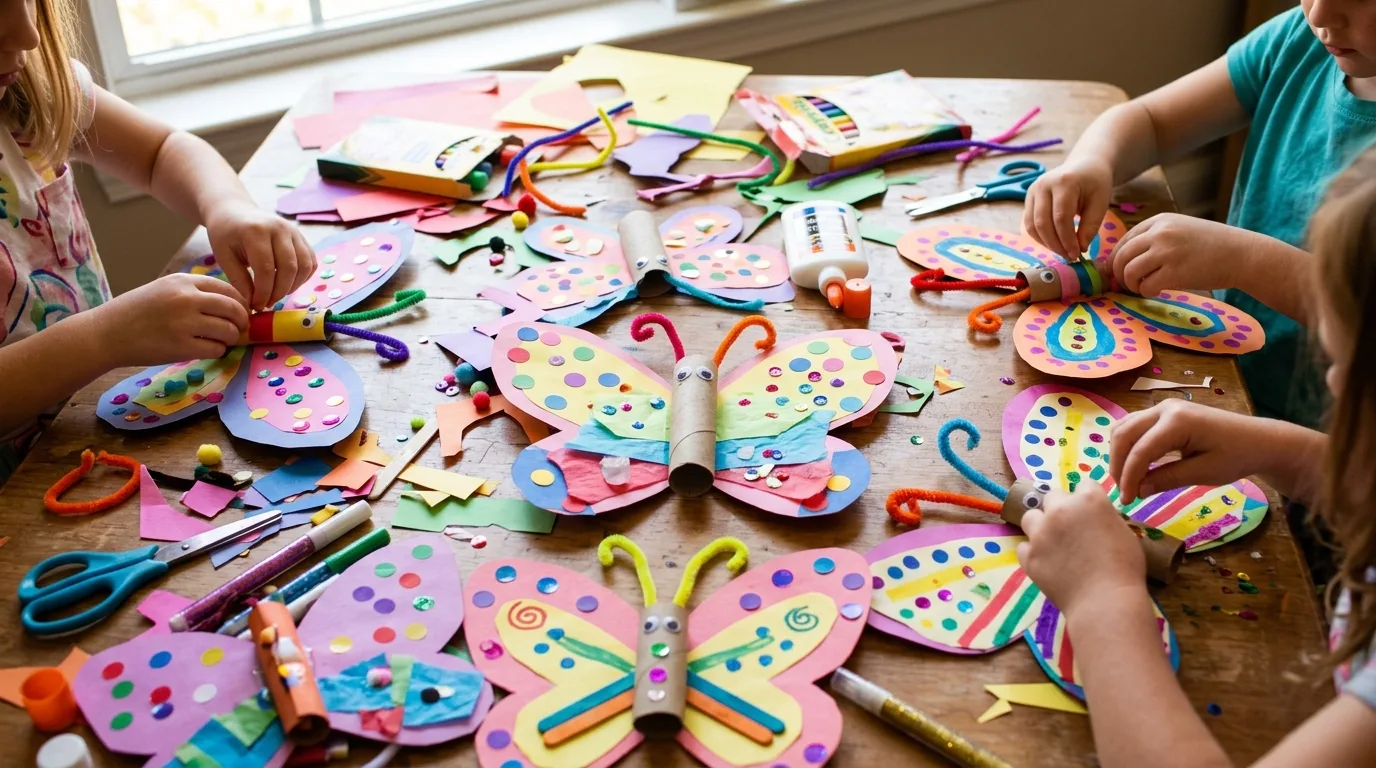
Butterflies are one of the easiest spring themes to turn into colorful children’s crafts. Fold a piece of paper in half, draw one side of a butterfly, and cut it out so both wings match. Kids can decorate the wings with crayons, markers, paint, stickers, tissue paper, or small scraps of patterned paper. Younger children can use large stickers and washable markers, while older kids may enjoy creating symmetrical patterns. Add a narrow paper body down the center and finish with pipe-cleaner antennae. For a dimensional version, fold the wings upward slightly so the butterfly appears ready to fly. Hang several finished butterflies from a piece of string to create a simple spring garland, or attach them to paper straws for imaginative play. Encourage children to look at real butterflies for color and pattern inspiration without requiring them to copy a particular species.
6. Popsicle Stick Flower Garden
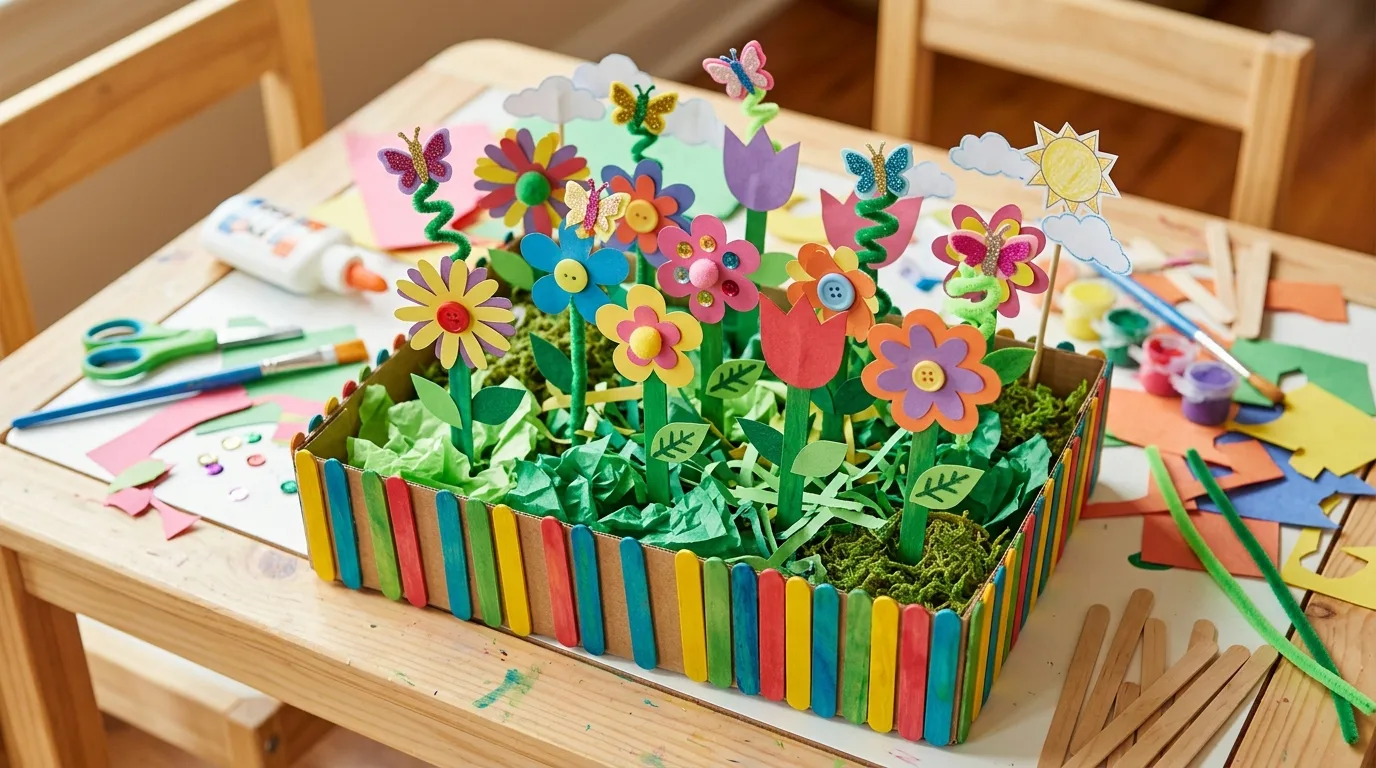
Popsicle sticks make an excellent base for a miniature spring garden. Arrange several craft sticks into a small garden scene, using them as stems, flower centers, or a simple fence. Kids can paint the sticks green for stems and add colorful paper or foam flowers at the top. A piece of cardboard or thick paper can serve as the garden base. Add leaves, butterflies, bees, and grass using scraps of construction paper. Younger children can decorate individual flowers while an adult helps assemble the scene. Older children can design an entire garden with different flower heights and colors. If you are working with a group, give each child a small cardboard square and let everyone create a unique garden. The finished pieces can be displayed side by side to make a cheerful miniature spring meadow.
7. Coffee Filter Butterflies
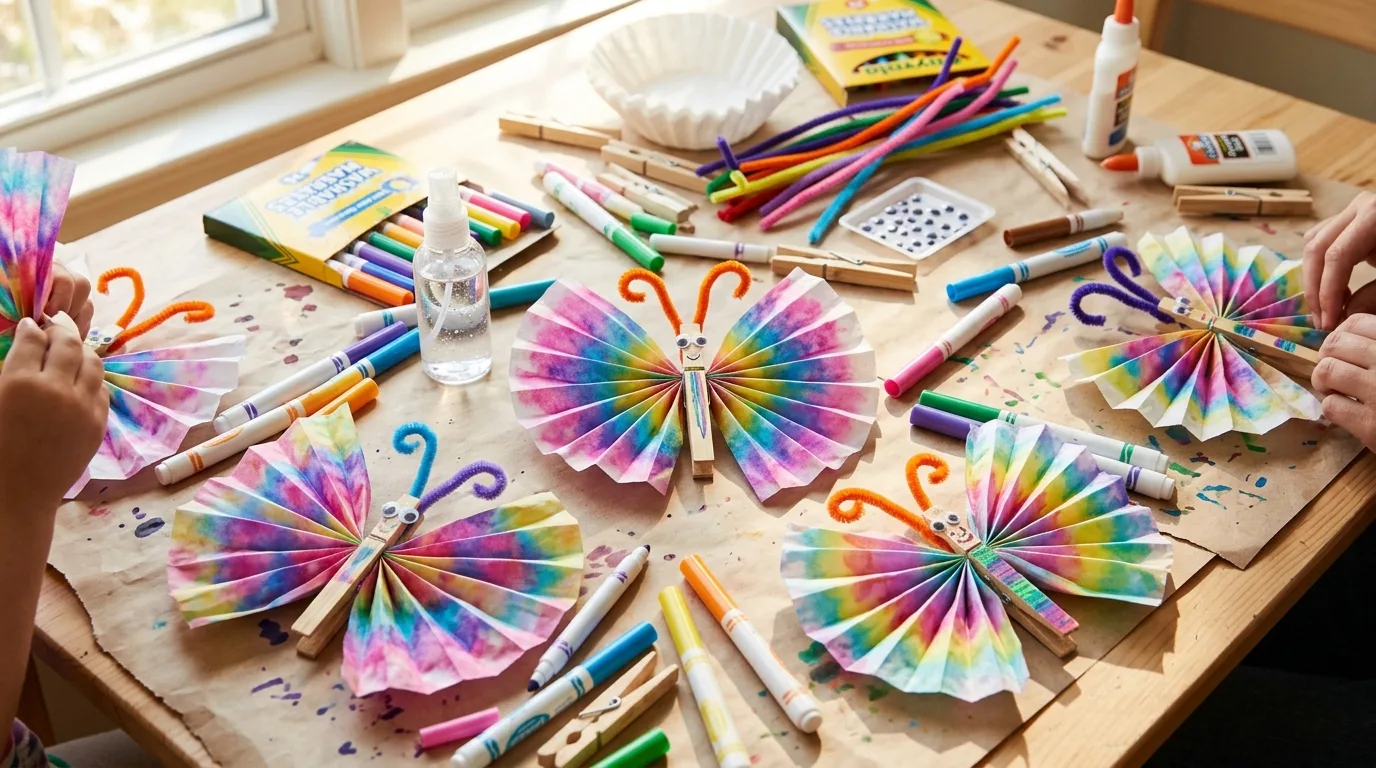
Coffee filters create beautiful, lightweight butterfly wings and are easy for children to decorate. Flatten a round coffee filter and let kids color it with washable markers. Lightly mist the filter with water so the colors blend and spread across the paper, then allow it to dry completely. Once dry, pinch the center and secure it with a clothespin or pipe cleaner to form the butterfly’s body. Add googly eyes and antennae for a finished look. Younger children can make colorful abstract patterns without worrying about precision, while older kids can experiment with color combinations and symmetry. Because the filters become translucent when colored, the finished butterflies look especially pretty when displayed near a sunny window. Protect the work surface during the wet-coloring step, and make sure the filters are completely dry before assembling the butterflies.
8. DIY Spring Flower Crowns
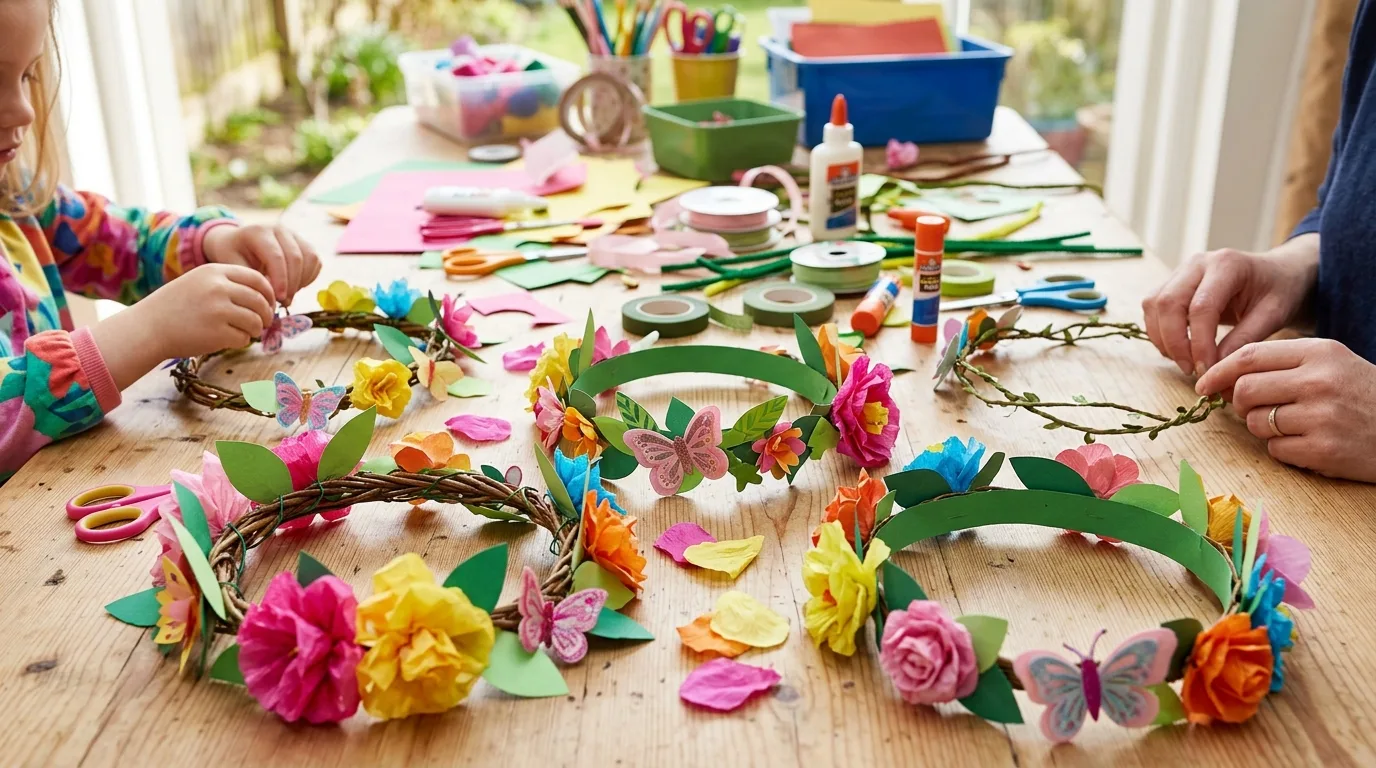
Kids can make their own wearable spring flower crowns from paper, cardstock, or a strip of flexible craft foam. Measure a strip around the child’s head, leave enough overlap for fastening, and secure it with tape or glue. Cut simple flowers from colored paper and attach them around the band. Add leaves, butterflies, or small paper vines for extra detail. Preschoolers can decorate a prepared crown with large flowers and stickers, while older children can design layered blooms with several petal shapes. This activity is particularly fun for spring parties, pretend play, classroom celebrations, or a backyard photo session. To make the crowns more durable, use cardstock for the base and reinforce the joining point with tape on the inside. Children can choose their own color combinations, making each crown feel like a small wearable garden.
9. Paper Cup Ladybugs
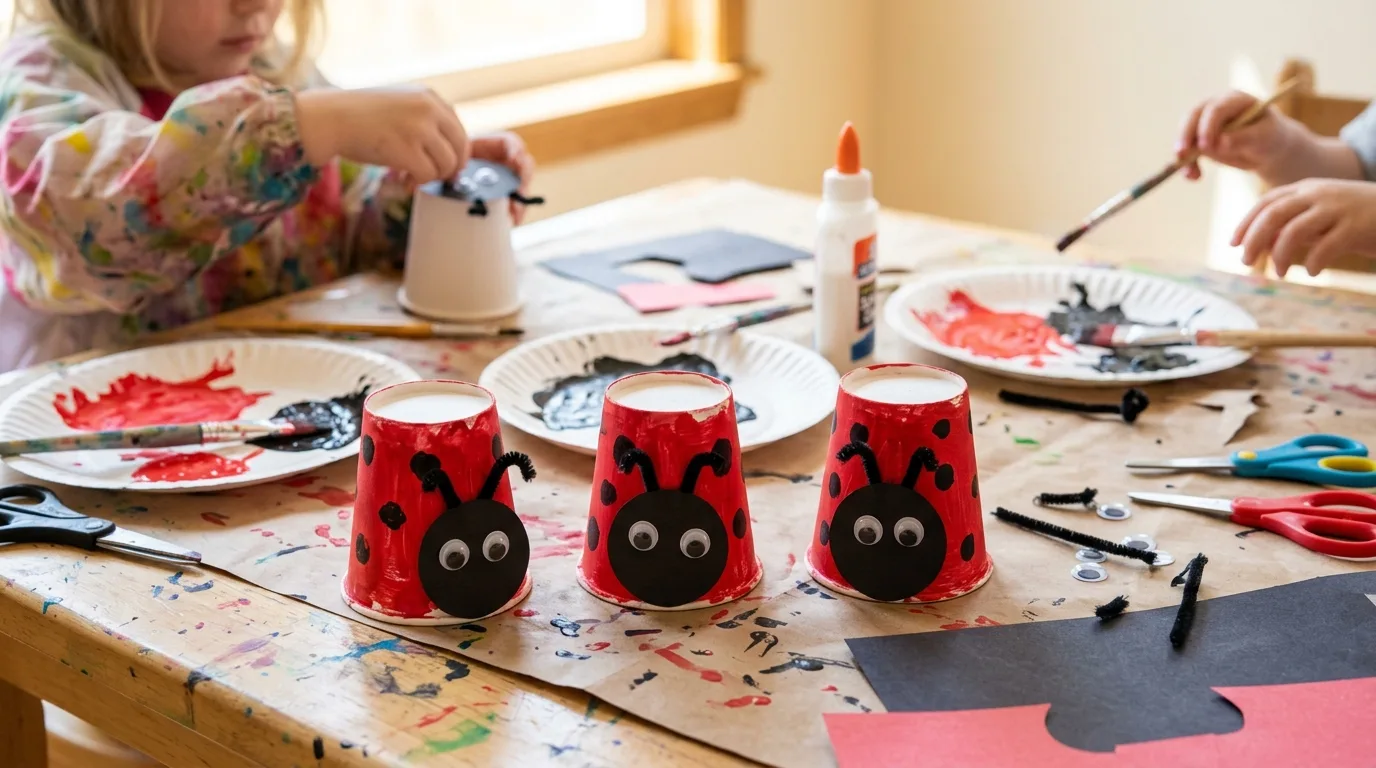
Turn small paper cups into cute ladybug decorations with a little paint and paper. Paint the outside of a cup red and let it dry before adding black spots. Attach a black paper head, googly eyes, and small antennae. For a more detailed version, cut black wings from paper and attach them over the red body. Younger kids can add spots using large stickers or fingerprints, making the craft easier for little hands. Older children can create several ladybugs with different patterns and arrange them on a paper garden scene. This is a useful spring craft because it combines a familiar insect with simple shapes and colors. You can also turn the finished ladybugs into hanging decorations by attaching string through the top of each cup. Always supervise young children when using scissors, glue, or small decorative pieces.
10. Tissue Paper Cherry Blossom Tree
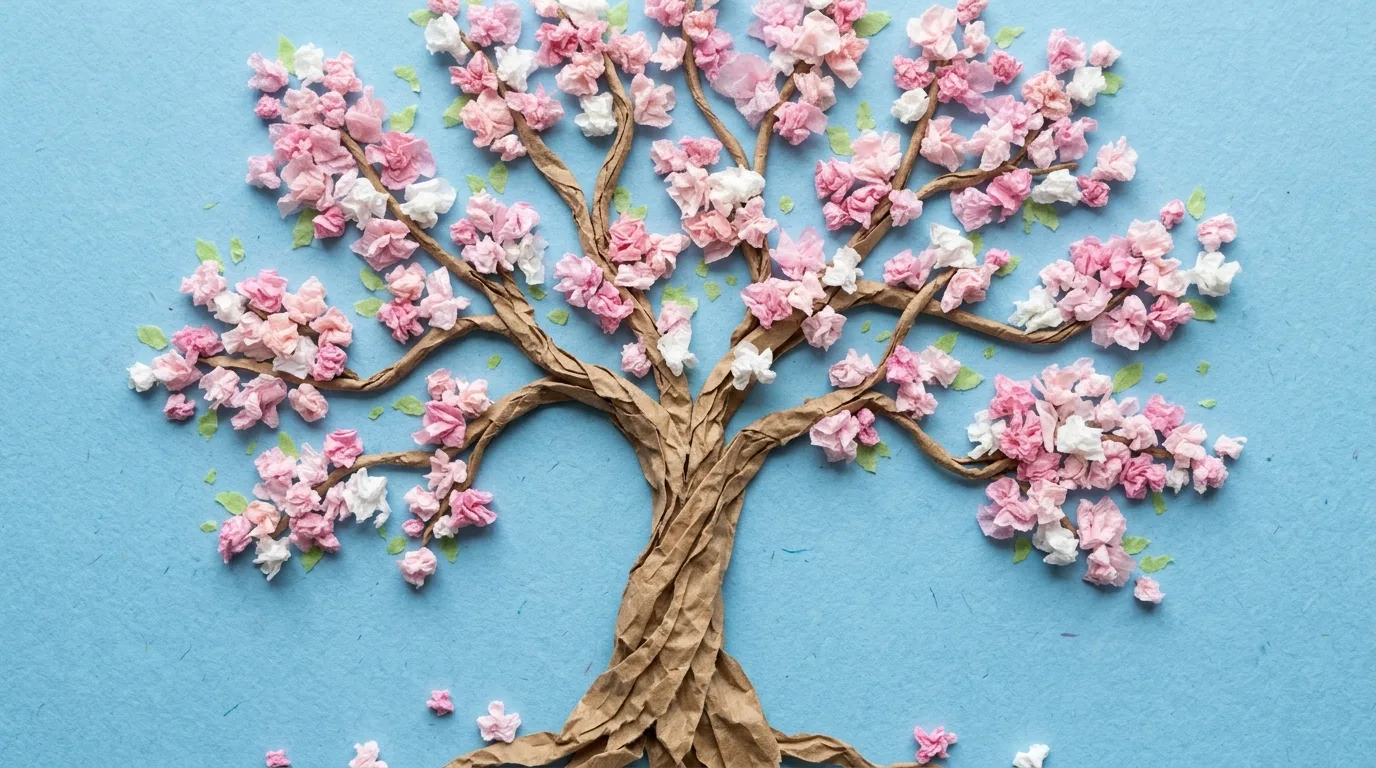
Make a delicate spring tree with brown paper and scrunched tissue-paper blossoms. Begin by drawing or gluing a simple tree trunk and branches onto a sheet of paper. Cut pink, white, or light-colored tissue paper into small squares. Kids can crumple each piece loosely and glue the pieces along the branches to represent blooming flowers. The technique is simple enough for preschoolers but can also be adapted into a more detailed art project for older children. Encourage kids to vary the flower sizes and leave a few spaces between blossoms so the branches remain visible. Add a strip of green paper along the bottom for grass and include a few paper butterflies or birds. The textured blossoms give the finished artwork extra dimension, and the project can be adjusted to represent cherry blossoms or any flowering tree children might see locally in spring.
11. Rock Painted Ladybugs
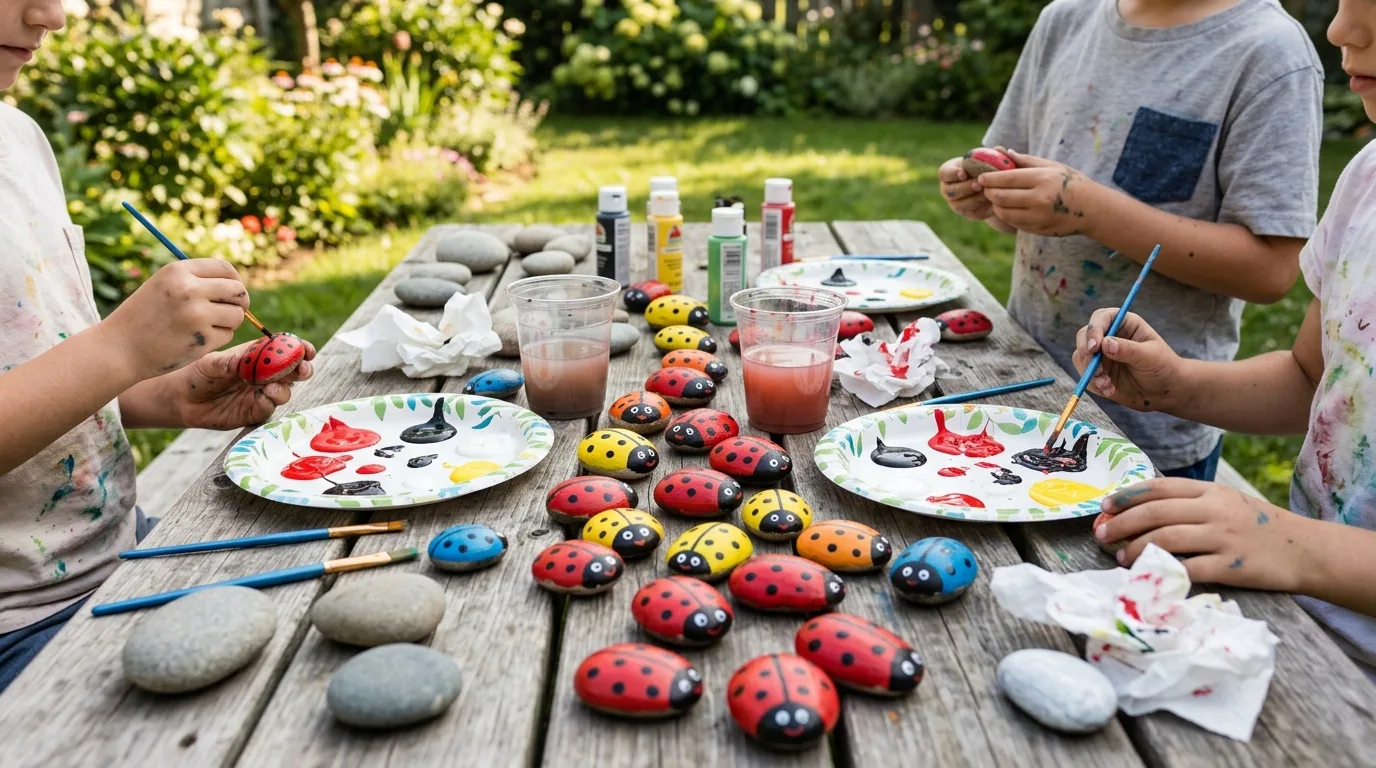
Smooth rocks can become charming little garden creatures with a coat of paint. After washing and completely drying the rocks, let children paint them red or another bright color. Once the base coat is dry, add black spots, a simple head, and tiny eyes. Older kids can experiment with bees, butterflies, flowers, or other spring designs instead of making only ladybugs. For younger children, choose larger rocks that are easier to hold and keep the designs simple. If the finished rocks will be placed outdoors, use suitable outdoor craft paint and a protective finish according to the product directions. Kids can display their painted rocks in a garden, plant pot, or windowsill. This project is also a wonderful excuse to take a short nature walk and collect suitable smooth stones, provided local rules allow collecting them.
12. Spring Rain Cloud Craft
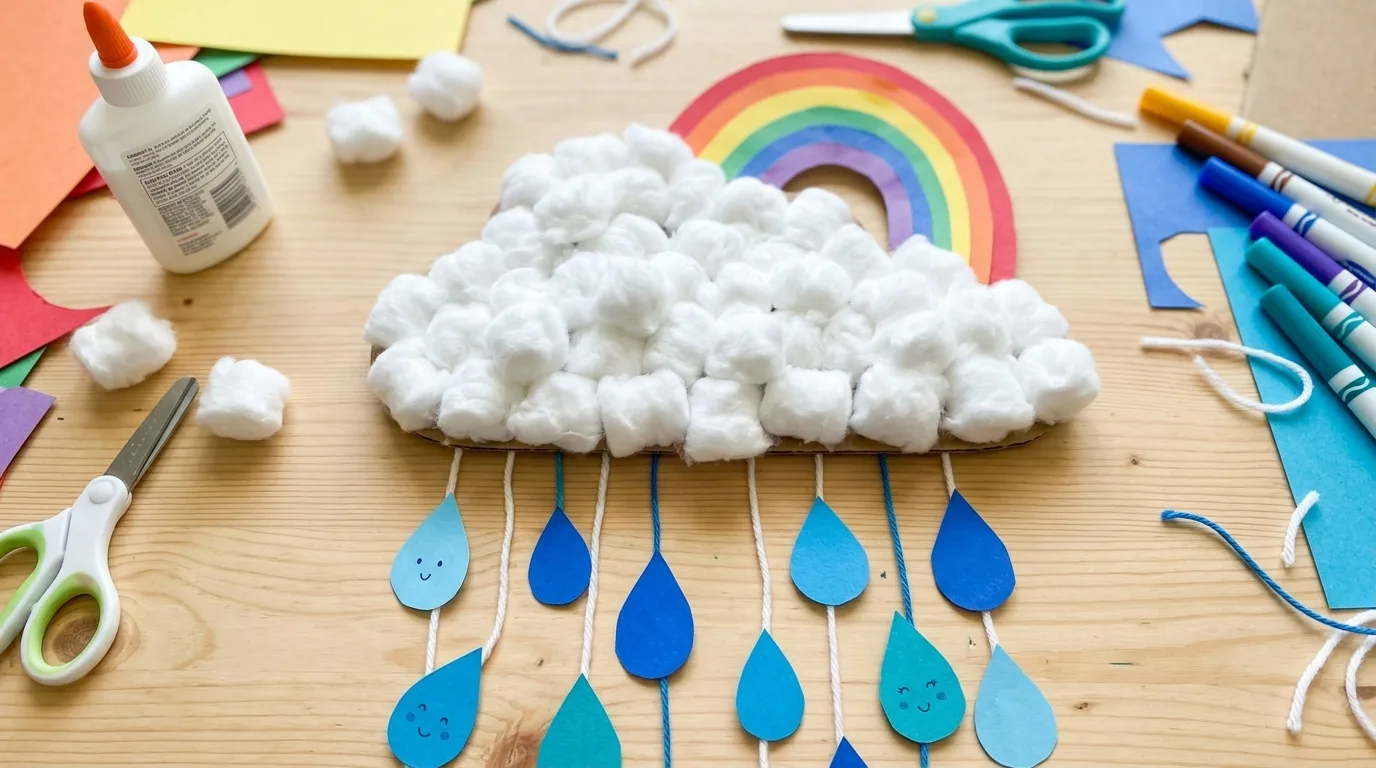
Celebrate spring showers with a cheerful rain cloud made from paper, cotton balls, and colorful raindrops. Cut a cloud shape from white or light-blue cardstock and cover parts of it with cotton balls for a fluffy texture. Cut several raindrops from blue paper and attach them underneath using string, yarn, or strips of paper. Older children can make a more decorative version with different shades of blue, a rainbow, or tiny paper flowers growing beneath the rain. Younger children can focus on gluing cotton balls and choosing raindrop colors. To turn the project into hanging decor, attach a loop of string to the top and hang it in a window or playroom. The craft also provides an easy starting point for talking about spring weather, clouds, rainfall, and how water helps plants grow.
13. Toilet Paper Roll Binoculars
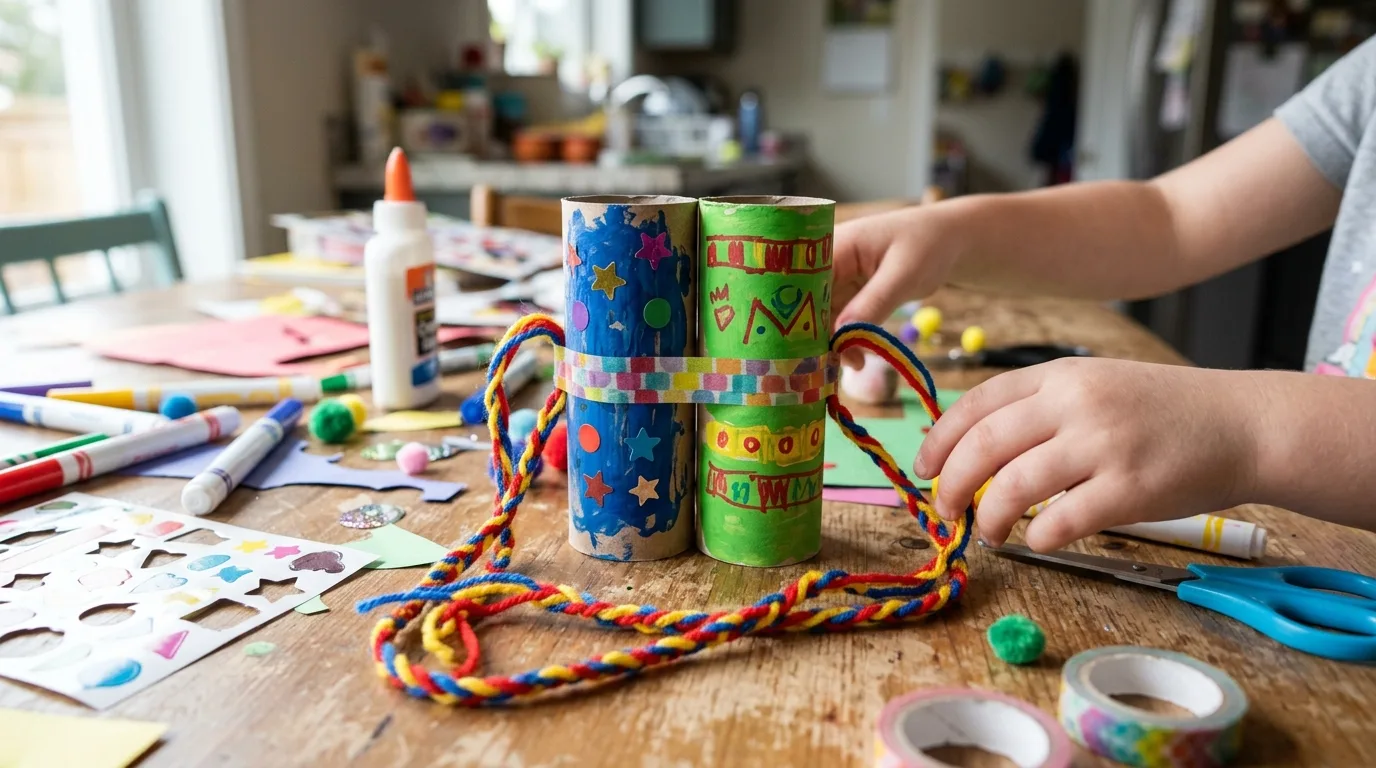
Two empty toilet paper rolls can become pretend binoculars for a spring nature adventure. Place the rolls side by side and secure them together with glue or tape. Once the structure is sturdy, let children cover or paint the rolls in their favorite colors. Add a string or ribbon so the binoculars can hang around their necks during supervised pretend play. Kids can decorate them with stickers, paper leaves, flowers, or animal shapes. After crafting, take the binoculars outside and encourage children to look for birds, butterflies, flowers, clouds, or interesting tree shapes. Remind young explorers that the binoculars are for pretend observation and that they should never be used to look directly at the sun. This project combines crafting with imaginative outdoor play and can easily become part of a simple spring scavenger hunt.
14. Spring Flower Suncatchers
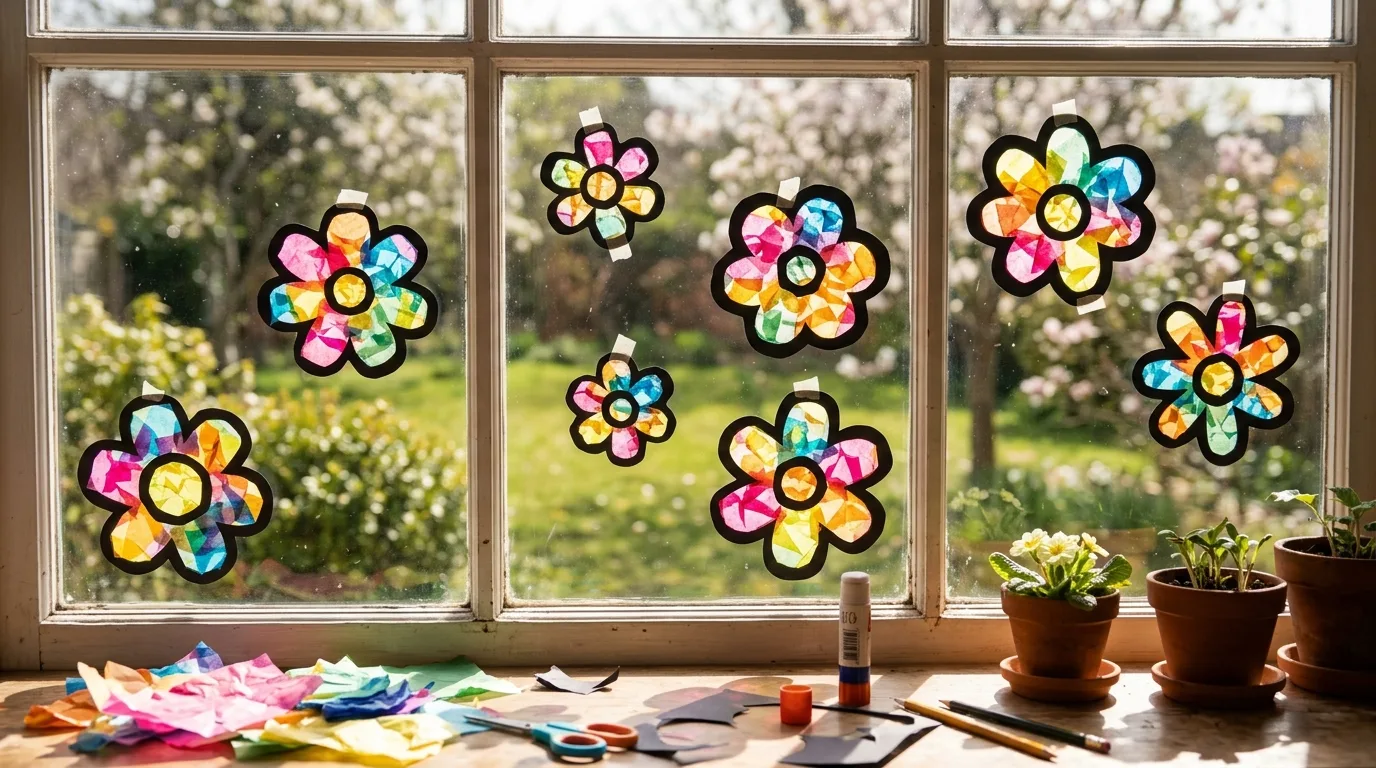
Make colorful spring suncatchers with clear adhesive film or another child-appropriate transparent craft material. Cut a simple flower frame from cardstock, then place the clear material behind the opening. Kids can arrange small pieces of colored tissue paper inside the flower, overlapping shades to create new colors. Seal the design with another transparent layer and hang it in a sunny window. The sunlight shining through the tissue paper creates a bright stained-glass effect. Younger children can place larger tissue pieces without worrying about staying inside exact shapes, while older kids can plan repeating patterns or create several flowers in complementary colors. Avoid placing the finished craft where direct sunlight could create a heat hazard, and use materials appropriate for the age group. These suncatchers are especially effective as spring classroom or bedroom decorations.
15. Nature Collage With Leaves and Flowers
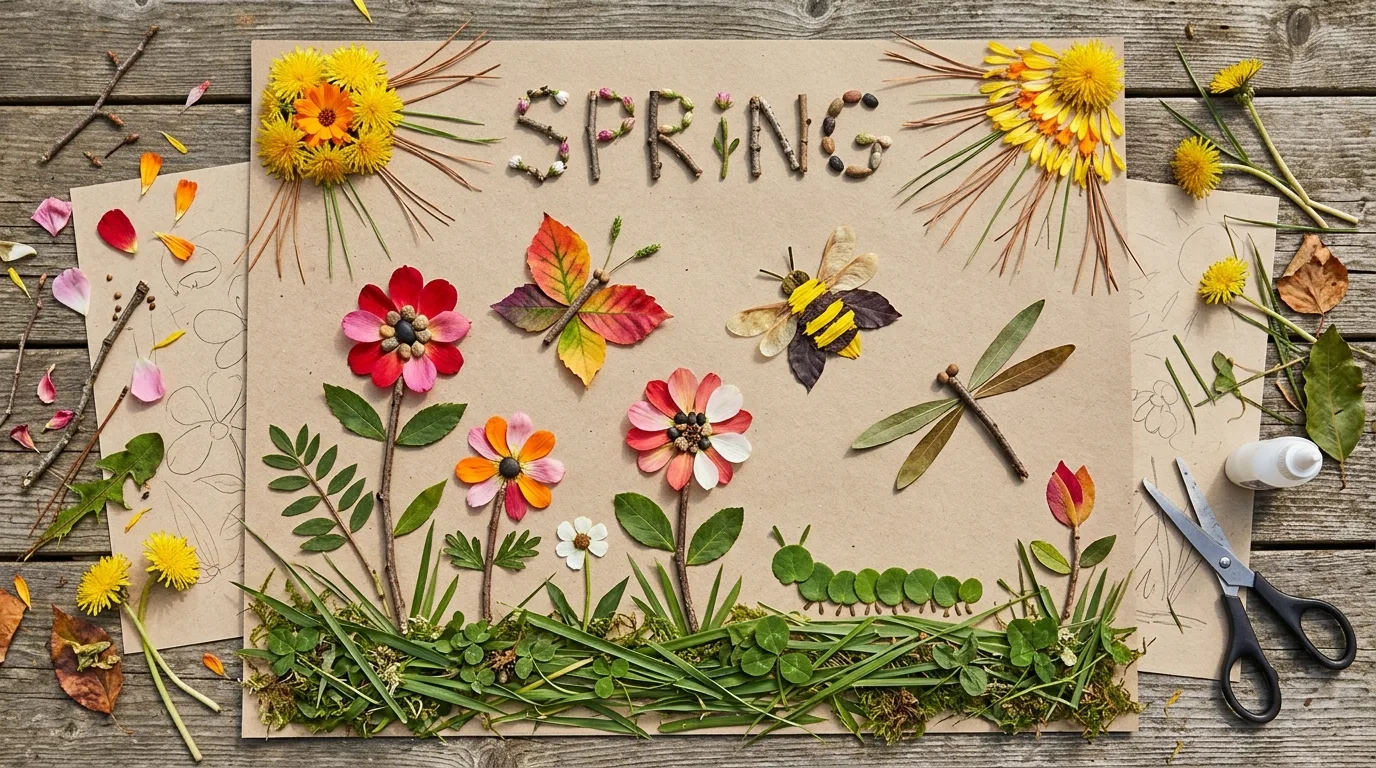
A nature collage lets children turn a spring walk into an art project. Collect a small selection of fallen leaves, petals, grass, and other safe natural materials rather than picking living plants. Back at home, arrange the pieces on thick paper or cardstock to create flowers, insects, landscapes, faces, or abstract patterns. Use glue suitable for the materials and allow the collage to dry flat. Younger children can sort natural items by color, size, or texture before gluing them down. Older children can create a more detailed scene and label the different natural materials they used. Encourage children to observe the shapes and textures before starting, since the goal is to explore nature as much as it is to make a finished picture. For a longer-lasting project, photograph the completed collage before delicate materials fade or dry out.
Easy Ways to Make Spring Crafts Work for Different Ages
The same spring craft can often work for several age groups with a few small adjustments. For toddlers and preschoolers, prepare cutting in advance, use larger pieces, choose washable materials, and focus on decorating rather than precise assembly. Elementary-age children can usually handle more independent cutting, gluing, measuring, and pattern-making with appropriate supervision. Older kids may enjoy adding details, designing their own versions, or combining several crafts into a larger spring scene. It also helps to keep a simple supply basket nearby with construction paper, washable markers, child-safe scissors, glue, tissue paper, cotton balls, and recycled materials. Most importantly, let children make creative choices rather than aiming for a perfect finished product. Spring crafts are at their best when kids can experiment with color, texture, nature, and imagination while enjoying time away from screens.