Winter is the perfect time to make your home warmer, more comfortable, and more energy-efficient. Whether you are planning to replace old windows, improve insulation, update your heating system, or refresh your living spaces, a little preparation can help you avoid expensive mistakes. Cold weather also brings unique challenges, including higher energy consumption, condensation, frozen pipes, and limited opportunities for outdoor construction.
Before starting a winter home upgrade, take time to assess your home’s condition, establish a realistic budget, and identify improvements that will make the biggest difference. Some projects can be completed comfortably indoors, while others require careful scheduling around weather conditions. Understanding which repairs are urgent and which upgrades can wait will help you prioritize your investment. These 15 essential checks will guide you through planning a winter home improvement project, helping you protect your property, control costs, improve energy efficiency, and create a cozy home throughout the colder months.
1. Inspect Your Home’s Overall Condition
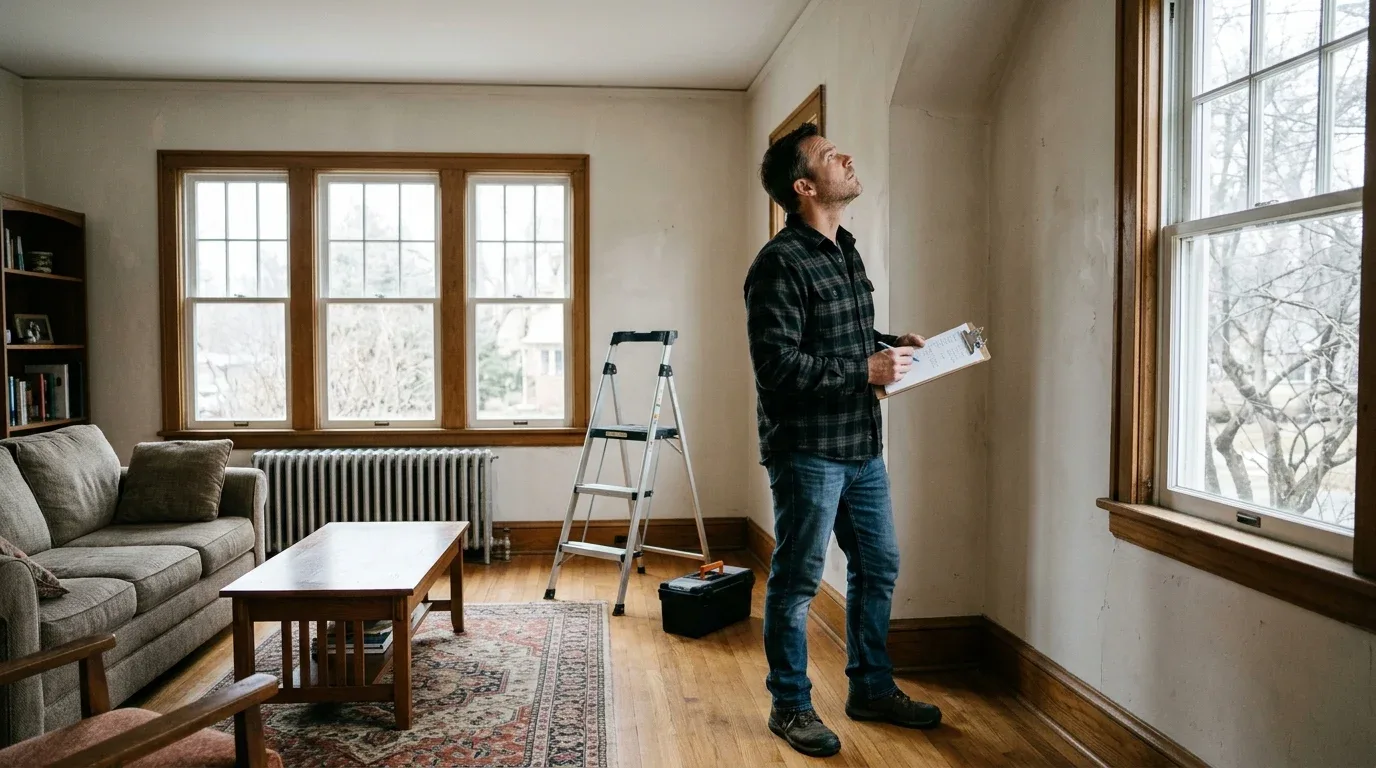
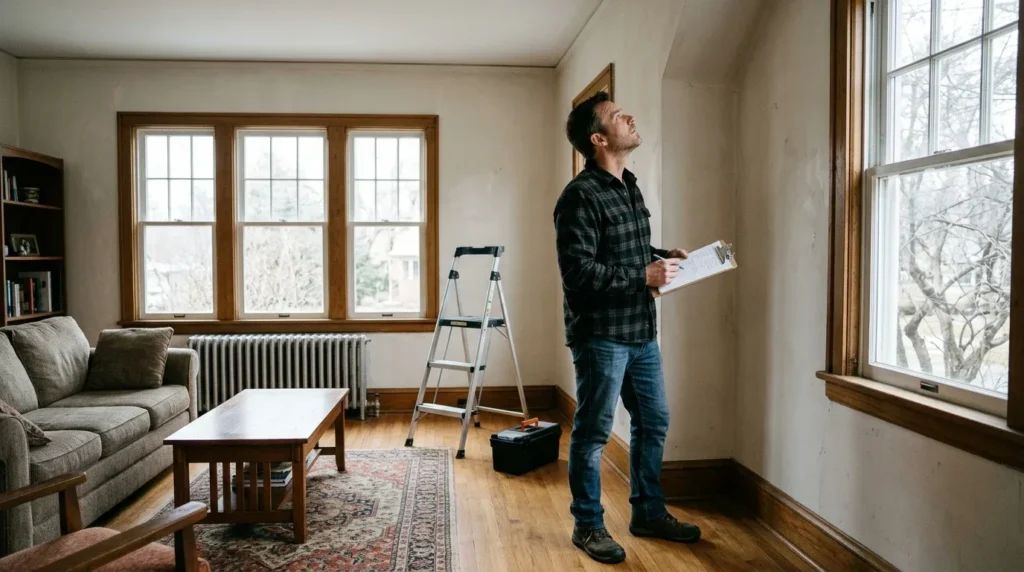
Before choosing new finishes or planning major renovations, inspect your home from top to bottom. Look for cracked walls, damaged ceilings, loose floorboards, peeling paint, and signs of water intrusion. Pay particular attention to areas around windows, exterior doors, bathrooms, and ceilings beneath the roof, where moisture problems can develop unnoticed.
Check whether existing issues need professional attention before cosmetic improvements begin. For example, covering a damp wall with fresh paint will not solve the underlying problem. Photograph any visible damage and make a list of repairs, separating urgent structural or moisture concerns from optional improvements. Starting with a clear understanding of your home’s condition helps you allocate money wisely and prevents new materials from being damaged by unresolved problems.
2. Set a Realistic Winter Renovation Budget
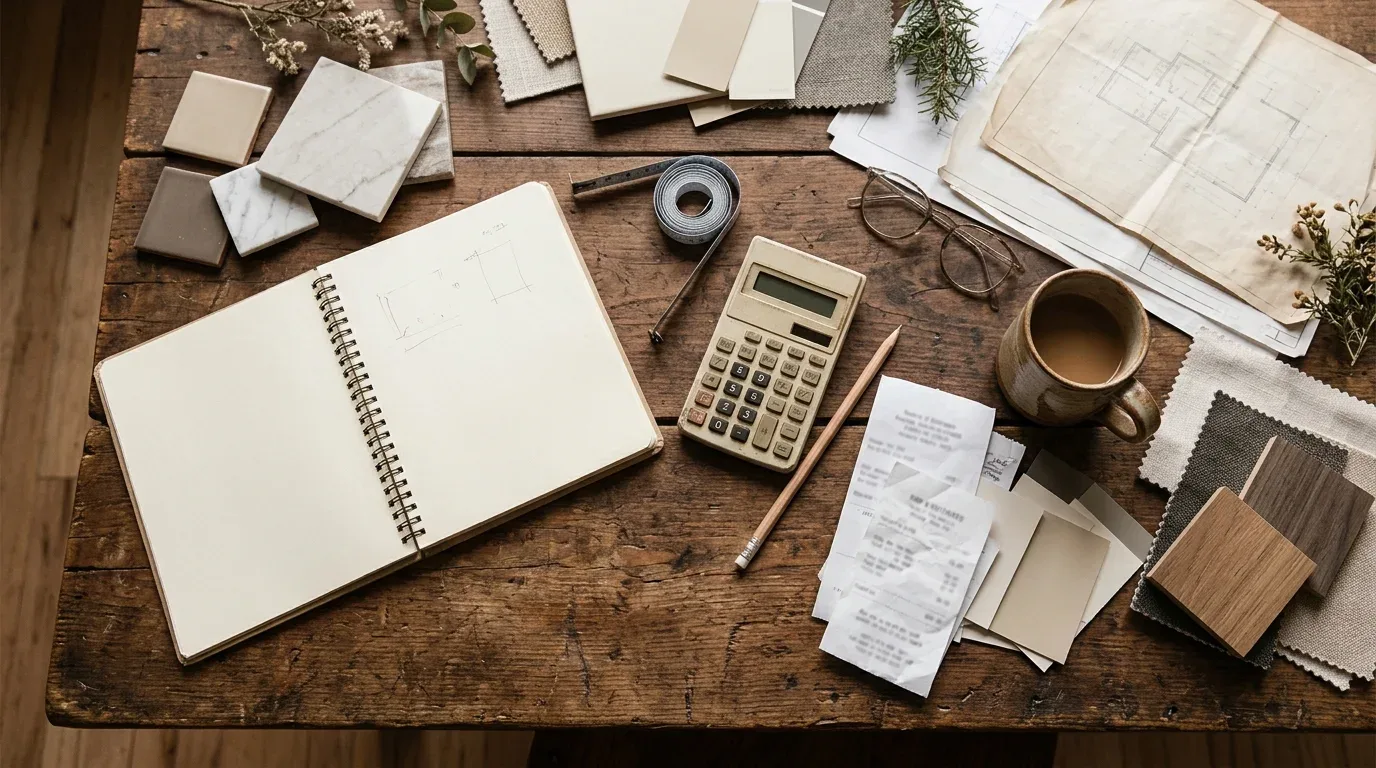
Home upgrades can quickly become more expensive than expected, particularly when contractors discover hidden damage or material prices change. Establish a budget that includes labor, supplies, delivery fees, permits, equipment rentals, and cleanup. If you are replacing windows, upgrading heating equipment, or improving insulation, request detailed estimates so you can compare the full cost of each option.
Keep a contingency fund of approximately 10–20% of the planned project cost for unexpected expenses. Prioritize upgrades that address safety, water damage, heat loss, or unreliable heating before spending on decorative features. If your budget is limited, divide the work into manageable phases rather than compromising on essential materials or professional installation. A realistic financial plan helps prevent unfinished projects and reduces stress during the winter months.
3. Check Your Roof for Leaks and Damage
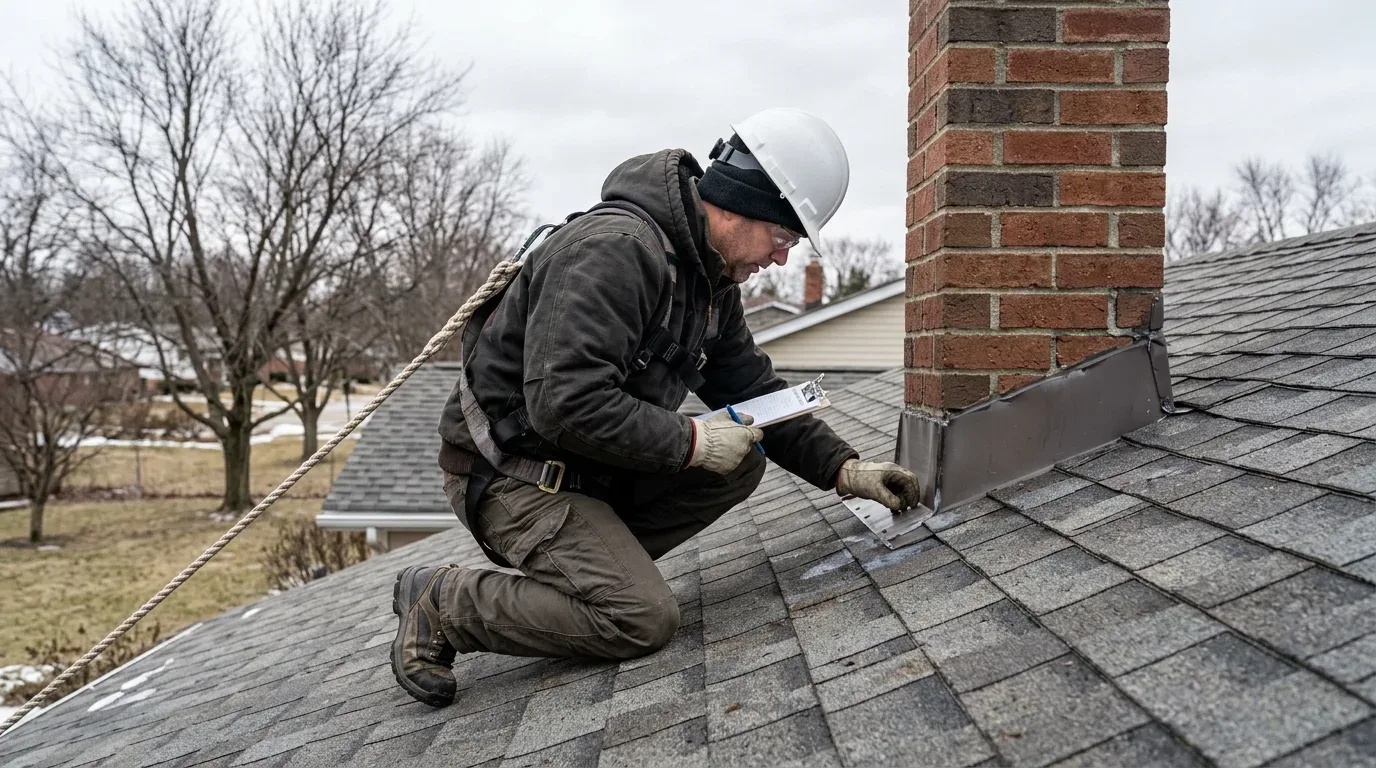
Your roof protects the entire house from rain, snow, wind, and moisture. Before winter upgrades begin, inspect accessible areas for missing or damaged shingles, deteriorated flashing, blocked gutters, and signs of leaks in the attic. Water stains on ceilings or damp insulation may indicate a problem that needs attention before temperatures drop further.
Arrange a professional roof inspection if you notice damage or cannot safely assess the roof yourself. Avoid climbing onto slippery surfaces, especially during freezing weather. Repairing leaks before installing new ceilings, painting rooms, or improving attic insulation can prevent expensive damage later. If major roof work is necessary, discuss weather limitations and suitable installation conditions with a qualified contractor. Keeping the roof in good condition creates a safer foundation for other winter home improvements.
4. Evaluate Your Home’s Insulation
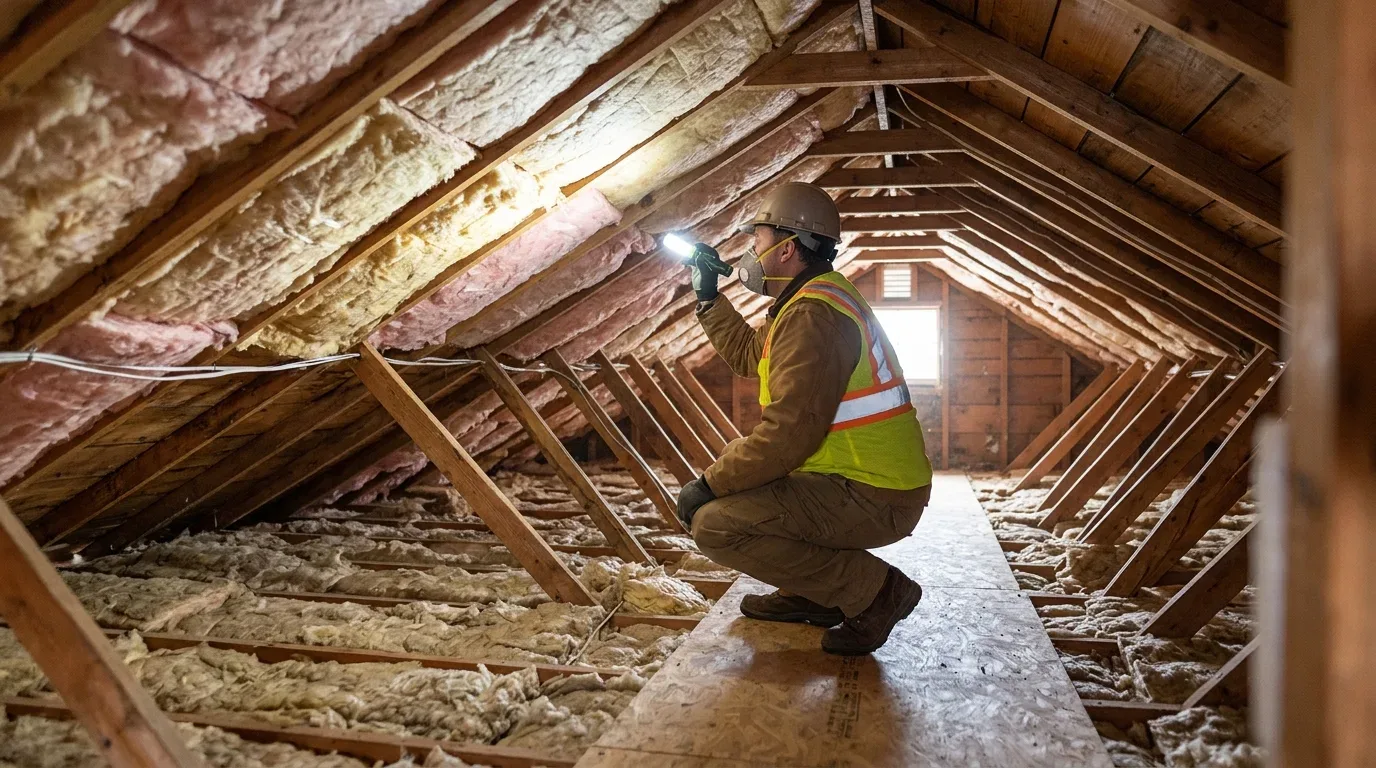
Insufficient insulation allows heat to escape during winter and makes indoor temperatures harder to maintain. Check accessible attic spaces, exterior walls where inspection is possible, basement ceilings, and other areas identified as potential sources of heat loss. Uneven room temperatures, cold interior surfaces, and unusually high heating bills can suggest that insulation needs improvement.
The appropriate insulation depends on your climate, building construction, and local recommendations. Before adding new material, investigate existing moisture problems and ensure the roof and walls are in suitable condition. Insulation should not block required ventilation openings or create unsafe conditions around heat-producing equipment. A qualified energy assessor or insulation professional can help identify the most cost-effective improvements. Better insulation can improve comfort, reduce drafts, and potentially lower energy costs throughout the colder season.
5. Inspect Windows and Exterior Doors
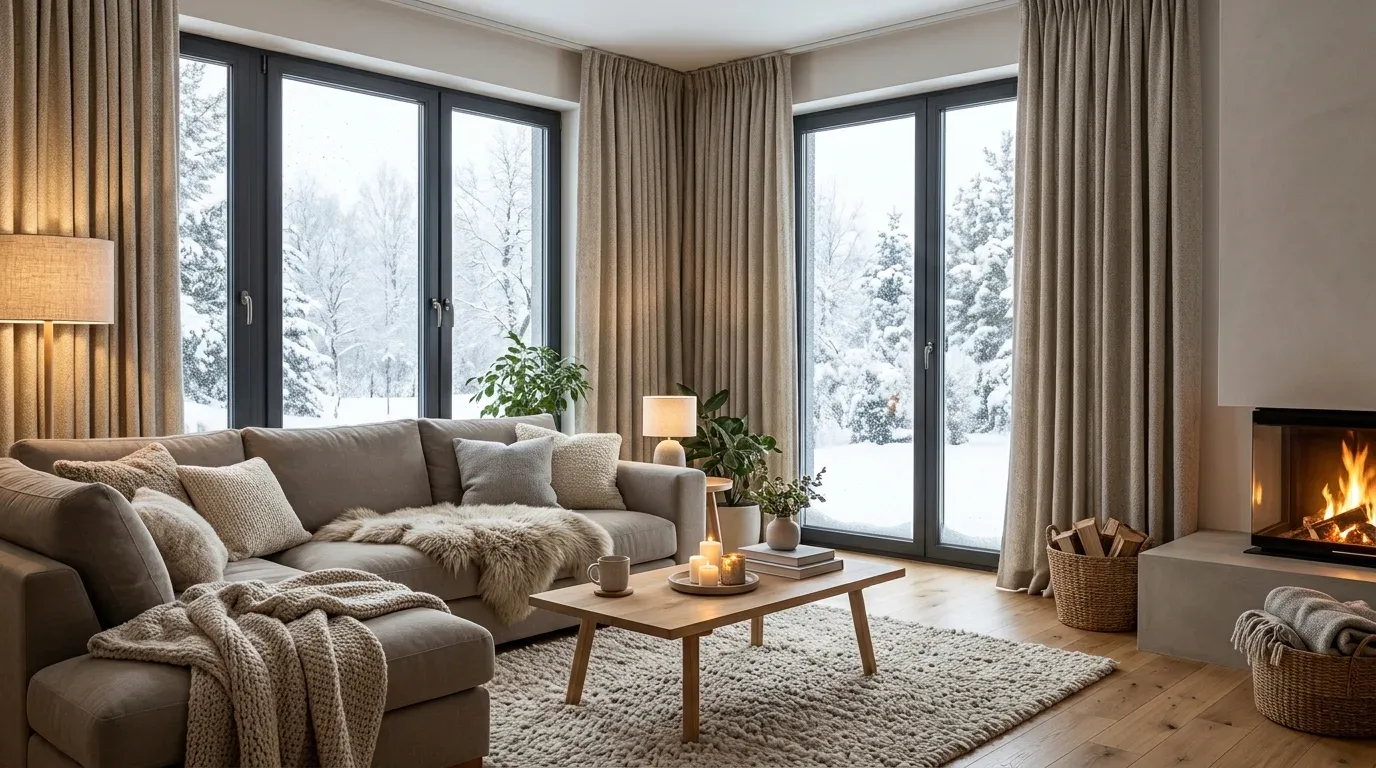
Drafty windows and doors can make a heated room feel uncomfortable even when the thermostat is set correctly. Examine weatherstripping, door sweeps, window seals, and visible gaps around frames. Check for cracked glass, loose hardware, damaged caulking, and condensation that may indicate excessive indoor humidity or poorly insulated surfaces.
Simple improvements, such as replacing worn weatherstripping, sealing appropriate gaps, and installing thermal curtains, may provide noticeable comfort without requiring complete replacement. If windows are old or damaged, compare the long-term benefits of repair with the cost of energy-efficient models. Use sealants designed for the specific surface and temperature conditions, following manufacturer instructions. Avoid blocking intentional ventilation openings. Properly sealed windows and doors help reduce drafts while supporting a more consistent indoor temperature.
6. Service Your Heating System
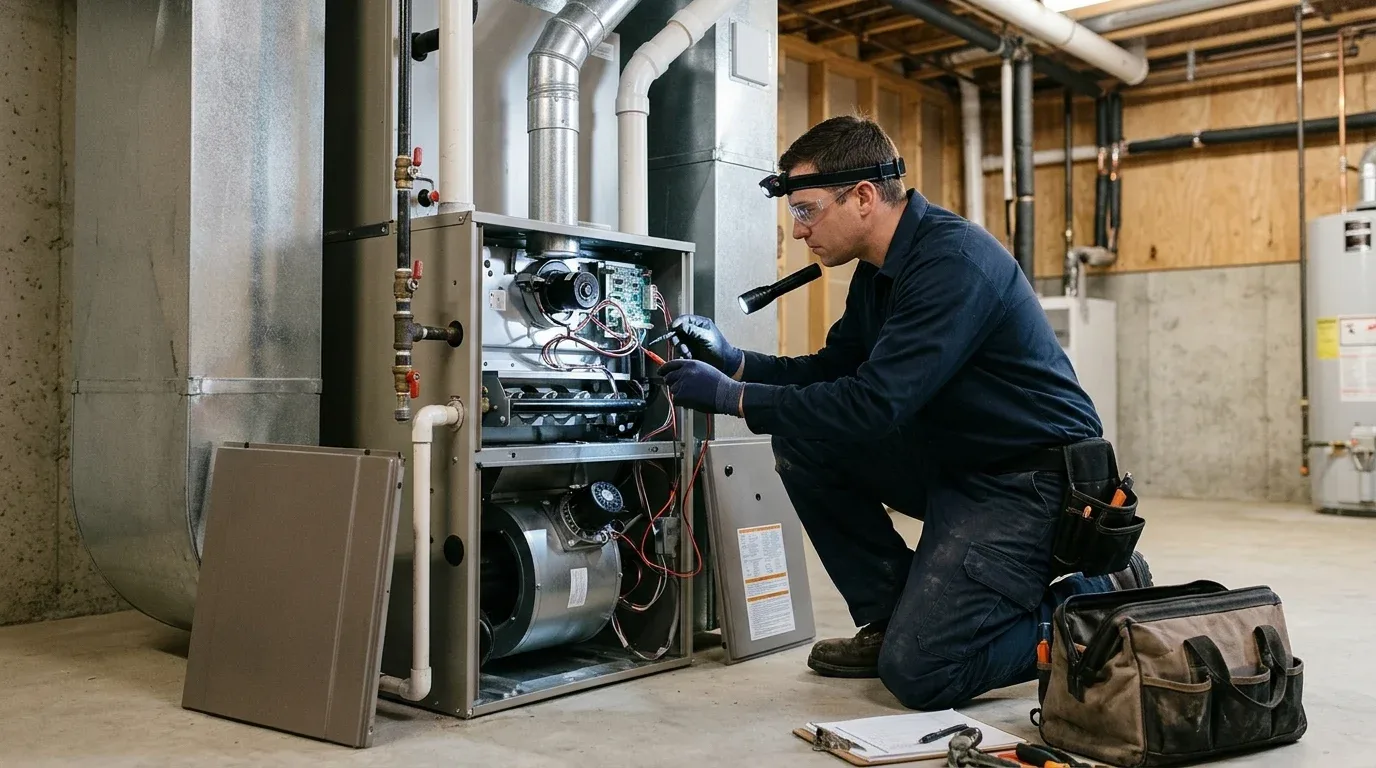
A reliable heating system is essential for a comfortable winter home. Before starting renovations, arrange maintenance for your furnace, boiler, heat pump, or other heating equipment. Depending on the system, servicing may include inspecting electrical connections, checking controls, cleaning components, and replacing or cleaning filters according to the manufacturer’s recommendations.
Pay attention to unusual noises, inconsistent heating, frequent cycling, or unexpected increases in energy use. These symptoms may indicate a maintenance issue that should be resolved before colder weather increases demand. Have fuel-burning equipment checked by a qualified technician, and make sure required exhaust vents remain unobstructed. Never use an oven or outdoor combustion appliance to heat indoor spaces. If your heating system is approaching the end of its useful life, compare repair costs, replacement options, efficiency ratings, and installation requirements before committing to other upgrades.
7. Check Plumbing and Protect Exposed Pipes
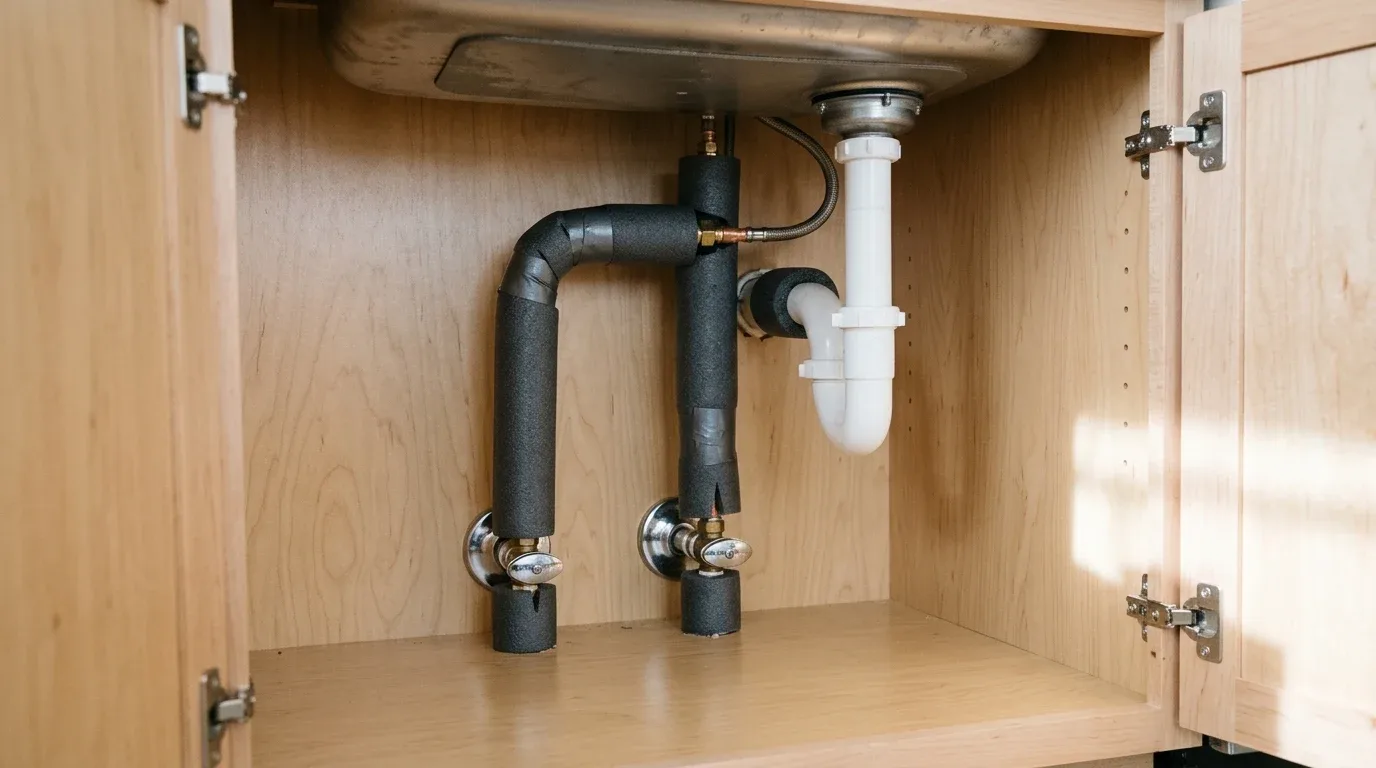
Cold weather can place plumbing systems at risk, especially where pipes pass through unheated garages, crawl spaces, exterior walls, or poorly insulated utility areas. Inspect visible pipes for corrosion, leaks, damaged insulation, and loose fittings. Check under sinks and around water heaters for signs of moisture before installing cabinets or replacing flooring.
Insulate vulnerable pipes using suitable pipe insulation and follow local guidance for freezing-weather protection. If you are renovating a bathroom or kitchen, consider whether accessible shutoff valves need servicing and whether plumbing changes require a licensed professional. Locate the main water shutoff so household members can respond quickly to a leak. In regions where freezing temperatures are common, follow local winterization recommendations for outdoor taps and unused plumbing. Addressing plumbing concerns before finishing walls or floors can prevent costly repairs.
8. Examine Electrical Systems and Lighting
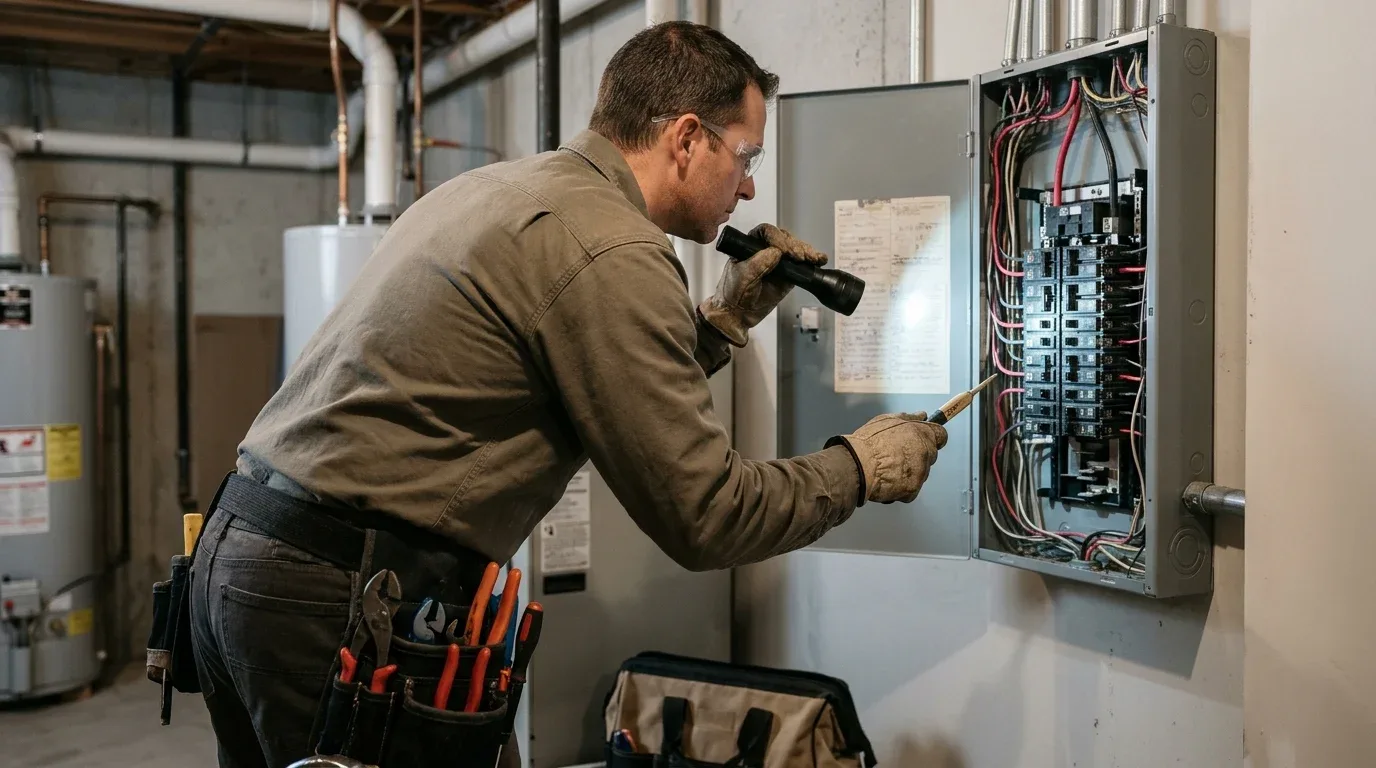
Winter upgrades often involve additional lighting, electric heaters, new appliances, or changes to room layouts. Before adding electrical equipment, check whether existing outlets, switches, and circuits are suitable for the intended load. Flickering lights, frequently tripped breakers, warm outlets, damaged cords, or burning smells should never be ignored.
Have a licensed electrician assess questionable wiring and determine whether new circuits or upgraded components are needed. Avoid relying on extension cords or overloaded power strips as permanent solutions. If you are improving lighting, consider efficient LED fixtures and layered illumination that combines general, task, and accent lighting. This approach can make darker winter days feel more inviting while managing electricity use. Confirm that any electrical work complies with local building codes and permit requirements before walls are closed or new finishes are installed.
9. Investigate Moisture, Condensation, and Mold
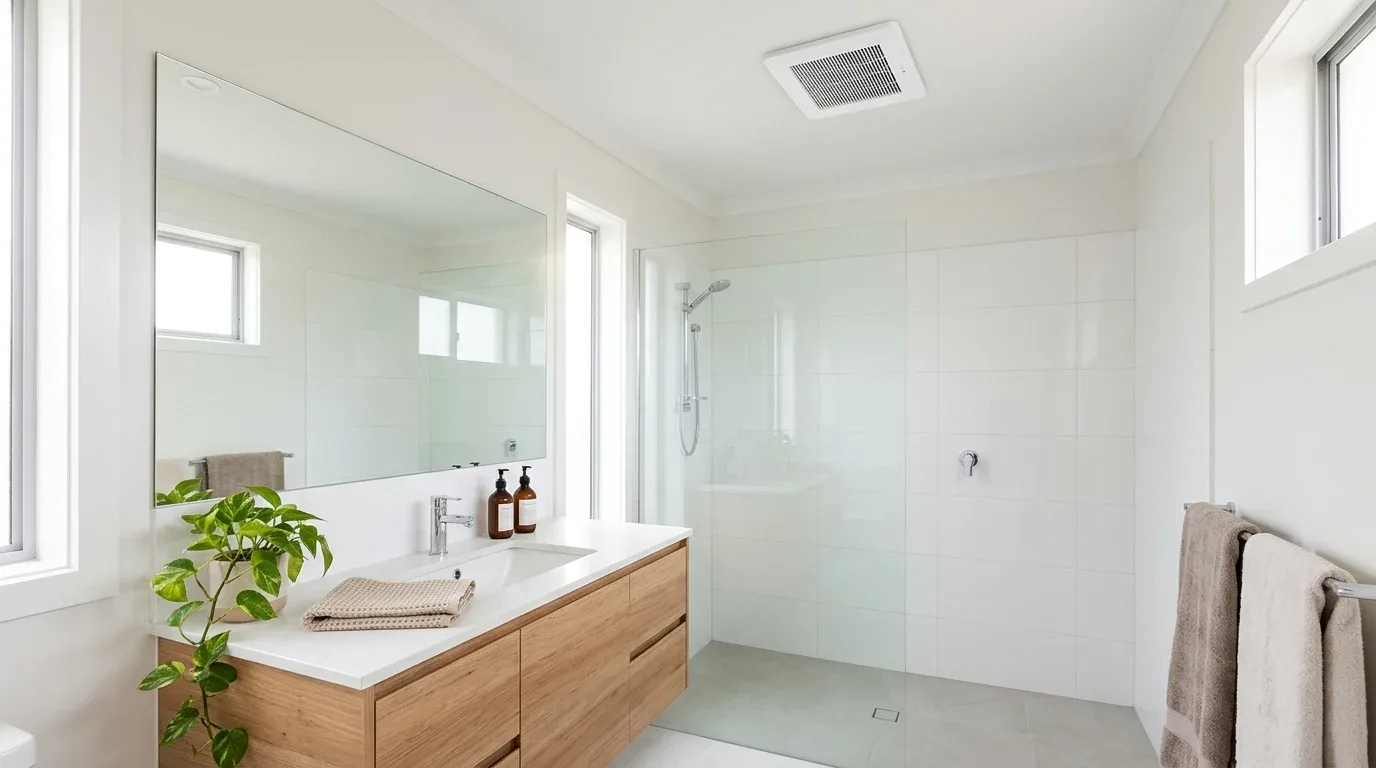
When windows stay closed and indoor heating increases, moisture can accumulate in bathrooms, kitchens, basements, and poorly ventilated rooms. Look for persistent condensation, musty odors, discolored surfaces, peeling paint, and visible mold. These signs may point to inadequate ventilation, leaks, or cold surfaces that allow moisture to condense.
Resolve the source of excess moisture before repainting or installing new flooring. Use kitchen and bathroom exhaust fans where appropriate, and ensure they discharge correctly. A properly sized dehumidifier may help in damp areas, but it cannot replace necessary leak repairs or ventilation improvements. Extensive mold, recurring moisture, or suspected contamination inside walls should be evaluated by a qualified professional. Managing humidity protects building materials and helps maintain a healthier indoor environment during the winter season.
10. Improve Attic and Basement Ventilation
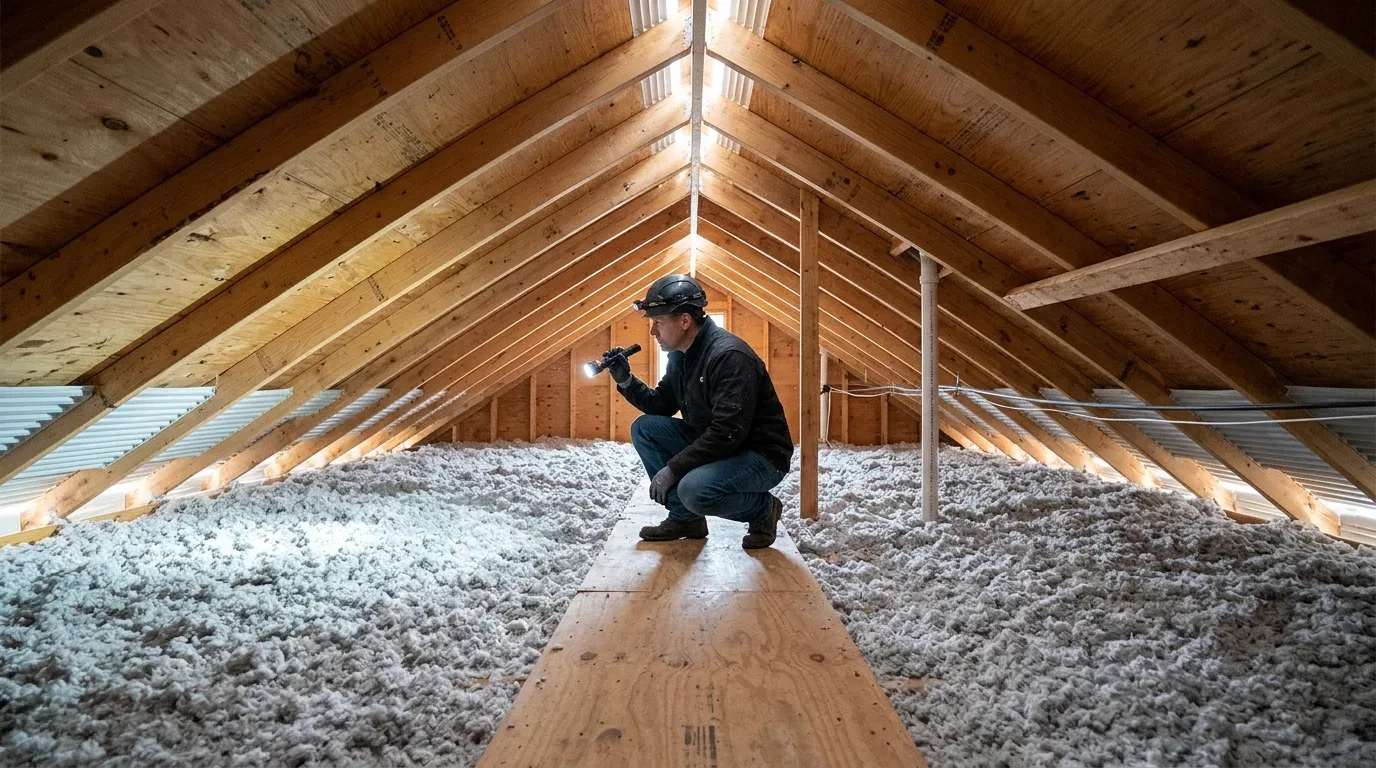
Attics and basements can develop moisture and temperature problems when ventilation, insulation, or air sealing is poorly designed. Before upgrading these areas, inspect accessible spaces for dampness, musty smells, frost, water staining, and signs of pests. In an attic, check that insulation does not cover ventilation openings that are intended to remain clear.
Ventilation requirements differ according to the building design and climate. Simply adding vents or sealing every gap without considering the whole system can create new problems. For example, attic air sealing must be planned alongside insulation and ventilation, while basement improvements may require moisture management and appropriate combustion-air provisions. Ask a qualified contractor to assess the existing setup before making substantial changes. A balanced approach helps protect roof structures, stored belongings, and finished living areas from avoidable moisture damage.
11. Review Flooring and Wall Materials
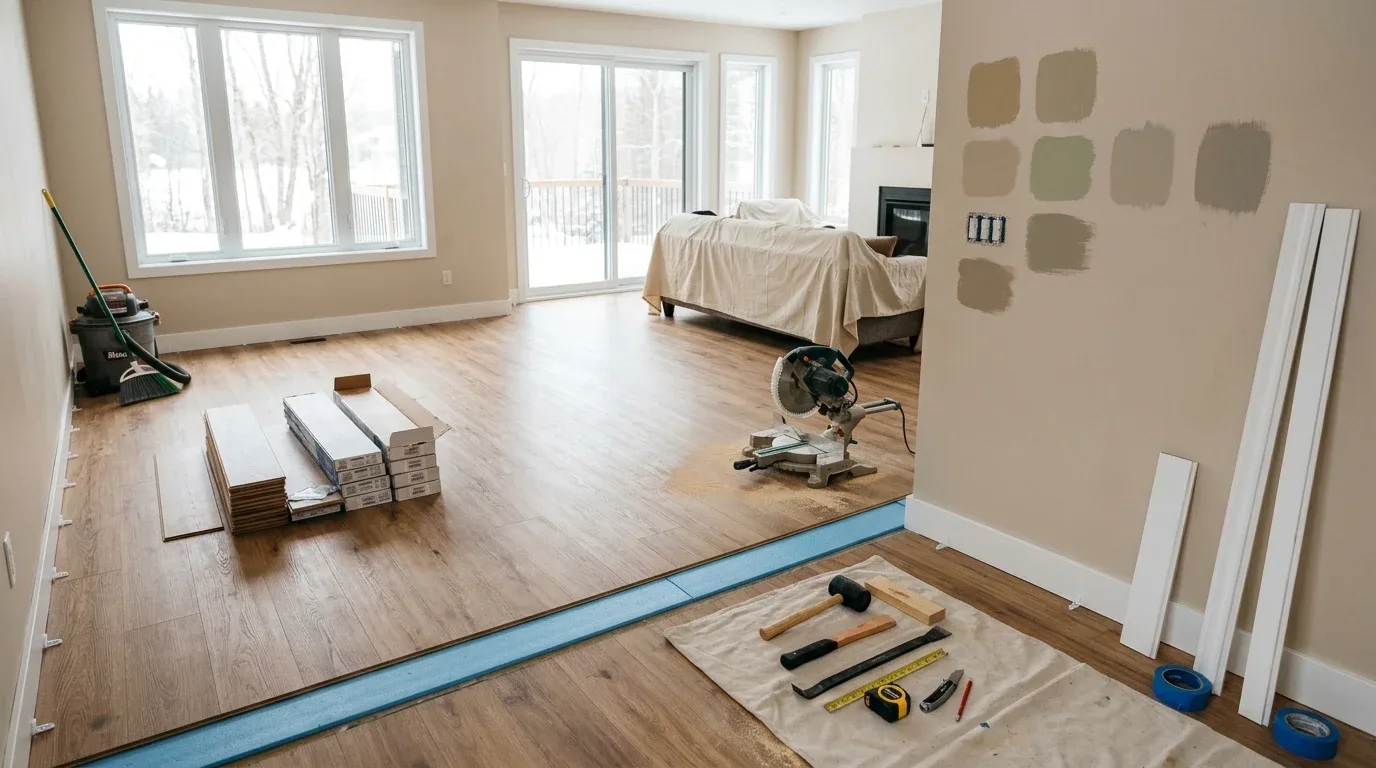
Winter is a practical time to refresh indoor flooring, repaint walls, or replace damaged trim because much of the work can be completed inside. However, materials such as hardwood, laminate, tile adhesives, paint, and sealants have specific temperature and humidity requirements. Check product instructions before purchasing supplies or scheduling installation.
Cold conditions can affect drying times, adhesive performance, and how certain materials expand or contract. Allow flooring products to acclimate when the manufacturer requires it, and maintain suitable indoor conditions throughout installation. Repair damp subfloors and resolve leaks before covering them with new materials. If you plan to paint, provide adequate ventilation while following safety guidance for the product being used. Selecting appropriate materials and respecting installation requirements helps create a durable finish rather than a surface that quickly develops gaps, peeling, or other defects.
12. Plan Your Kitchen and Bathroom Upgrades
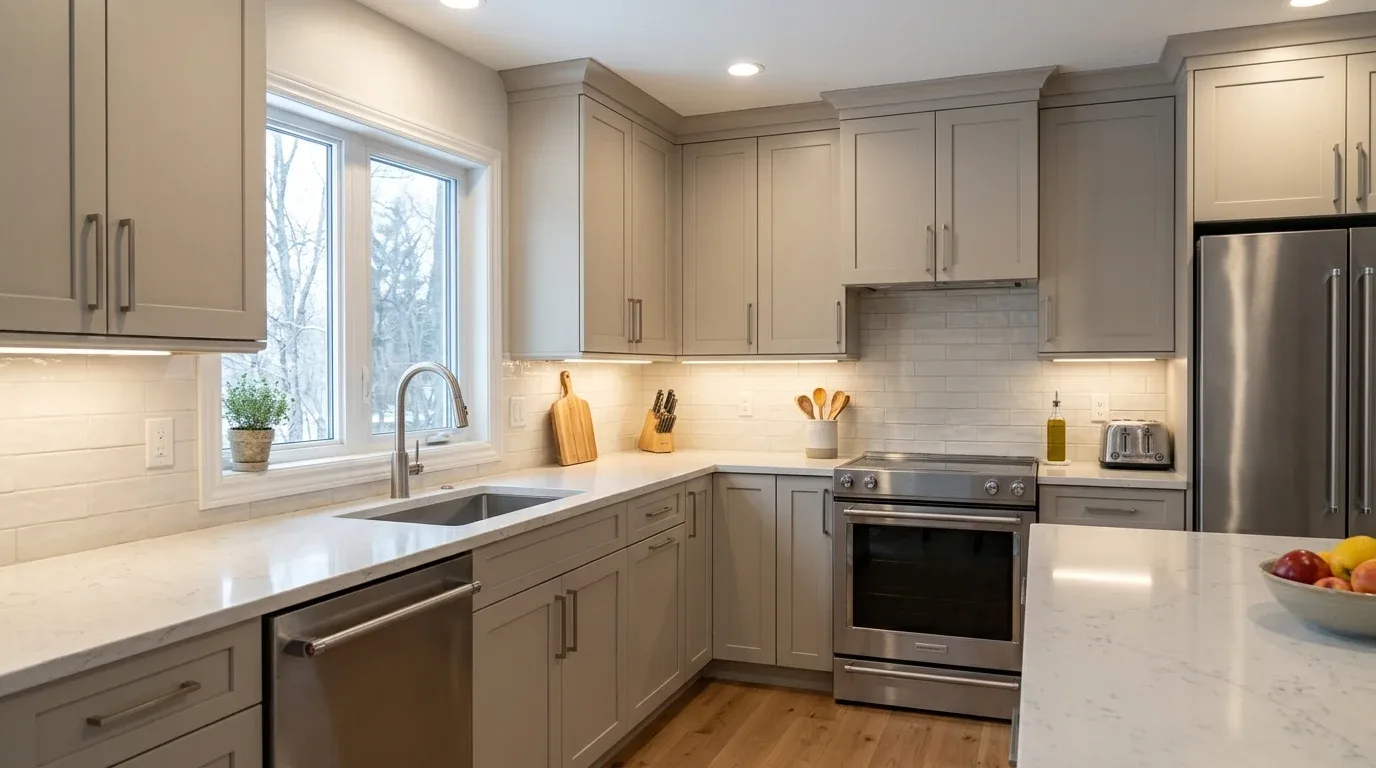
Kitchens and bathrooms can deliver substantial improvements in comfort, function, and appearance, but they involve several connected systems. Before replacing cabinets, countertops, sinks, showers, or fixtures, decide which problems you want to solve. Consider storage, lighting, water efficiency, ventilation, cleaning requirements, and the amount of disruption your household can tolerate.
Inspect plumbing connections and nearby surfaces for leaks before installing new finishes. If you are changing appliance locations, moving drains, or adding electrical outlets, determine which permits and qualified tradespeople are required. Order important materials early, as delayed deliveries can leave a kitchen or bathroom unusable for longer than expected. For a smaller budget, consider replacing worn hardware, upgrading lighting, refreshing cabinet finishes, or installing water-efficient fixtures. Careful planning helps control costs and prevents unnecessary changes during construction.
13. Check Safety Equipment and Fire Protection
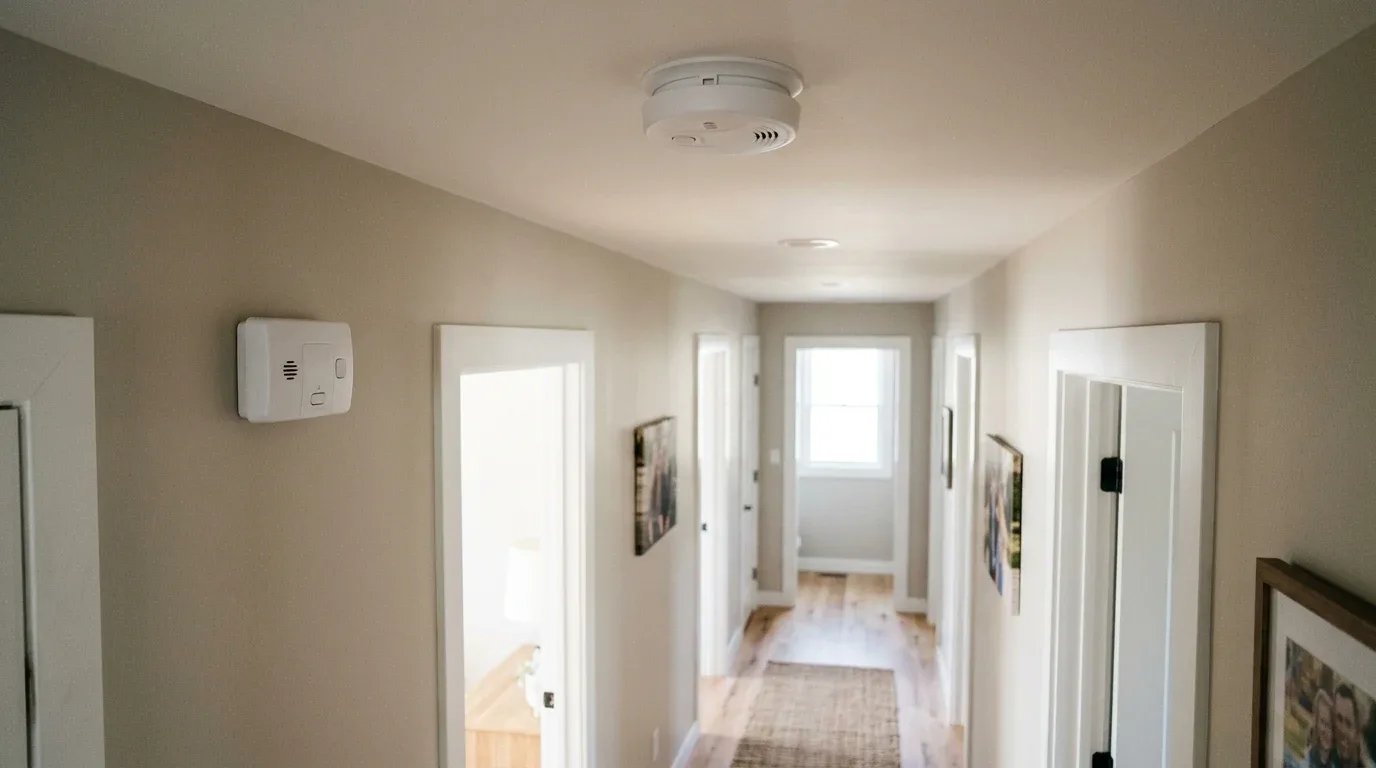
Home improvements provide an excellent opportunity to review essential safety equipment before winter heating and cooking activities increase. Test smoke alarms and carbon monoxide alarms according to their manufacturers’ instructions, replace batteries where applicable, and check replacement dates. Install alarms in the locations required by local regulations, including appropriate areas near sleeping spaces and on relevant levels of the home.
Keep fire extinguishers accessible where suitable, and make sure everyone knows how to leave the home safely in an emergency. Heating equipment should have the required clearance from curtains, furniture, stored items, and other combustible materials. Never disable safety devices to accommodate a renovation. If contractors will be working with electrical systems, gas appliances, or structural components, confirm that the work is performed safely and complies with local requirements. Safety checks should come before decorative improvements or convenience upgrades.
14. Compare Contractors, Permits, and Project Timelines
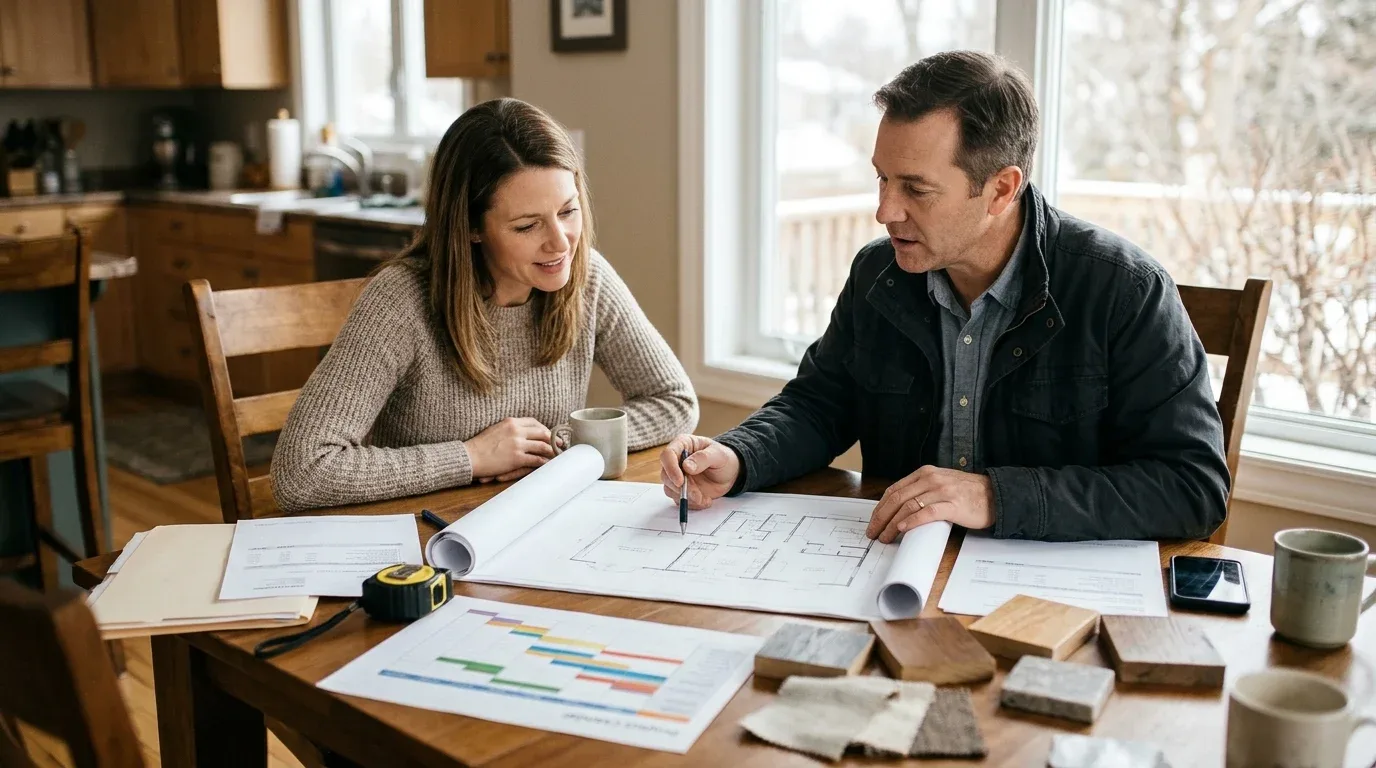
Before hiring a contractor, verify relevant qualifications, insurance, references, and experience with the specific work you need. Request written estimates that describe materials, labor, project milestones, payment terms, cleanup, and how unexpected work will be approved. Comparing several detailed proposals is more useful than choosing a contractor based on the lowest price alone.
Ask whether your project requires building permits, electrical approvals, plumbing permits, or inspections. Requirements vary by location and project scope, so confirm details with the appropriate local authority before construction begins. Winter weather can delay deliveries, exterior repairs, and work that depends on suitable temperatures. Build flexibility into your schedule and agree on how delays will be communicated. Avoid paying the entire amount upfront, and document agreed changes in writing. A clear contract helps reduce misunderstandings and keeps the renovation organized.
15. Prioritize Energy Efficiency and Long-Term Value
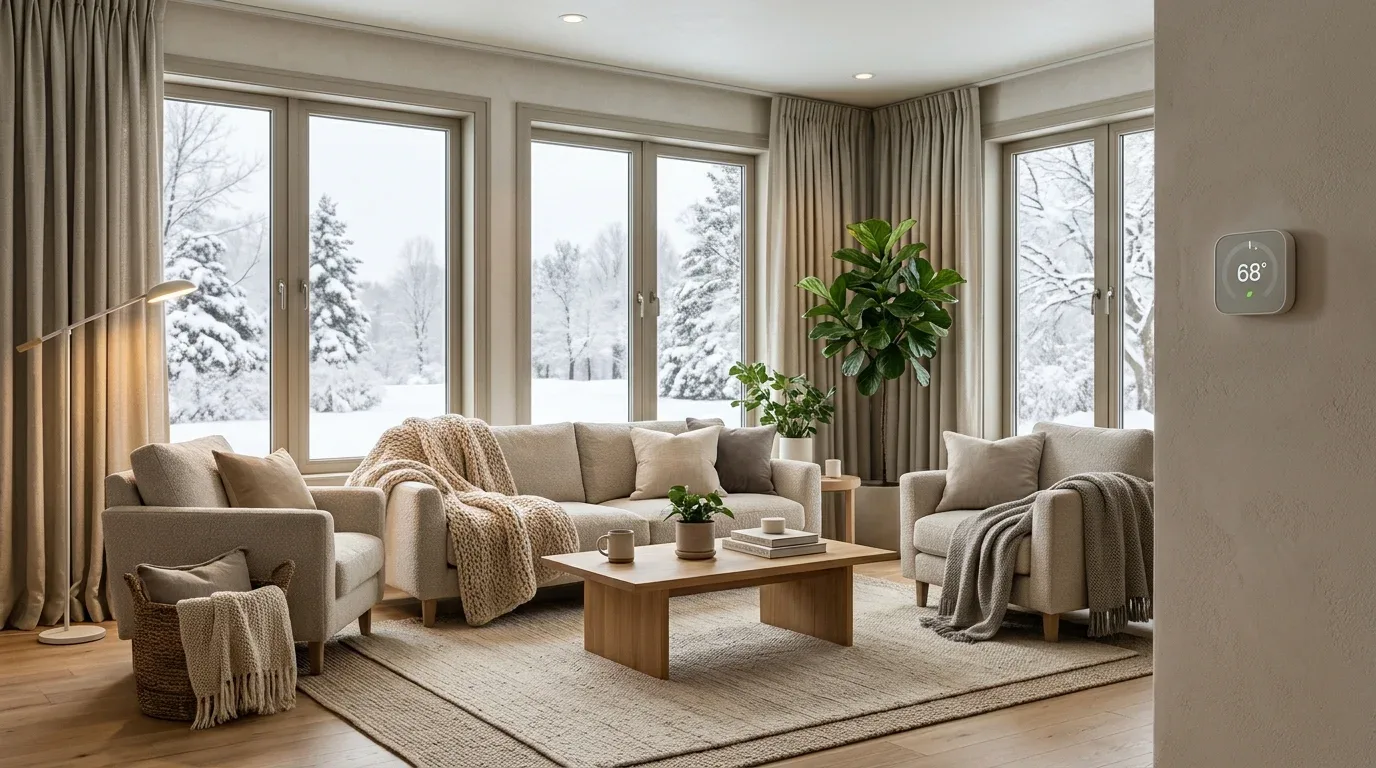
Before finalizing your winter home upgrade, consider how each improvement will affect comfort, running costs, maintenance, and resale appeal. Energy-efficient lighting, suitable insulation, effective air sealing, modern heating controls, and water-saving fixtures may offer practical benefits beyond their immediate appearance. However, the best choice depends on your home’s current condition, local climate, energy prices, and how long you plan to stay.
Compare the upfront cost of an upgrade with its expected maintenance needs and potential savings. An energy assessment can help identify where heat is being lost and which improvements deserve priority. Check whether local authorities or utility providers offer eligible rebates or incentives, and confirm the requirements before purchasing equipment. Avoid replacing functional systems solely because a newer model is available. Investing first in improvements that address real problems can deliver greater value than choosing upgrades based on trends alone.
Conclusion
Preparing carefully before a winter home upgrade can help you avoid unexpected costs, protect your property, and make your living spaces more comfortable. Start by inspecting the roof, insulation, windows, plumbing, heating system, and electrical safety, then address moisture issues before investing in new finishes. Set a realistic budget, verify contractor credentials, and account for seasonal installation requirements. Most importantly, prioritize improvements according to your home’s needs rather than trying to complete everything at once. With a thoughtful plan, you can make practical upgrades that improve comfort, support energy efficiency, and help your home remain warm, safe, and inviting throughout winter.