Winter can make roof maintenance more complicated, especially when you are considering resealing or applying a protective roof coating. Cold temperatures, moisture, frost, rain, and shorter drying periods can all affect how well a product bonds and cures. However, winter does not automatically mean every roof coating project must be postponed. The right answer depends on the coating system, weather conditions, roof material, and manufacturer’s application requirements. In some climates, a suitable dry and mild winter day may provide a workable installation window, while consistently wet or freezing conditions can make the project risky. Understanding these factors can help you decide whether to proceed, wait for better weather, or choose a temporary repair until spring.
1. Check the Manufacturer’s Minimum Temperature
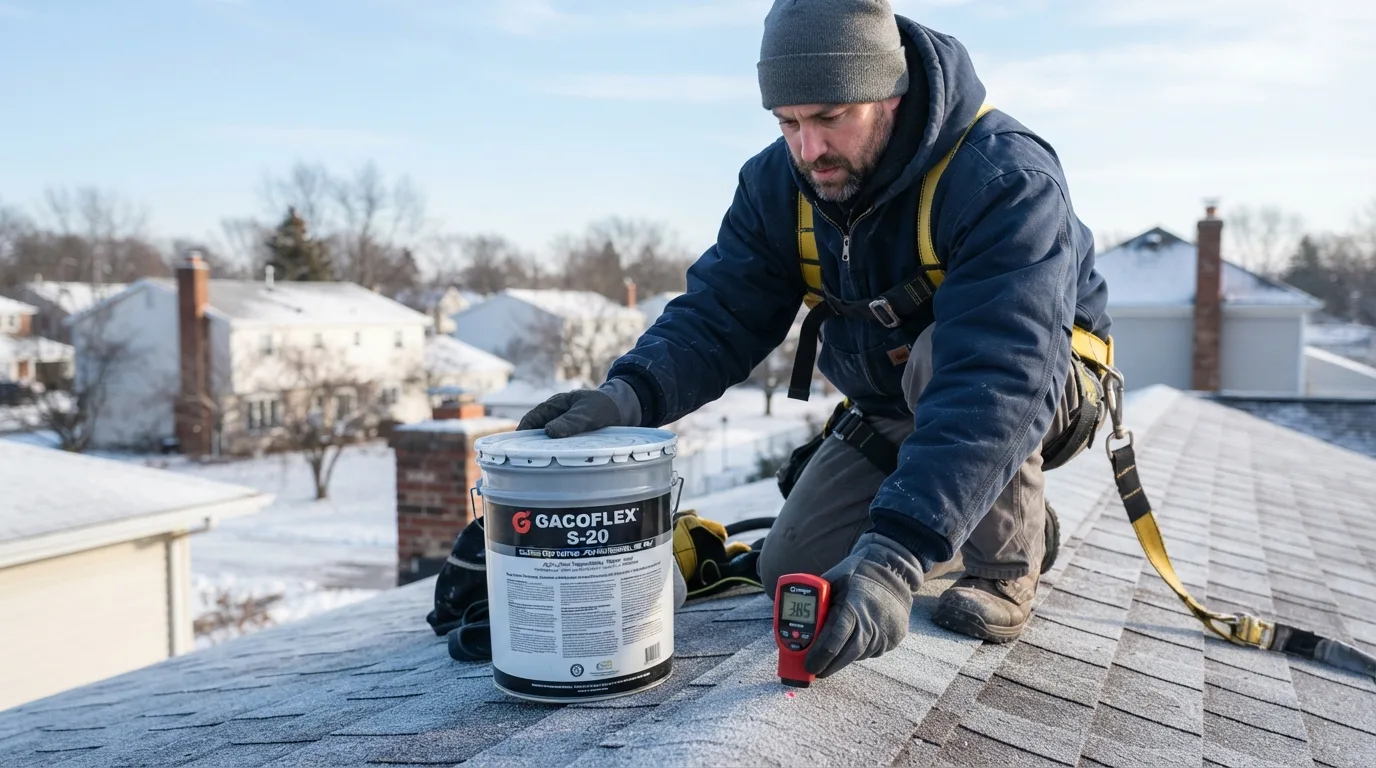
The first and most important step is checking the product’s technical instructions. Different roof coatings have different minimum application and curing temperatures, and the temperature requirement may apply to both the air and the roof surface. A product might tolerate cool conditions but still fail if the roof itself is too cold. Some coatings are designed specifically for colder weather, while others perform best in warm, dry conditions.
Never assume that two products with similar labels have identical requirements. Read the manufacturer’s technical data sheet and confirm the acceptable temperature range, humidity limits, curing requirements, and rain exposure restrictions. If the forecast is close to the minimum temperature, postponing the work can be safer than risking poor adhesion or an incomplete cure.
2. Understand Why Cold Weather Affects Roof Coatings
Cold temperatures can change the physical behavior of roof coating materials. Some products become thicker and harder to spread evenly, while others take substantially longer to cure. A coating that normally dries within hours may remain vulnerable for much longer during a cold winter day. This extended curing period increases the chance of damage from rain, frost, condensation, or foot traffic.
Cold weather can also affect how well the coating wets and bonds to the existing roof surface. If the material cannot form a proper bond, peeling, cracking, blistering, or premature failure may occur later. These problems can be difficult to diagnose because the finished coating may initially look acceptable. For that reason, winter application should be based on the product’s tested performance rather than simply whether the coating can physically be brushed or rolled onto the roof.
3. Make Sure the Roof Is Completely Dry
Moisture is one of the biggest obstacles to successful winter roof resealing. Rain, overnight condensation, frost, melting ice, and even damp roof decking can interfere with adhesion. A surface that looks dry from a distance may still contain enough moisture to compromise the coating. This is particularly important on shaded roof sections that receive little winter sunlight.
Before applying any product, inspect the roof carefully and allow sufficient time for moisture to evaporate. Do not apply a coating simply because the rain has stopped. Check the roof surface itself, not just the weather forecast. If dew or frost is expected later in the day, the available curing window may be too short.
A dry roof is especially important when resealing seams, flashing, penetrations, or joints. Water trapped beneath sealant or coating can prevent proper bonding and may eventually create bubbles or weak spots.
4. Watch the Forecast for a Long Enough Dry Window
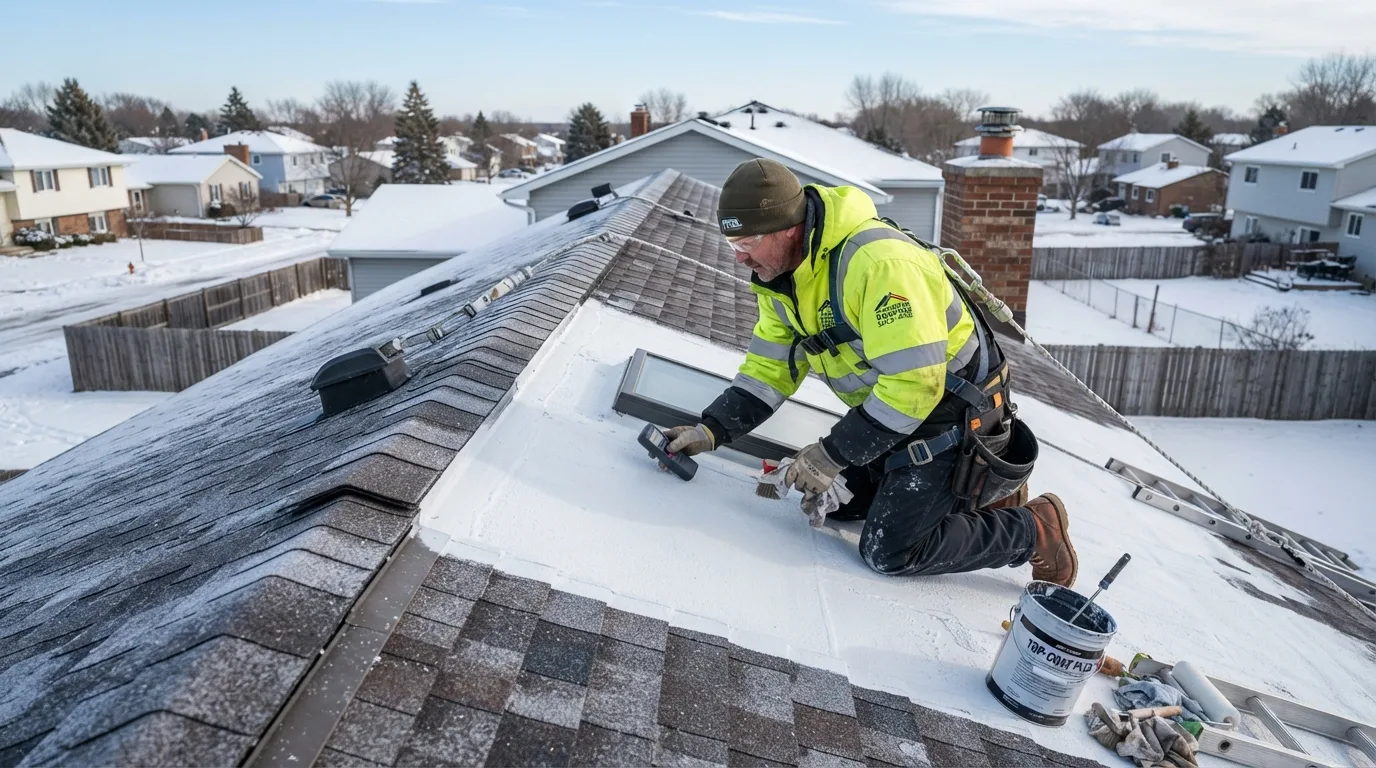
Winter roof coating requires more than a few hours of sunshine. You need a weather window that covers preparation, application, and enough curing time for the specific product. Check the forecast for rain, snow, frost, freezing temperatures, and significant temperature drops rather than looking only at the daytime high.
A warm afternoon followed by a freezing night may still be unsuitable if the coating requires several hours above a certain temperature. Likewise, unexpected rain can ruin an uncured coating or wash newly applied material from seams and edges. Weather forecasts can change, so professional contractors often build additional margin into the schedule.
If the weather looks unstable, consider completing only essential repairs and waiting for a more dependable period. Protecting the roof temporarily may be less expensive than applying a full coating that later needs to be removed and replaced.
5. Consider the Type of Roof Coating
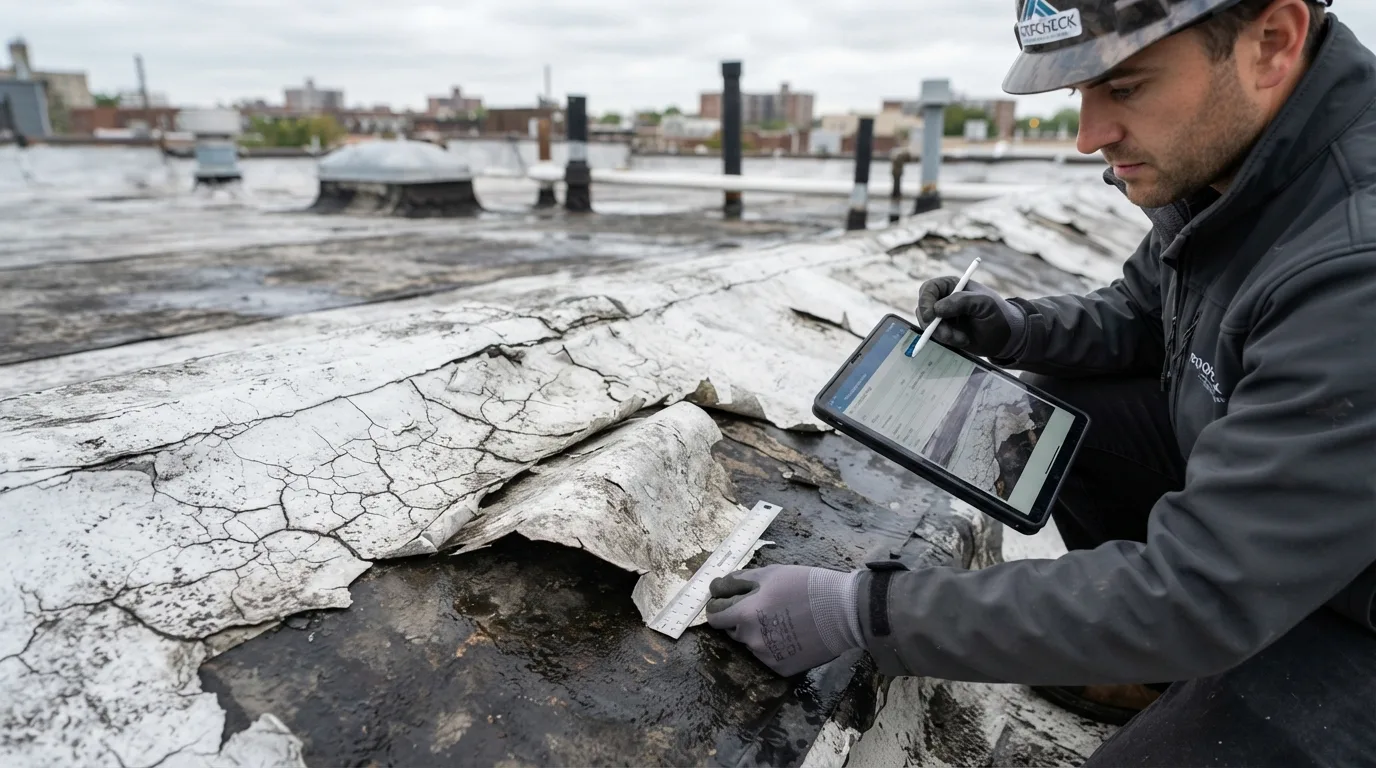
Not all roof coatings respond to winter conditions in the same way. Acrylic, silicone, polyurethane, elastomeric, and other coating systems have different curing characteristics and environmental requirements. Some products are more tolerant of cool weather, while others need warmer conditions to achieve their intended performance.
Choosing a product simply because it is marketed as a roof coating can lead to problems if it is incompatible with the existing roof membrane or the expected winter conditions. Check whether the product is suitable for your roof material and whether it is approved for the temperatures and moisture levels you are likely to encounter.
Pay attention to the complete system rather than one product alone. Primers, seam treatments, reinforcing fabrics, and topcoats may each have separate application requirements. A coating system only performs as intended when all its components are installed according to their specifications.
6. Prepare the Roof Before Resealing
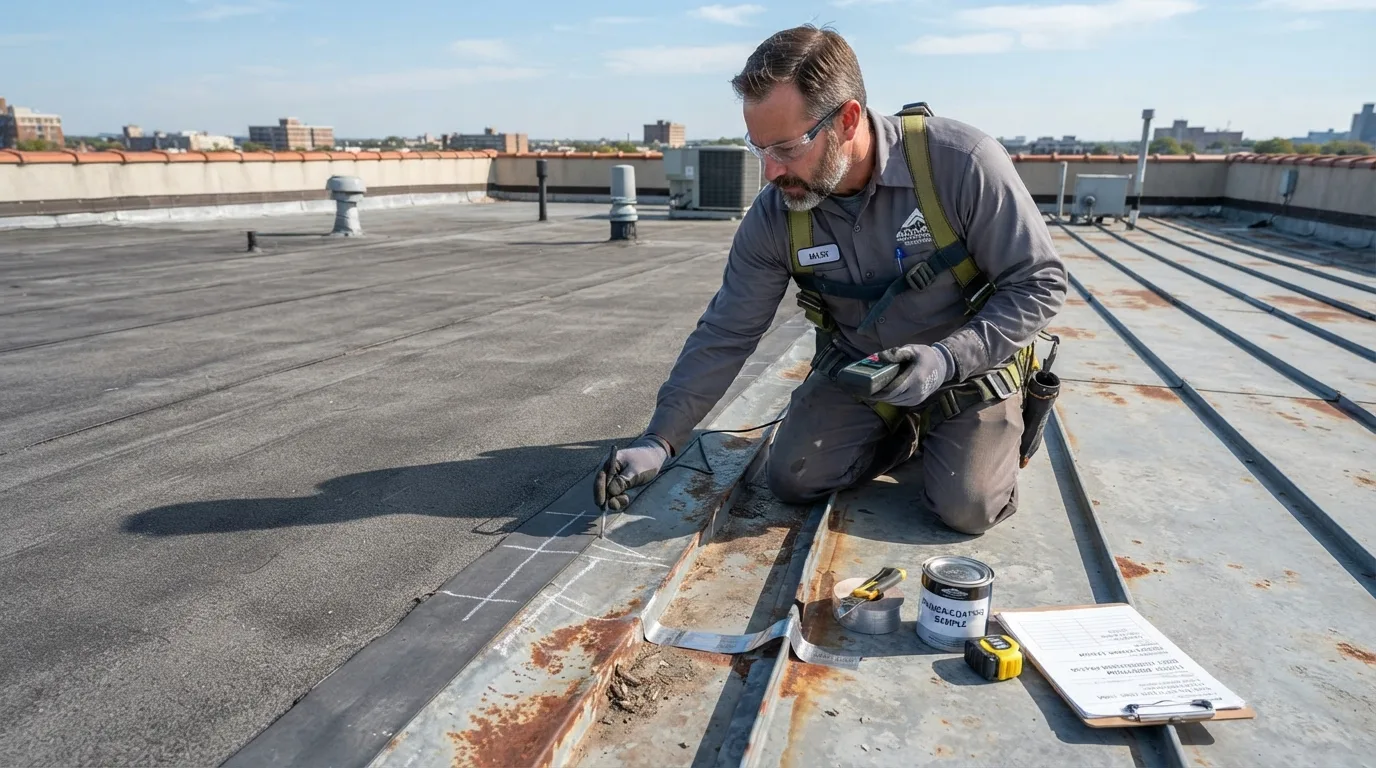
Good preparation becomes even more important when working during winter. Dirt, algae, loose coating, dust, grease, damaged sealant, and other contaminants can prevent new material from bonding correctly. Cold conditions do not compensate for inadequate surface preparation.
Inspect the roof for cracks, open seams, damaged flashing, loose fasteners, punctures, and areas where water is collecting. Remove failing sealant and repair underlying defects before applying a new coating. If the roof has significant structural damage or saturated insulation, coating over the problem will not solve it.
Cleaning methods should also account for the season. Introducing large amounts of water onto a roof shortly before coating can create a moisture problem. If cleaning is necessary, schedule it early enough to allow the roof to dry thoroughly. A professional assessment can help determine whether the roof is suitable for coating or needs more extensive repairs first.
7. Be Careful With Frost and Morning Condensation
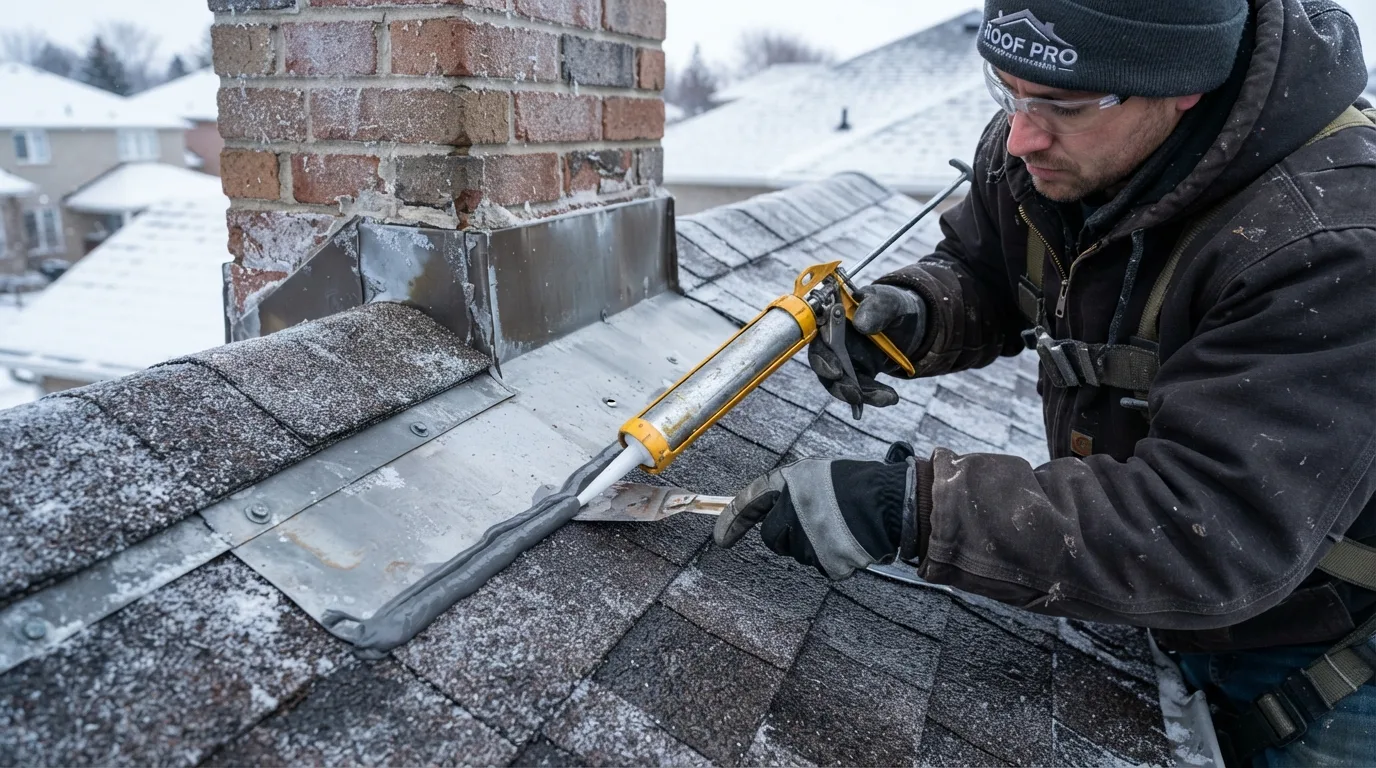
Winter mornings can create conditions that are unsuitable for roof coating even when the afternoon forecast looks favorable. Frost and condensation can leave a thin film of moisture across the roof, particularly on metal surfaces and shaded slopes. Applying coating over that moisture can weaken adhesion and trap water beneath the new layer.
Allow the roof surface to warm and dry naturally before starting work. Do not rely on simply wiping away visible moisture, because condensation may continue forming while the surface remains cold. A contractor should verify that the roof is genuinely dry before applying primer, sealant, or coating.
Timing can make a major difference. A project may be more practical during the warmest part of a clear winter day, provided the coating’s instructions allow it and enough time remains for curing before evening temperatures fall. If the roof cannot stay within the required conditions, wait for a better weather window.
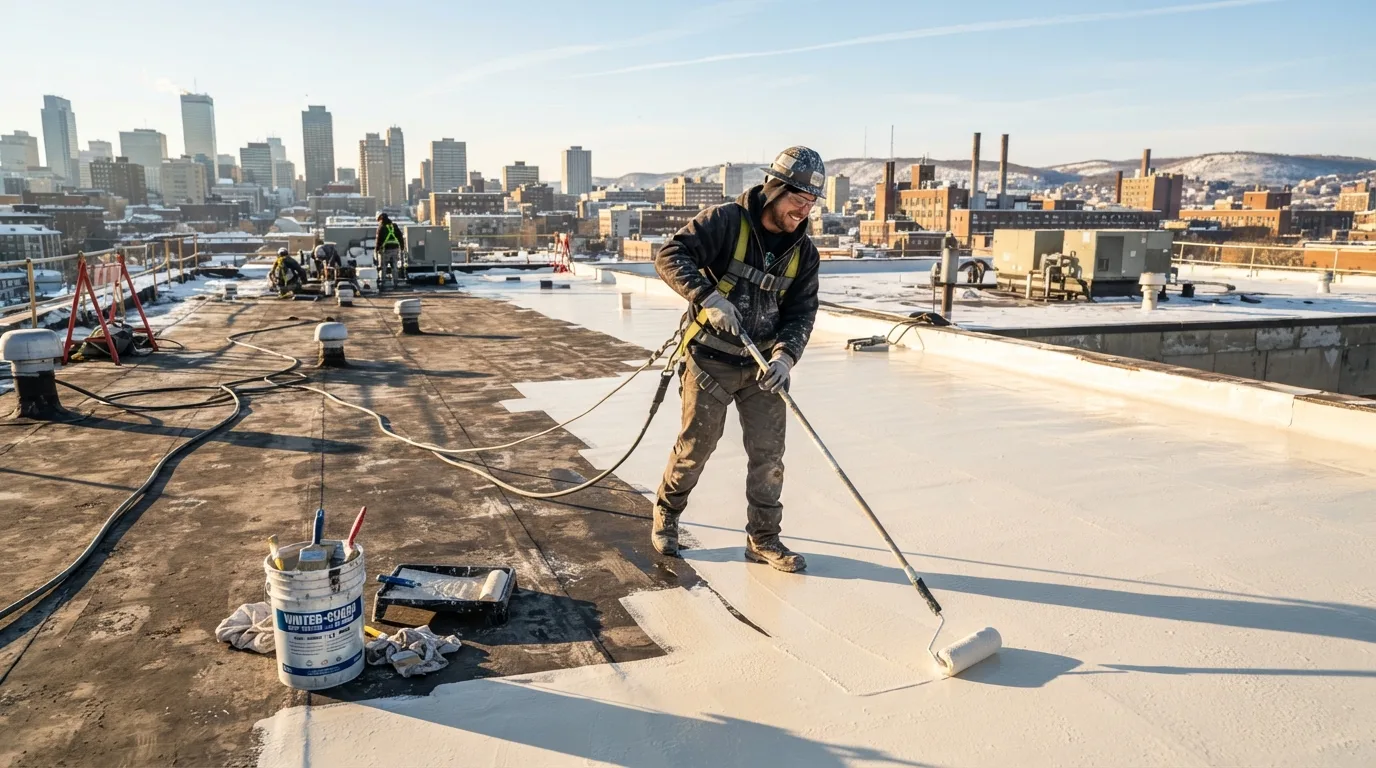
8. Avoid Coating Over Ice or Snow
Snow and ice should never be treated as harmless surface conditions for a roof coating project. They introduce moisture and can hide cracks, damaged seams, or other defects that need attention before sealing. As snow melts, water may also become trapped beneath materials that have already been applied.
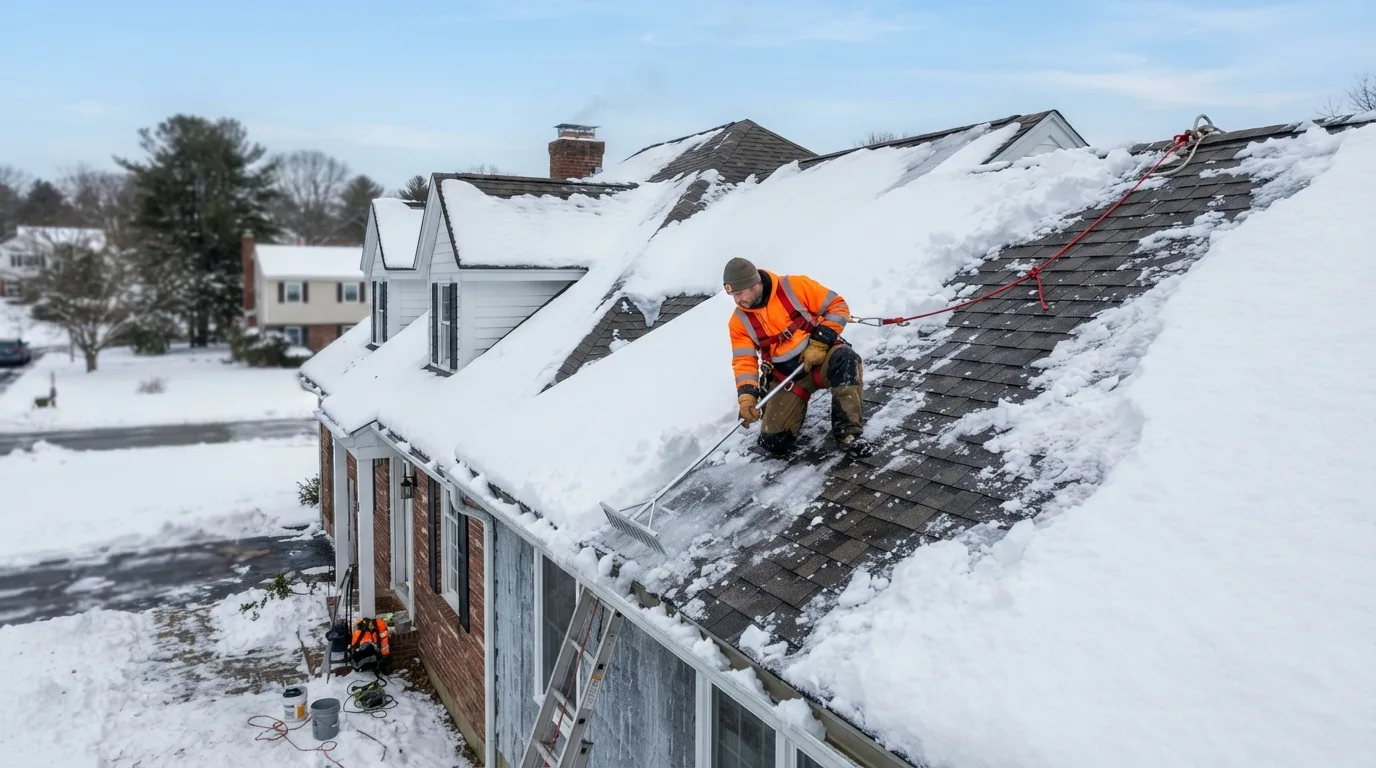
Clearing snow from a roof requires care. Aggressive scraping can damage membranes, shingles, flashing, or protective finishes. Roof access can also be dangerous when surfaces are icy, so winter maintenance should be performed by people equipped for the conditions.
Even after visible snow disappears, wait until the roof is fully dry and the substrate reaches the product’s required temperature. If snow or ice is expected to return before the coating cures, postponing the work is generally the safer option. Temporary leak-control measures may be preferable until stable weather arrives.
9. Think About Winter Sunlight and Drying Time
Shorter winter days can reduce the practical time available for roof coating. A roof may warm sufficiently in direct sunlight during midday but become cold again soon after the sun begins to set. This matters when a product needs several hours to cure before being exposed to moisture or freezing temperatures.
Roof orientation can also make a difference. A sunny south-facing area may dry sooner than a shaded north-facing section, but that does not mean only part of a roof should automatically be coated. Uneven conditions can create inconsistent curing across the project.
When planning the work, consider the entire curing period rather than the time required to apply the material. Starting too late in the day can leave a newly coated surface exposed to cold, condensation, or frost before it has developed sufficient strength. Scheduling during the warmest, driest portion of the day can improve the odds of a successful application when winter conditions are otherwise suitable.
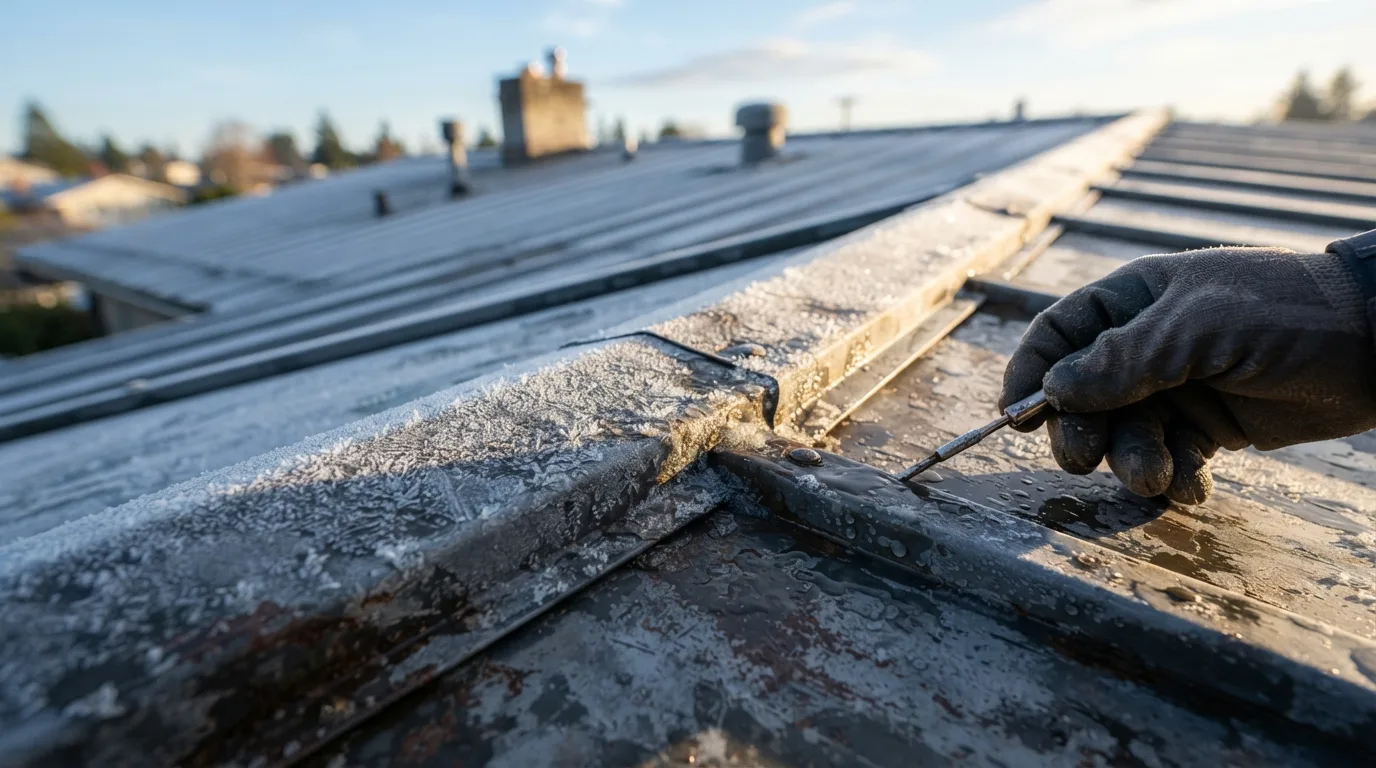
10. Know When Roof Resealing Is Different From Full Coating
Roof resealing and full roof coating are related but not identical jobs. Resealing may involve targeted repairs to seams, joints, penetrations, flashing, or small cracks, while a coating project generally covers a larger continuous surface. A limited repair may sometimes be more practical during winter than a complete restoration.
However, even a small amount of sealant requires the correct substrate temperature and dry conditions. Applying sealant to a cold, wet, or contaminated joint can produce a repair that fails quickly. Always check the specific sealant’s requirements rather than assuming that a small repair is automatically safe in winter.
If the roof is actively leaking, a qualified professional can determine whether an emergency repair is appropriate. In some cases, temporary weatherproofing can reduce water intrusion until a full resealing or coating project can be completed under better conditions.
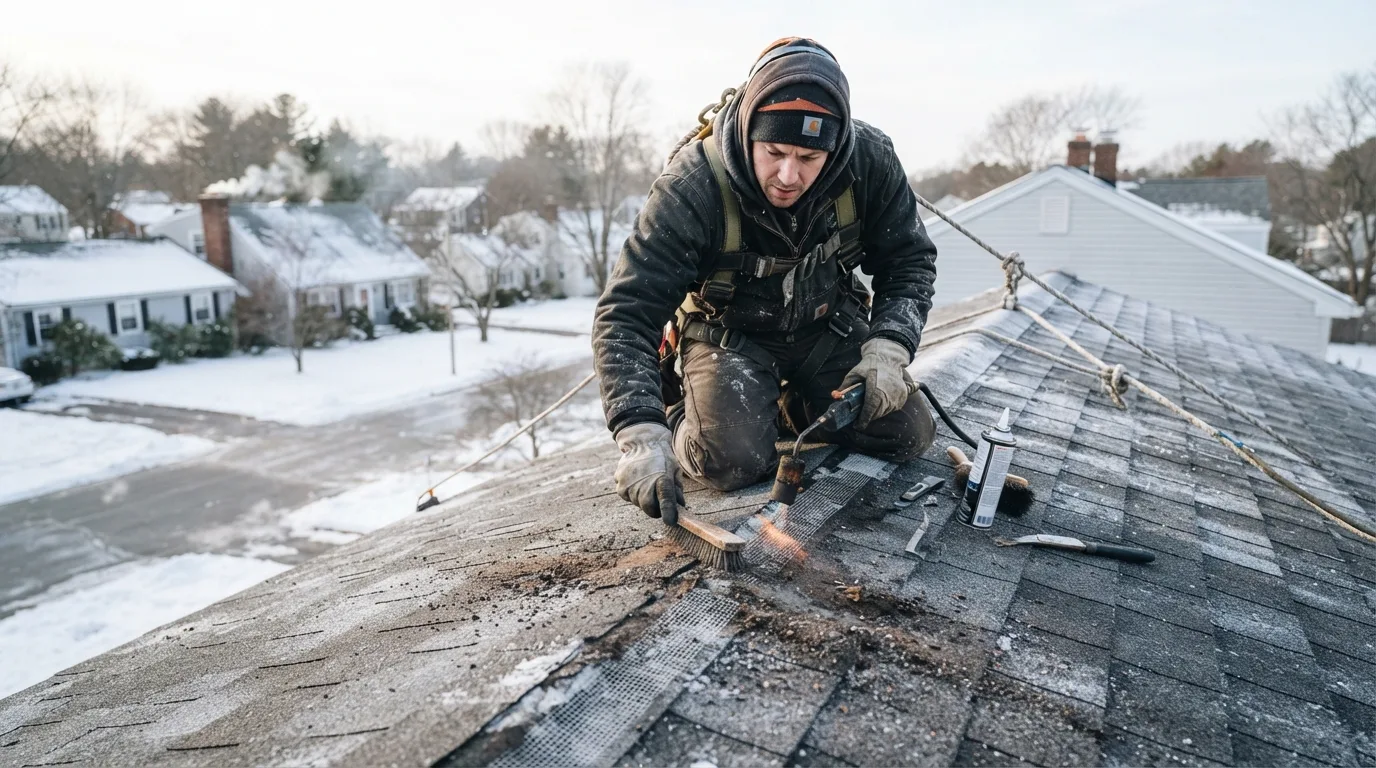
11. Consider Whether Your Roof Material Is Suitable
The existing roofing material affects whether winter resealing or coating is practical. Metal roofs, modified bitumen, single-ply membranes, concrete surfaces, and other substrates can have different preparation and adhesion requirements. Some roof systems also require primers or compatible products to prevent chemical or mechanical problems.
Age and existing coating condition matter as well. A roof with widespread peeling, severe cracking, saturated insulation, or structural deterioration may need repair or replacement rather than another coating layer. Coating is most useful when the underlying roof is fundamentally sound and the coating system is designed for that substrate.
Before beginning, identify the roof type and review its condition. If you are unsure whether the existing material is compatible with the proposed product, consult the coating manufacturer or a qualified roofing professional. Correct compatibility decisions can prevent costly adhesion failures and premature roof deterioration.
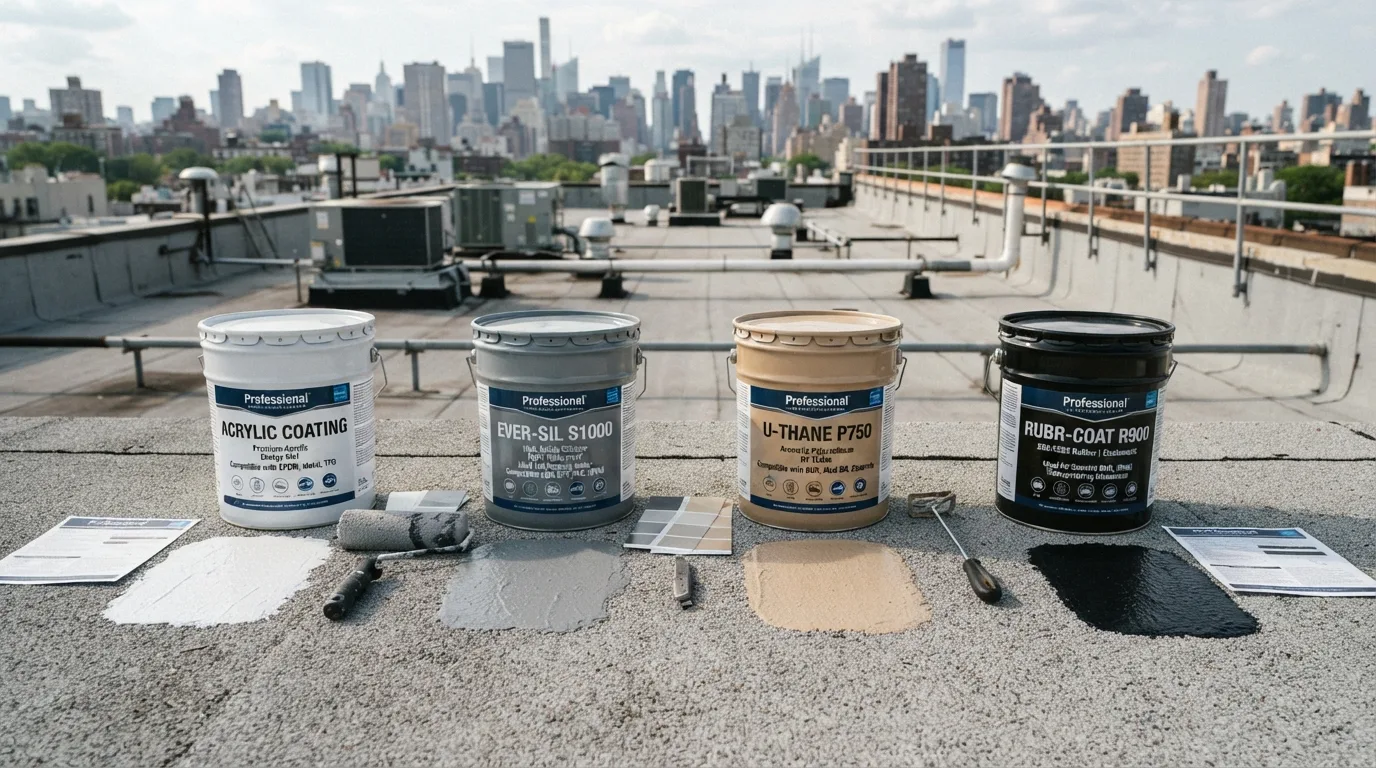
12. Understand the Risks of Applying Coating in Marginal Conditions
Trying to complete a roofing project just before winter weather arrives can be tempting, especially when you want to prevent leaks. But marginal conditions can create hidden problems. A coating may appear smooth when applied but later blister, crack, peel, or lose adhesion because it did not cure correctly.
Premature failure can be especially frustrating because correcting it may require removing damaged material and repeating the preparation process. The cost of labor can therefore exceed the expense of waiting for suitable weather in the first place.
When conditions are close to the product’s limits, evaluate the consequences of failure. If the roof is currently watertight and stable, postponement may make sense. If there is an active leak, professional temporary repair may be more appropriate than rushing into a full coating project. Winter roof work should prioritize long-term performance rather than simply getting material onto the surface.
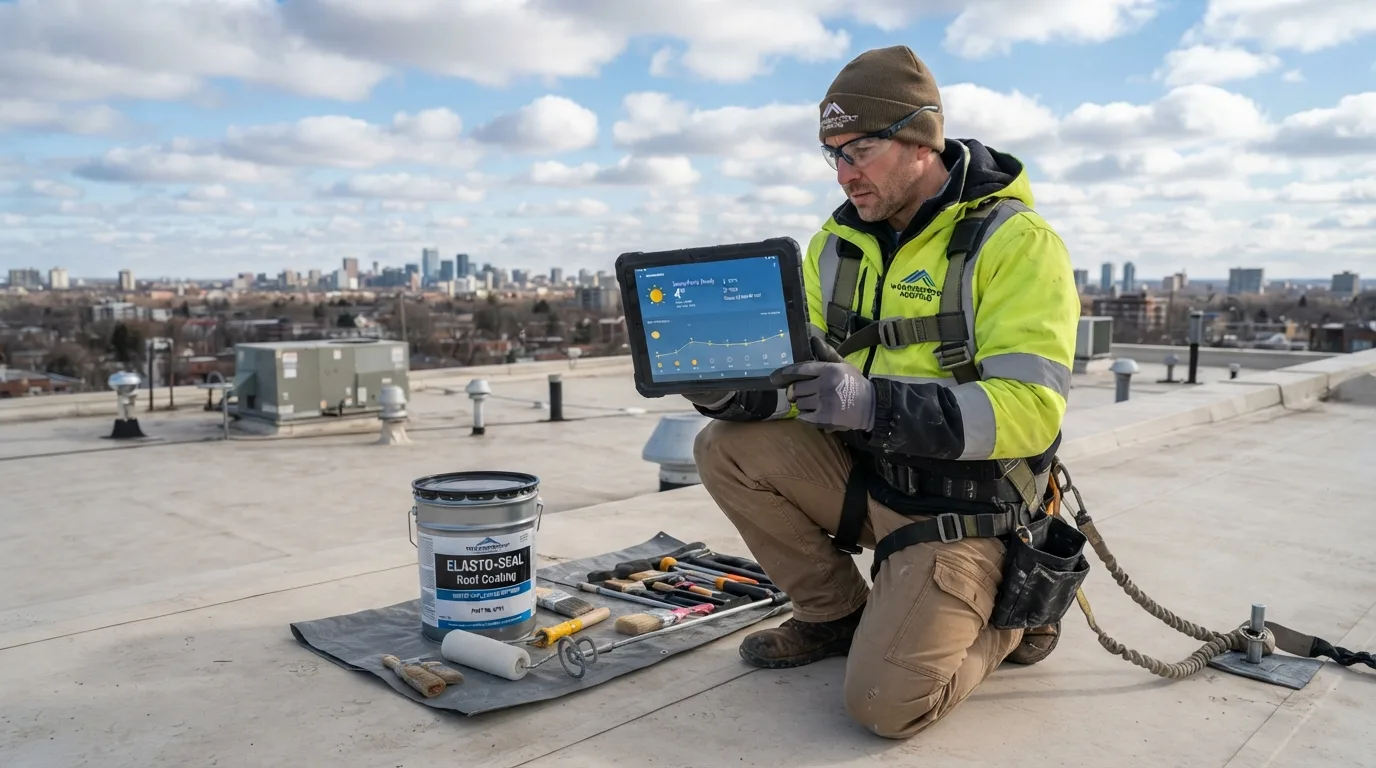
13. Consider Hiring a Roofing Professional
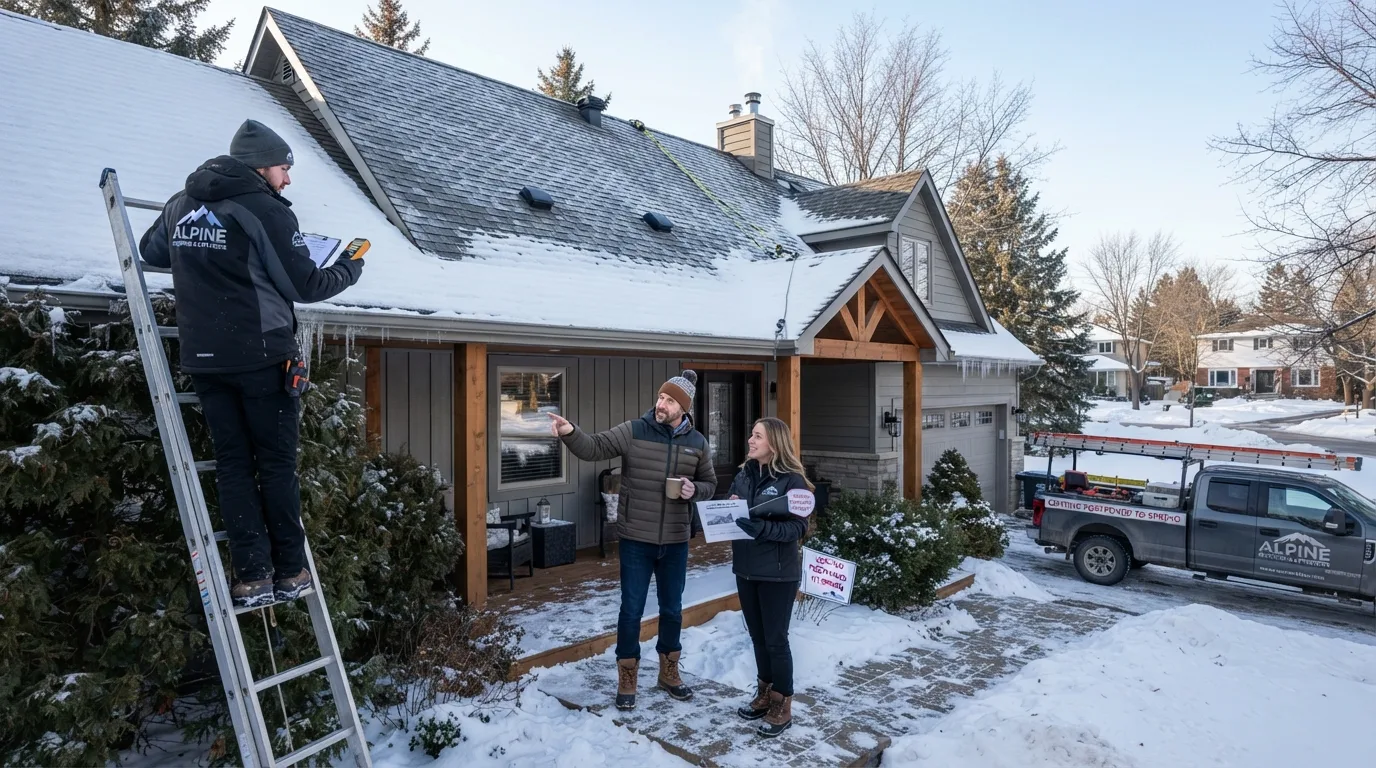
Winter roof work combines two challenges: application chemistry and working safely at height in unpredictable weather. A professional roofing contractor can assess the substrate, identify moisture problems, select compatible materials, and determine whether current conditions are suitable for the planned work.
Experienced contractors can also monitor changing weather conditions and understand how temperature, humidity, wind, and roof temperature affect different products. They may have access to application methods and materials designed for cooler conditions that are not obvious to a homeowner.
Before hiring someone, ask what product they plan to use, what temperature and weather conditions it requires, how long it needs to cure, and how the existing roof will be prepared. A reputable contractor should be able to explain why the proposed system is appropriate rather than simply promising that winter application is always possible.
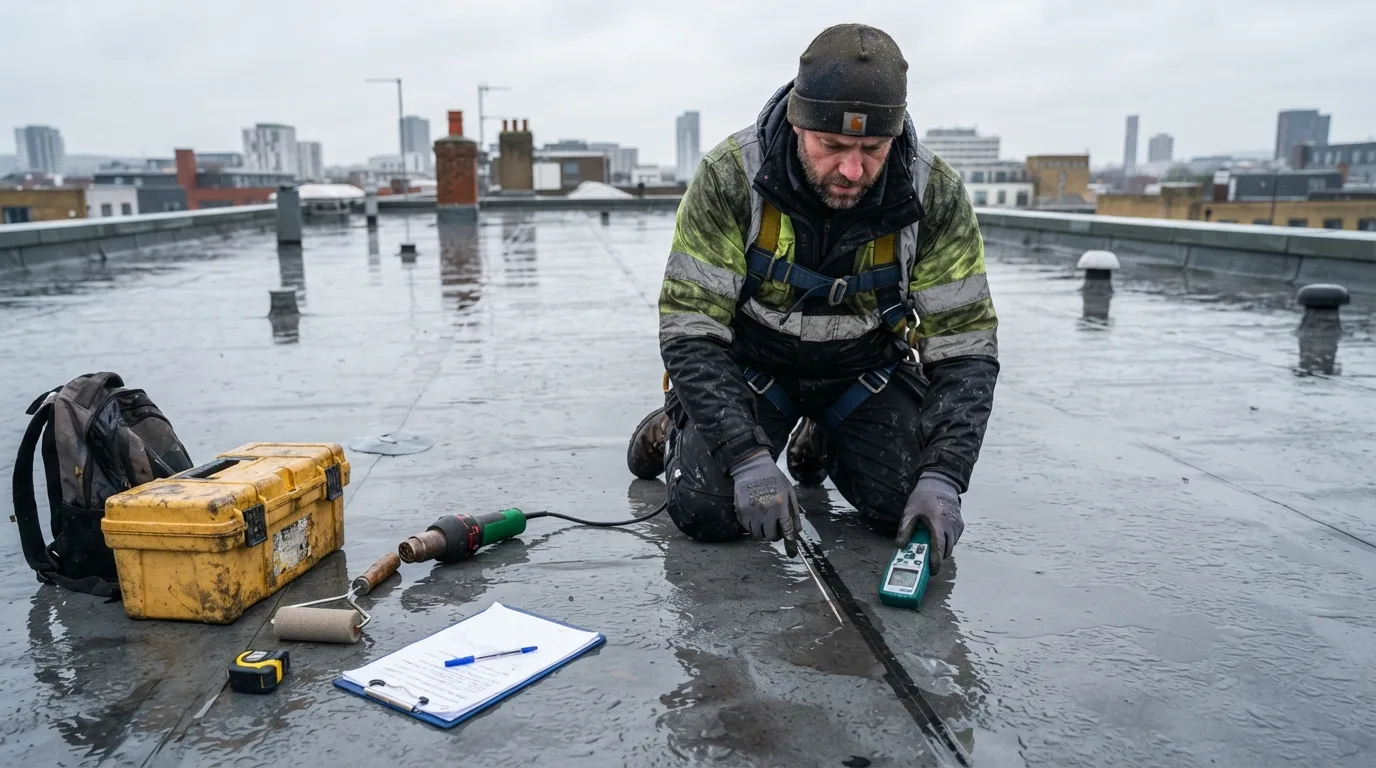
14. Know When Waiting Until Spring Is the Better Choice
Sometimes the safest answer to winter roof coating is simply to wait. Consistently freezing temperatures, frequent rain or snow, persistent condensation, and short dry windows can make successful application unrealistic. Waiting can protect your investment when the roof is currently in reasonable condition and does not require an immediate restoration.
Waiting does not mean ignoring the roof. Use the winter period to inspect vulnerable areas, clear appropriate drainage paths, monitor known leaks, and arrange professional repairs where necessary. If a temporary repair is required, make sure it is compatible with the planned permanent coating system.
Planning ahead can also make spring work more efficient. Identify the required repairs, select the appropriate coating, obtain technical information, and schedule the contractor before demand increases. When stable temperatures and longer dry periods return, the roof can be prepared and coated under conditions that are more favorable for proper curing.
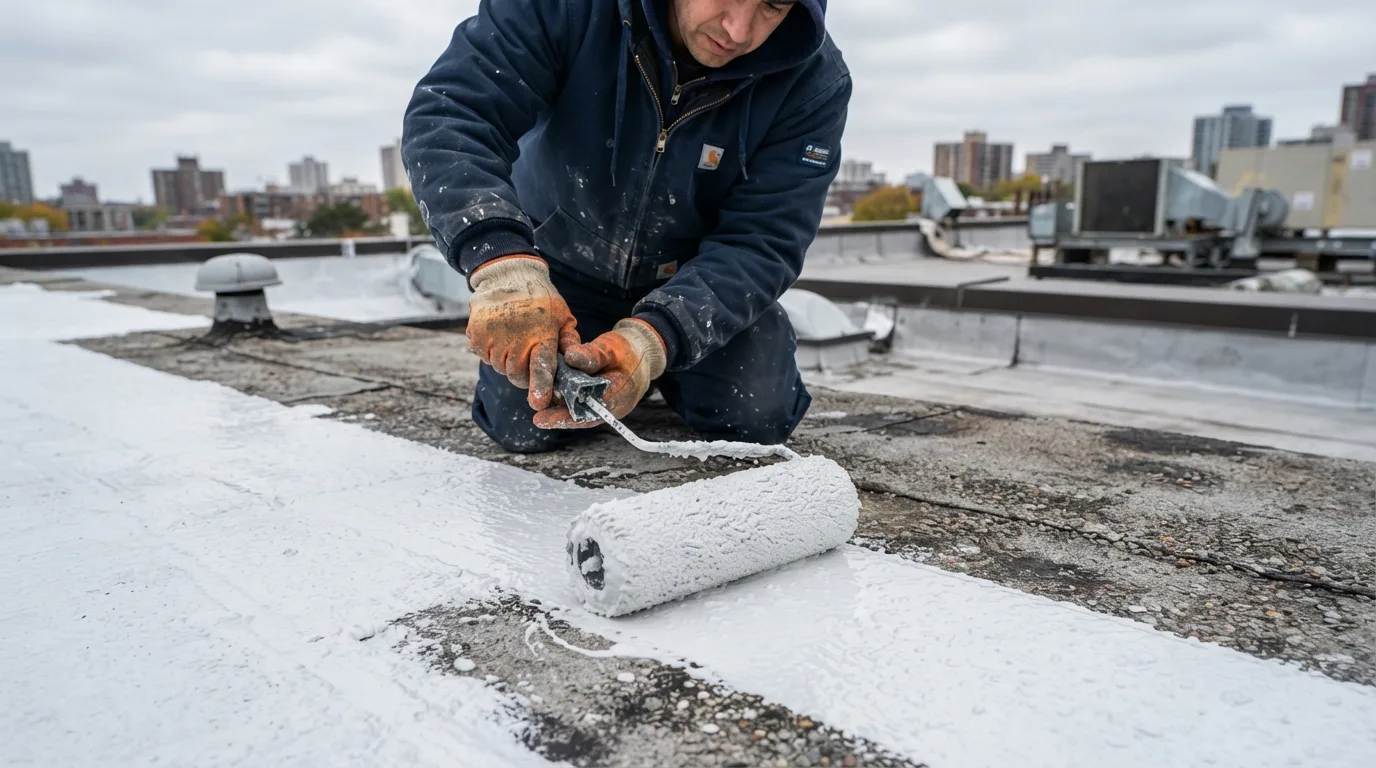
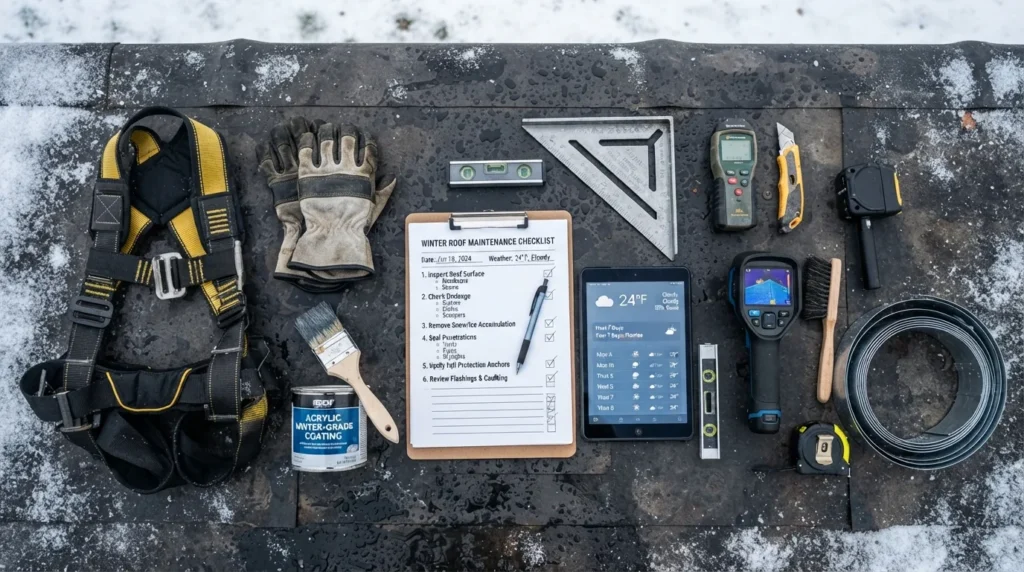
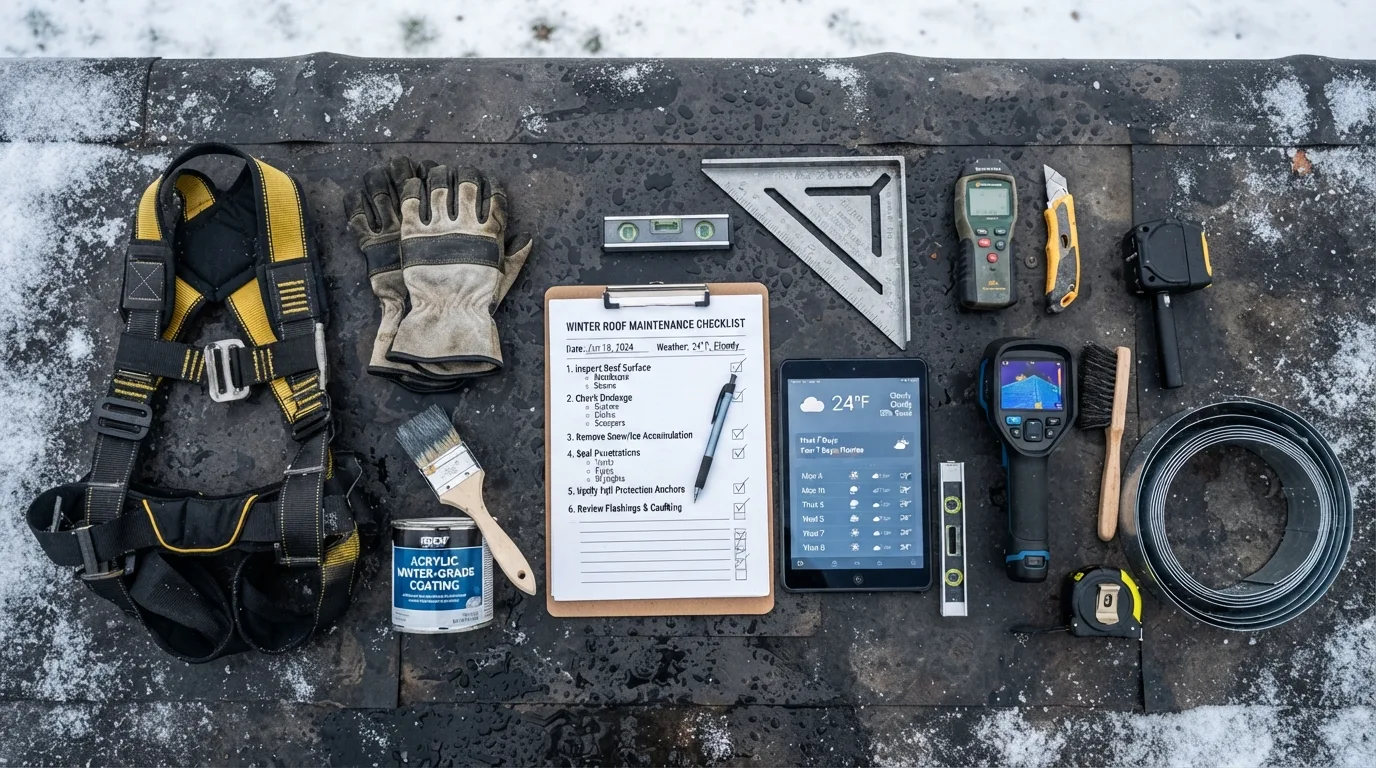
15. Use a Winter Roof-Coating Checklist
Before deciding to apply roof resealing or coating during winter, review the entire project rather than focusing on temperature alone. The roof should be structurally suitable, clean, dry, and compatible with the chosen product. The forecast should provide enough stable weather for preparation, application, and curing, with no expected frost, rain, snow, or freezing conditions that could interfere.
A practical checklist can help you make the decision:
- Confirm the manufacturer’s minimum application and curing temperatures.
- Check the roof surface for moisture, frost, ice, and condensation.
- Allow adequate drying time after cleaning or repairs.
- Inspect seams, flashing, penetrations, and damaged areas before coating.
- Confirm that the coating is compatible with the existing roof material.
- Check the forecast for the entire curing period, not just application time.
- Postpone the project if conditions are outside the product’s requirements.
If all requirements are satisfied, winter application may be possible with an appropriate product and suitable weather window. If they are not, waiting or using a professional temporary repair is usually the more dependable approach. The goal is not merely to apply a coating, but to create a durable, watertight roof system that performs through the seasons.