
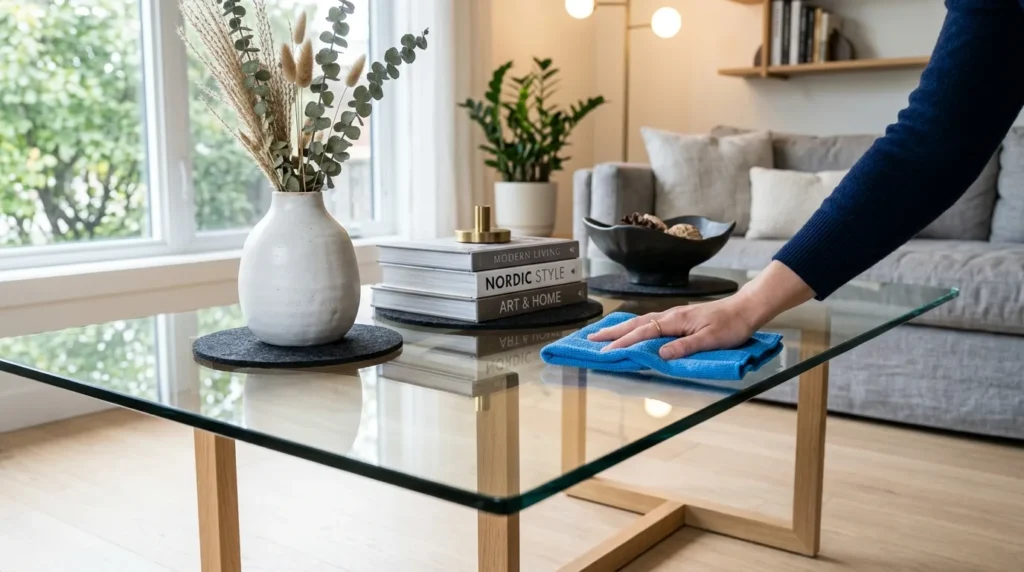
Scratched glass can make windows, mirrors, tabletops, shower doors, and other surfaces look older than they really are. The good news is that some light surface scratches can be reduced with careful cleaning and polishing at home. The right method depends on the depth and type of scratch, because aggressive rubbing can sometimes make the damage worse. Before trying any technique, clean the glass thoroughly and test the method on a small, inconspicuous area. The following tips focus on practical ways to improve lightly scratched glass while also explaining when a scratch is too deep for a simple DIY fix.
1. Start by Cleaning the Glass Thoroughly
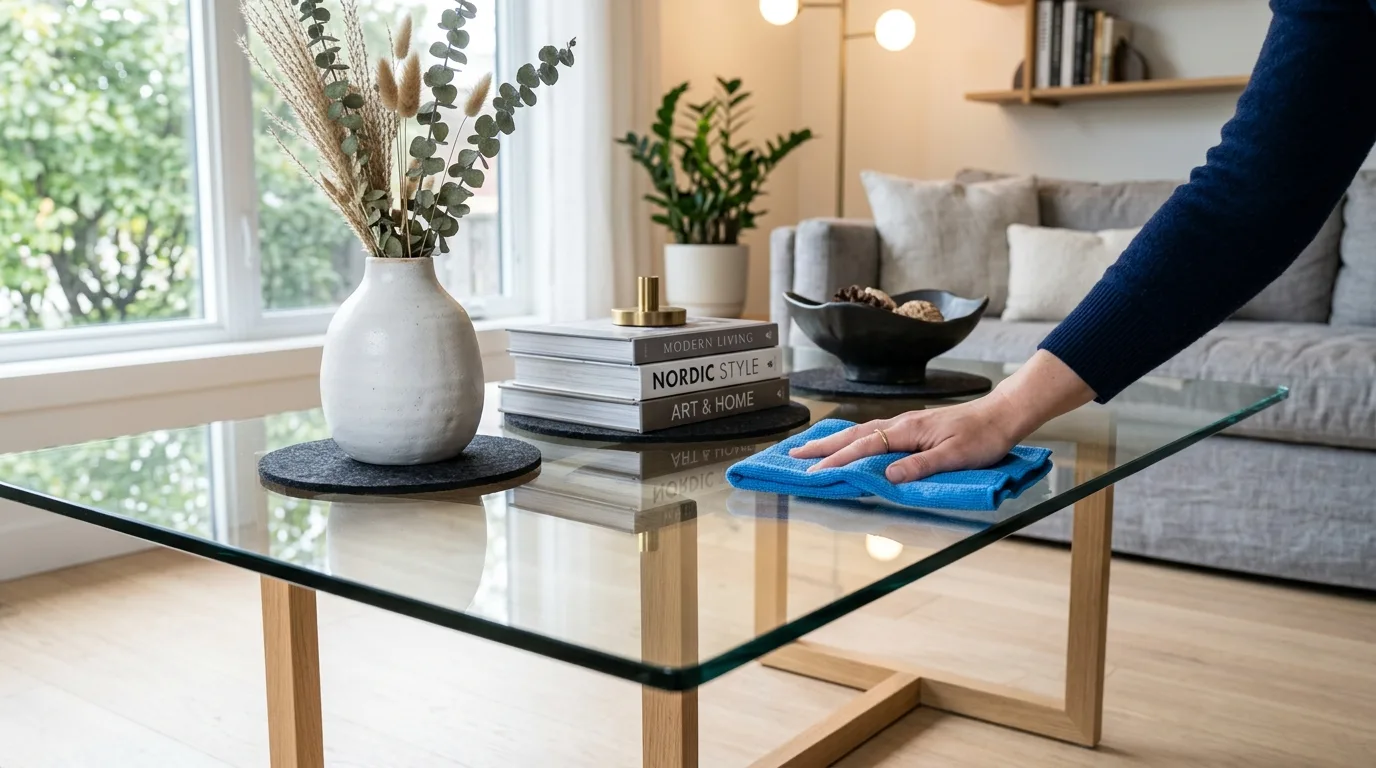
Before attempting to remove or polish a scratch, make sure the glass is completely clean. Dust, sand, and tiny pieces of grit can become trapped beneath a polishing cloth and create additional scratches while you work. Spray a mild glass cleaner onto a microfiber cloth rather than directly onto delicate edges or surrounding materials. Wipe the entire surface gently, then dry it with a second clean microfiber cloth.
For stubborn residue, use warm water with a small amount of mild dish soap. Avoid rough paper towels, abrasive sponges, or scouring pads. Once the glass is clean, inspect the scratch under bright light from several angles. This helps you determine whether it is a superficial mark or a deeper groove. Cleaning alone will not repair damaged glass, but it creates the safest possible starting point for polishing.
2. Try Baking Soda for Very Light Scratches
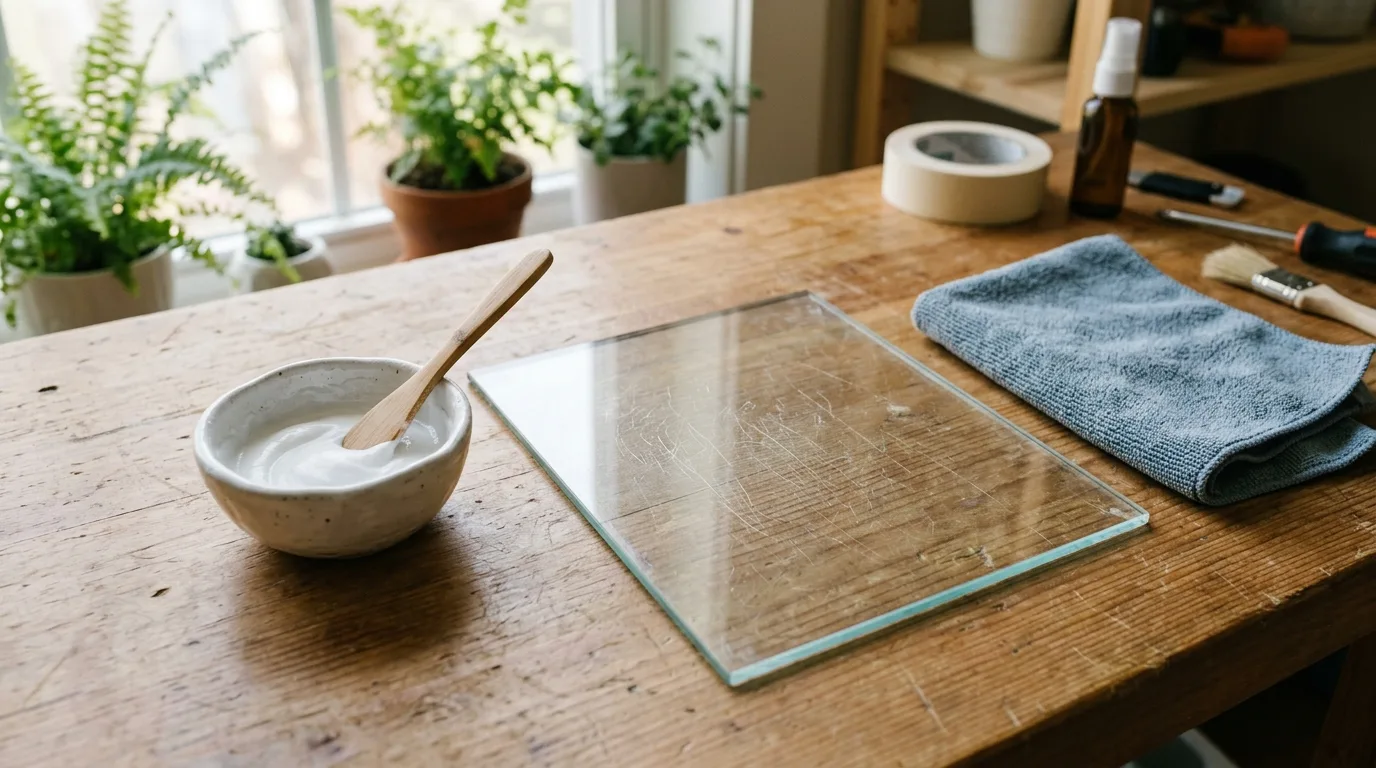
Baking soda can work as a very mild abrasive for extremely shallow surface marks. Mix a small amount of baking soda with water until it forms a smooth, thin paste. The mixture should not contain dry, gritty particles that could scratch the glass further. Apply a tiny amount to a soft microfiber cloth and gently rub the affected area using small circular motions.
Keep the pressure light and work for only a short period before wiping the area clean. Inspect the glass rather than continuously rubbing it. If the scratch looks unchanged, stop instead of increasing pressure. Baking soda is most appropriate for faint surface imperfections rather than deep scratches. Always rinse away any remaining residue and dry the glass with a clean microfiber cloth. Testing first is especially important on coated, tinted, or specialty glass, where abrasive cleaning may affect the surface finish.
3. Use Non-Gel White Toothpaste Carefully
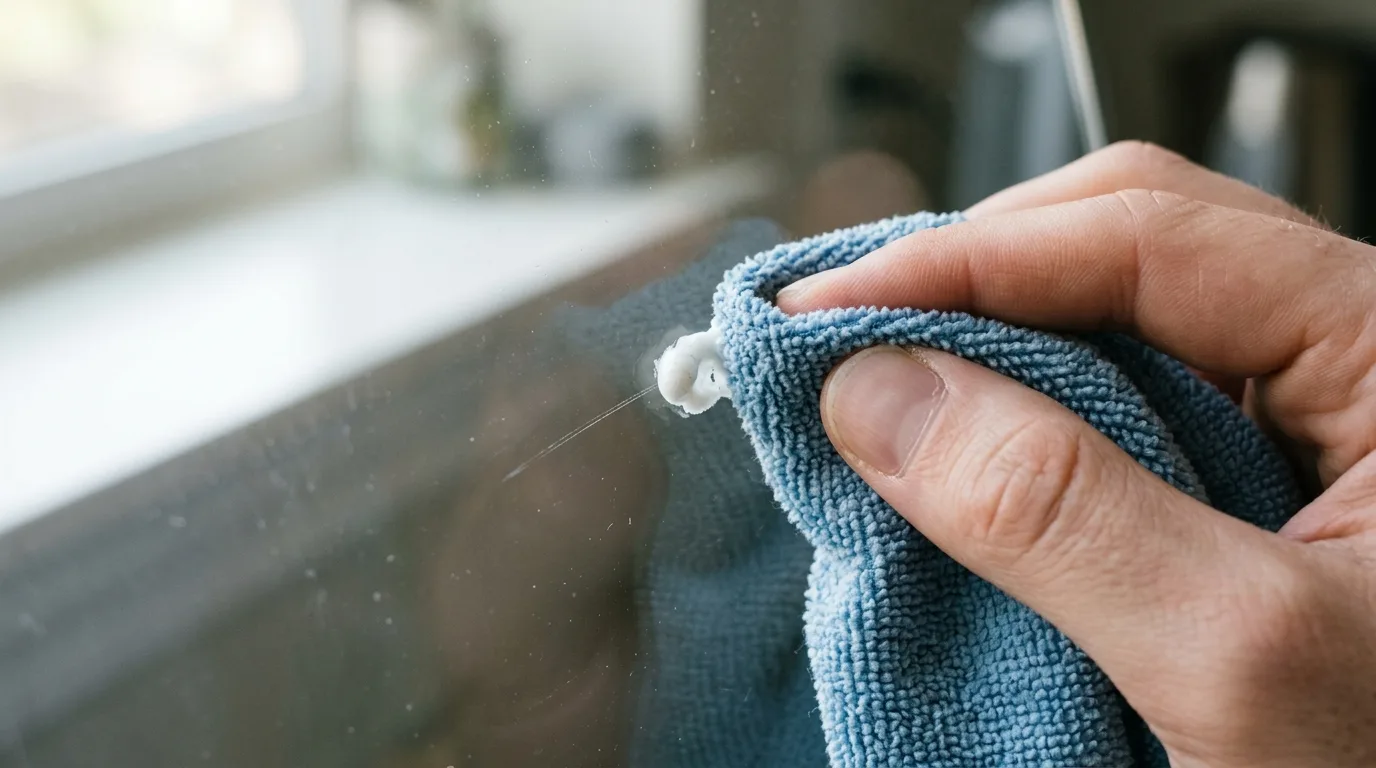
Plain white, non-gel toothpaste is another commonly used option for reducing very fine glass scratches. Its mild abrasive ingredients can polish the immediate surface when used gently. Put a small dab on a clean, damp microfiber cloth and work over the scratch with light circular movements. Avoid applying strong pressure, since excessive friction can create haze or additional fine marks.
After about a minute of gentle polishing, wipe the toothpaste away with a clean damp cloth and inspect the area. If there is a visible improvement, you can repeat the process once or twice rather than polishing continuously. Do not use whitening formulas, gel toothpaste, or products containing coarse particles unless the manufacturer specifically states they are suitable for glass polishing. This approach is intended for minor surface scratches, not chips, cracks, or deep grooves.
4. Polish With Cerium Oxide for Deeper Surface Marks
Cerium oxide is a specialized glass-polishing compound commonly used to remove or reduce fine scratches and surface imperfections. It is more aggressive than household methods, so careful technique is important. Mix the compound according to its product directions to create a slurry, then apply it with an appropriate polishing pad or soft applicator designed for glass.
Work over a small section at a time while keeping the surface and polishing pad controlled. Excessive friction can generate heat and potentially distort or damage the glass. Frequently stop to clean and inspect the area rather than assuming that more polishing will produce a better result. Cerium oxide is particularly useful when a scratch is visible but does not penetrate deeply into the glass. For valuable mirrors, large windows, automotive glass, or specialty panels, professional polishing may be safer than attempting the repair yourself.
5. Use a Glass Polishing Compound Made for the Surface
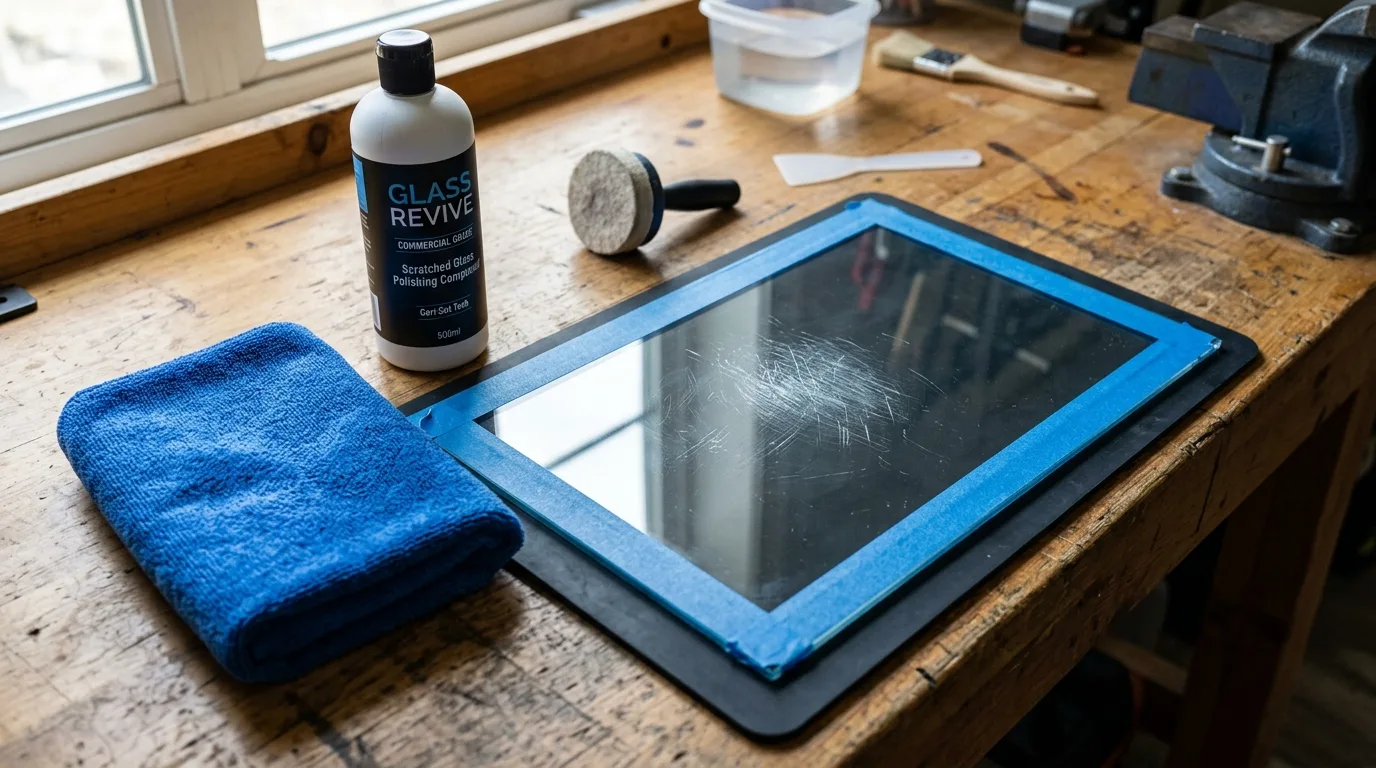
Commercial glass polishing compounds can be a convenient alternative to homemade mixtures because they are formulated specifically for polishing glass. When choosing one, read the label carefully and confirm that it is suitable for your particular surface. Some products are intended for ordinary glass, while others may be designed for automotive windows, mirrors, or specific finishes.
Apply the recommended amount with a clean microfiber cloth or suitable polishing tool. Follow the manufacturer’s instructions for pressure, application time, and removal. Do not combine multiple polishing products in an attempt to speed up the repair. Different abrasives can behave differently and may leave an uneven finish. If the glass has an anti-glare, tinted, reflective, or protective coating, verify compatibility before use. A product designed for uncoated glass may damage a surface treatment even if it successfully reduces a scratch on ordinary glass.
6. Try Jeweler’s Rouge on Appropriate Glass
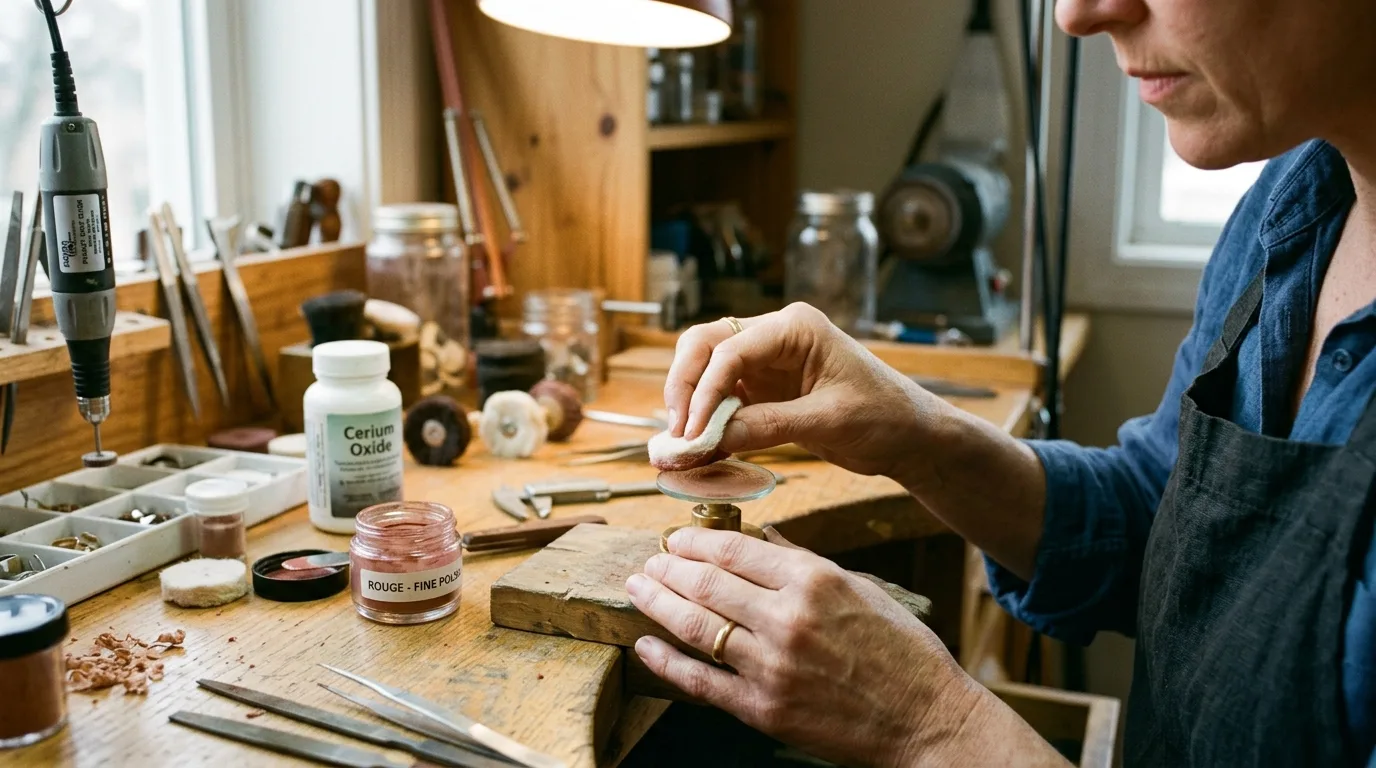
Jeweler’s rouge is a fine polishing compound that can sometimes be used to improve very fine marks on glass when paired with a suitable polishing pad. Because different rouge formulations have different abrasive characteristics, select a product intended for fine polishing and follow its directions closely. Apply a small amount to a soft pad and use controlled, gentle movements.
This method requires patience rather than force. Work slowly over a limited area, clean the glass, and check the result frequently. Over-polishing one small spot can create an optical distortion or a visibly different area on the surface. For mirrors and large flat glass panels, an unevenly polished patch can be more noticeable than the original scratch. If you are unsure about the compound or the glass type, use a dedicated glass-polishing product instead or have the surface assessed by a professional.
7. Use a Microfiber Cloth to Prevent New Scratches
The cloth you use can make a significant difference when polishing glass. Microfiber is preferable because it is soft, holds fine particles away from the surface, and does not require heavy pressure. Always use a clean cloth for polishing. A cloth that has previously been used to clean dusty surfaces may contain grit that can create additional scratches.
Fold the cloth so you have a fresh section available as you work. If the cloth becomes dirty, replace it instead of continuing to rub the same particles across the glass. Avoid old towels, rough cleaning rags, abrasive pads, and anything with trapped debris. A clean polishing cloth will not remove a deep scratch by itself, but it can significantly reduce the risk of making a repair attempt worse. Good technique starts with controlling the material touching the glass.
8. Work in Small Sections
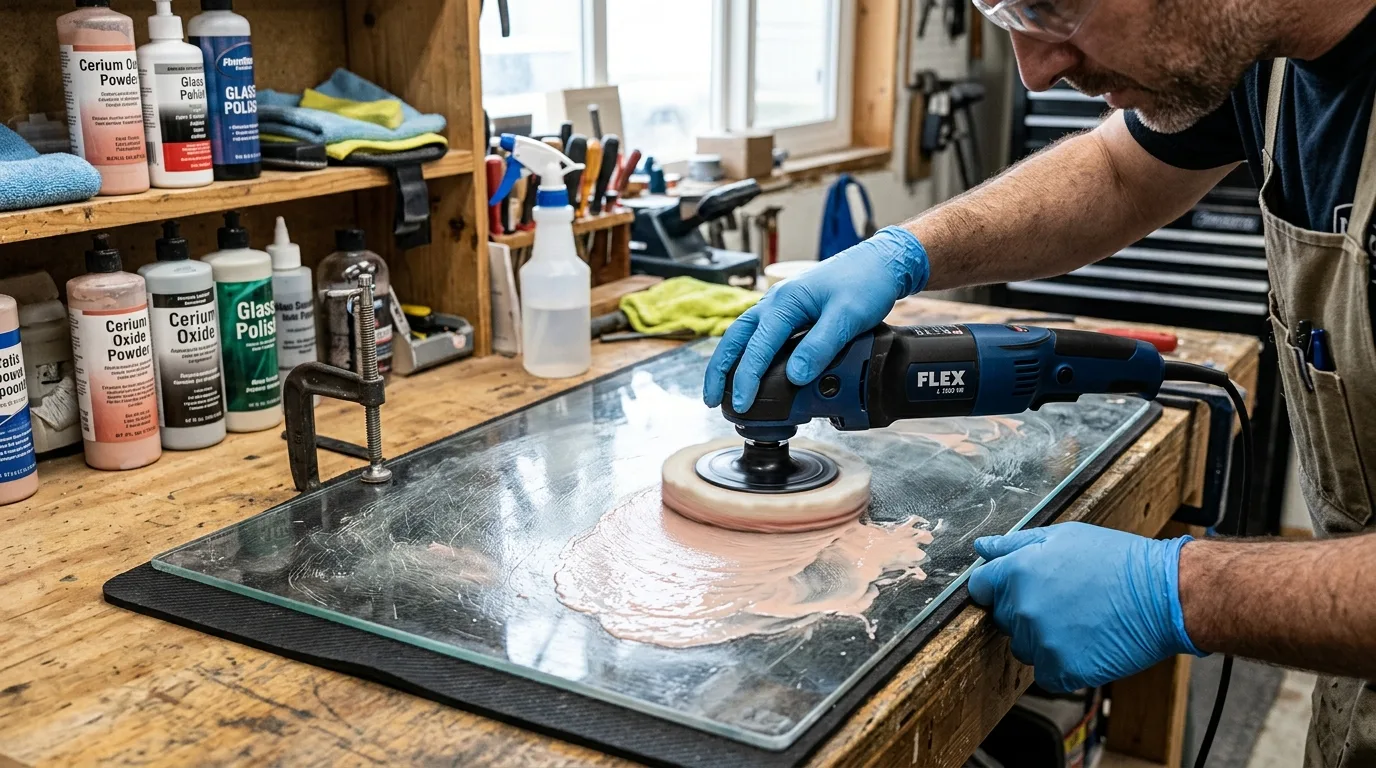
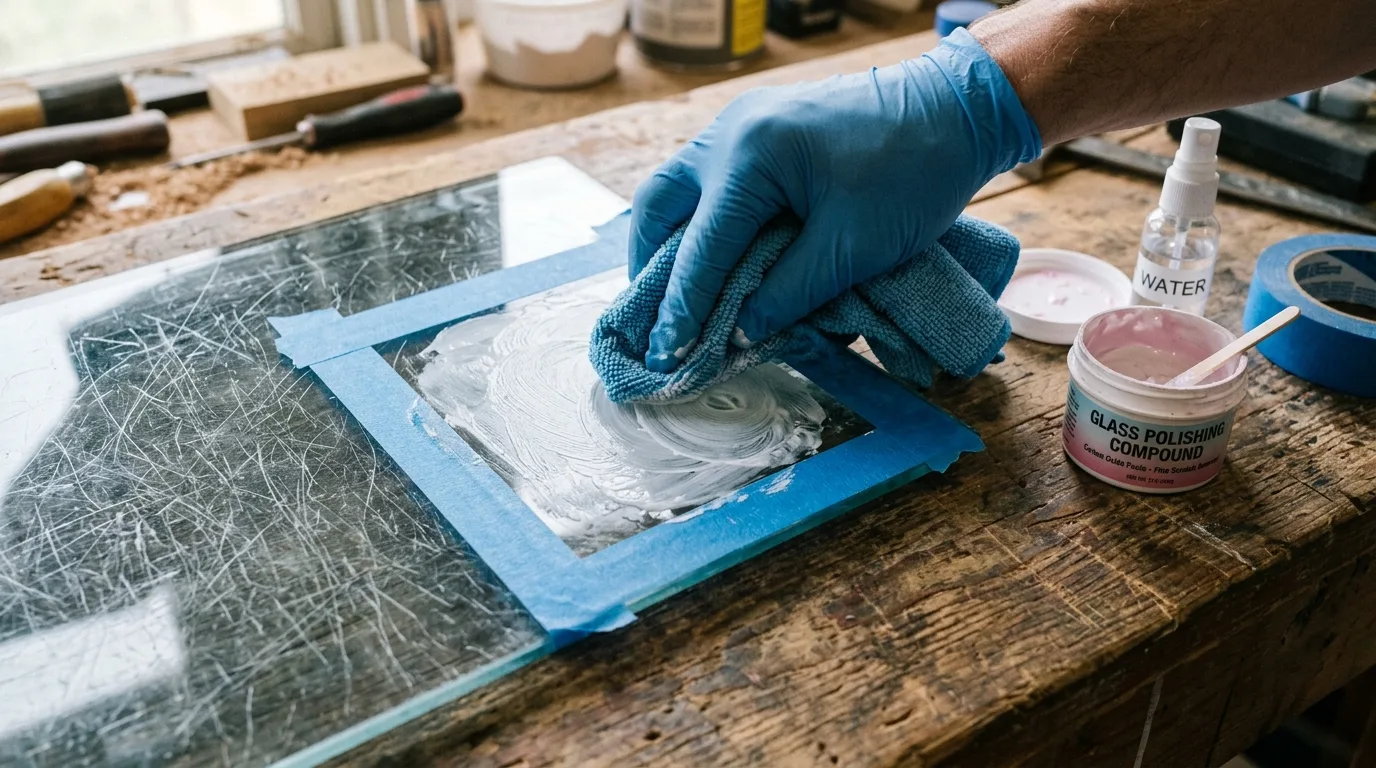
When polishing a scratched glass surface, concentrating on a small section gives you much better control. Instead of rubbing the entire window or tabletop, mark an area slightly larger than the visible scratch and work there first. This lets you evaluate how the glass responds before committing to a larger repair.
Use consistent, gentle movements and periodically wipe the surface clean so you can inspect it under strong lighting. If the scratch becomes less visible, gradually expand the polished area to blend the improvement. Avoid creating a sharply defined polished spot, especially on mirrors or transparent panels where differences in surface texture can be noticeable. Small sections also make it easier to stop if the glass starts becoming cloudy, hazy, or optically distorted. Slow progress is usually safer than trying to remove the entire scratch in one aggressive session.
9. Keep Pressure and Heat Under Control
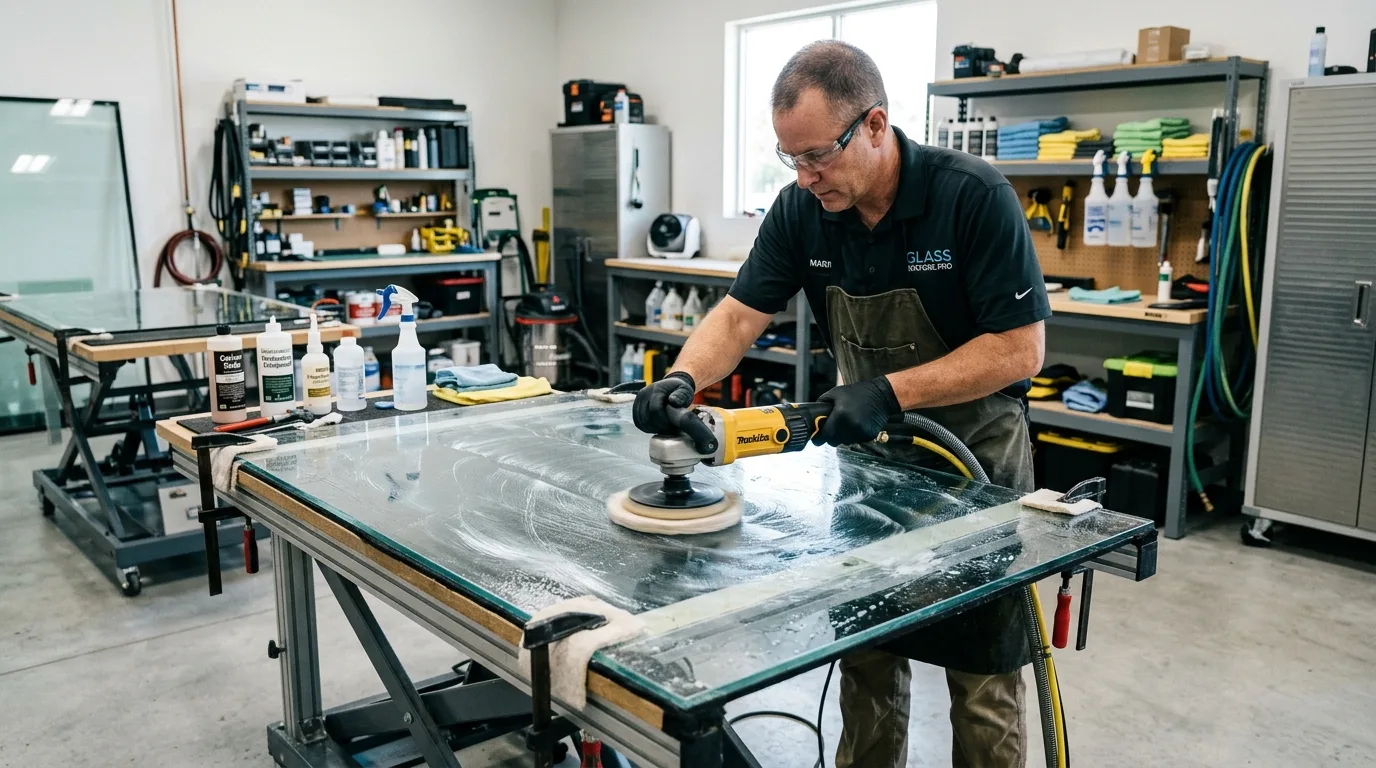
One of the biggest mistakes when polishing glass is assuming that harder pressure will produce faster results. Excessive pressure can generate friction and heat, especially when using a powered polishing tool. Uneven pressure can also create an area that reflects or transmits light differently from the surrounding glass.
If you are using a polishing compound, work gently and follow the tool manufacturer’s recommended technique. Do not allow a powered pad to remain in one location for too long. Stop regularly, clean the surface, and let it cool if necessary. Hand polishing generally gives you more control for very small scratches, while machine polishing may be better left to someone experienced with glass restoration. If the surface begins looking cloudy or develops visible distortion, discontinue the process rather than attempting to polish through the problem.
10. Check Whether the Scratch Is Actually a Crack
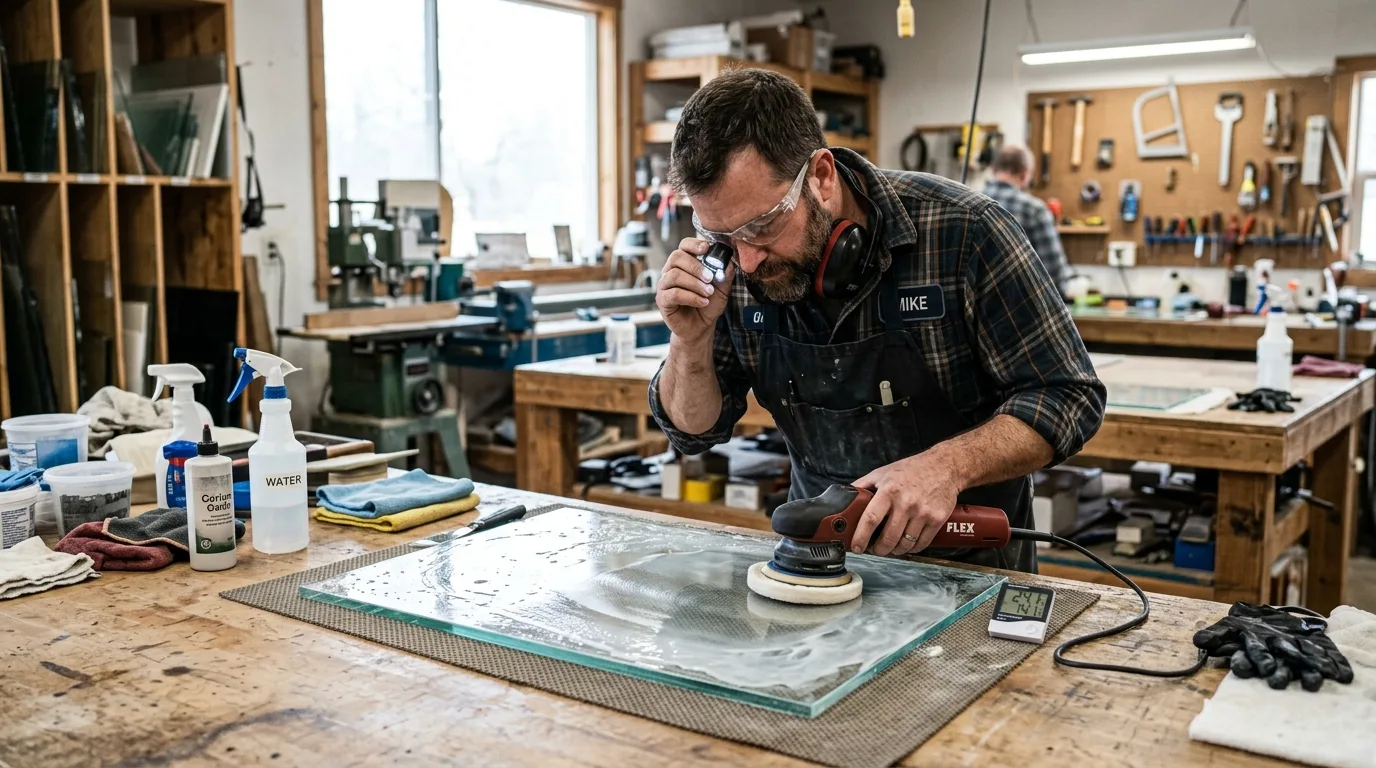
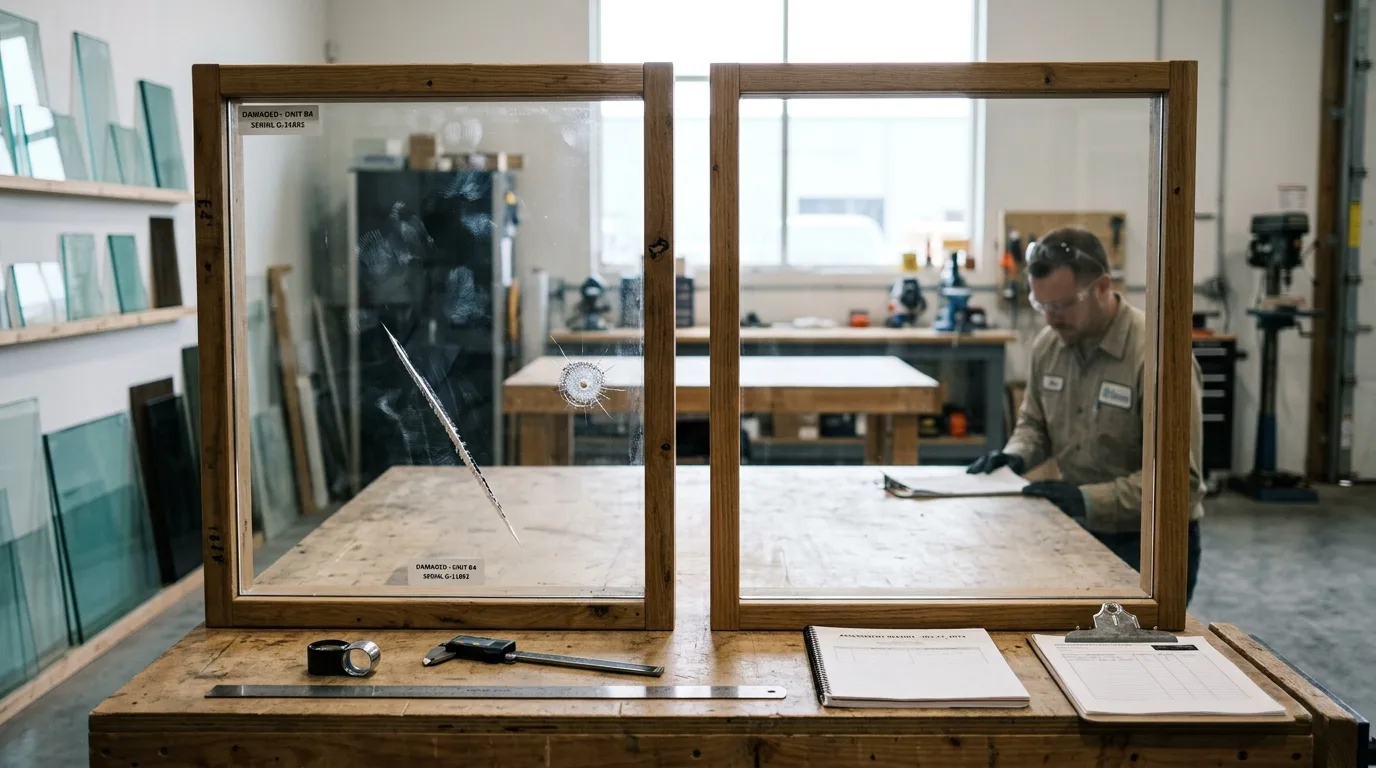
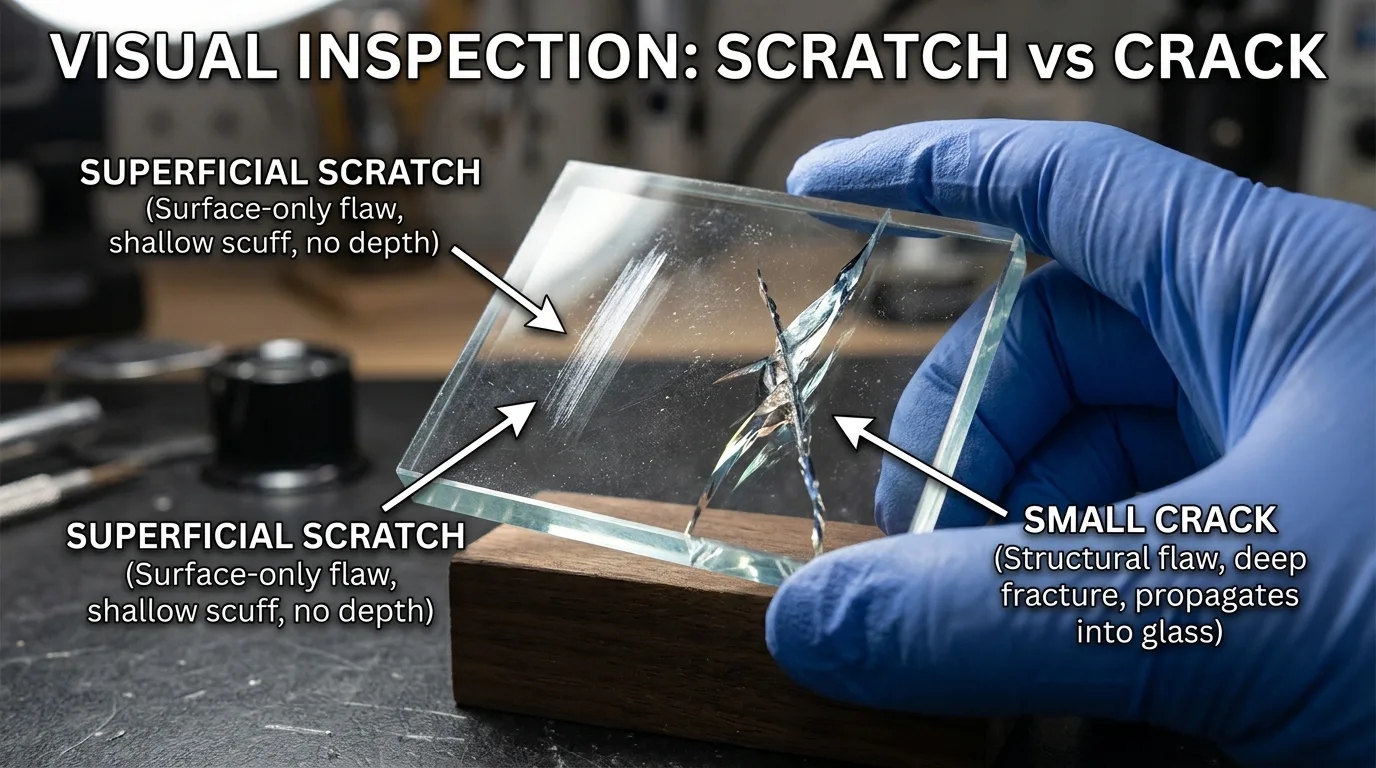
Not every mark on glass is a polishable scratch. Before attempting any abrasive treatment, determine whether the damage is a crack, chip, or deep gouge. A crack may appear as a thin line that extends beyond the original impact point, while a chip can leave a small crater or missing section of glass. These types of damage cannot be safely repaired with toothpaste or ordinary polishing compounds.
Run your inspection visually and avoid pressing hard on damaged glass. If the damage is spreading, reaches an edge, or affects a windshield or another safety-critical panel, professional assessment is the safer option. Polishing a deep defect may remove some surrounding material without actually restoring the structural integrity of the glass. Understanding the difference between a superficial scratch and structural damage can prevent an unsuccessful repair attempt and reduce the risk of further breakage.
11. Avoid Abrasive Household Cleaning Products
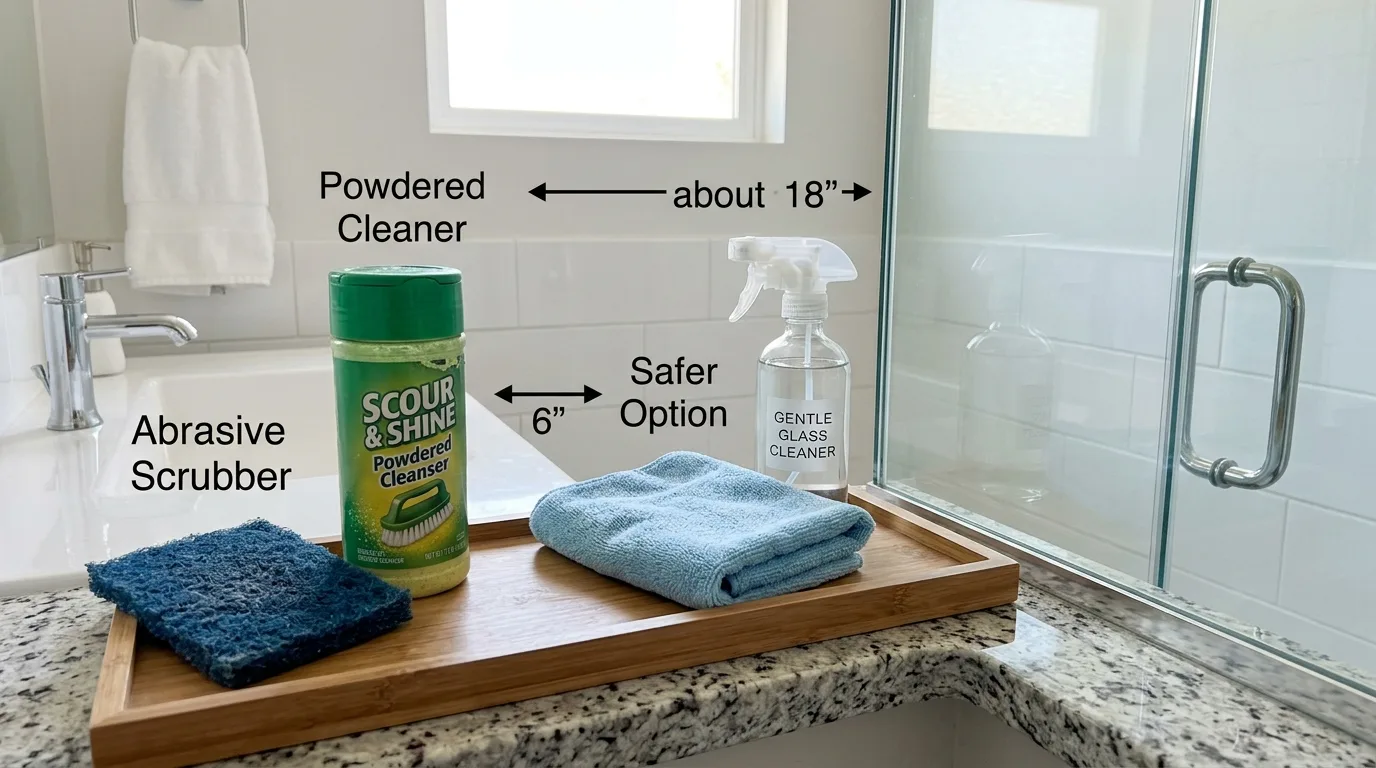
Some household cleaners and cleaning tools are far too abrasive for glass. Powdered scouring cleaners, steel wool, rough scrubbers, pumice-based products, and abrasive kitchen pads can leave a pattern of fine scratches across an otherwise clear surface. Even if one original scratch becomes less noticeable, the surrounding area may become hazy from the additional abrasion.
Choose products specifically labeled as safe for glass whenever possible. A mild cleaner and microfiber cloth are generally appropriate for routine maintenance. If you are trying to polish an existing scratch, use one controlled method rather than experimenting with several abrasive substances. It is also wise to keep gritty materials away from glass during ordinary cleaning. Tiny particles of sand or dirt can act like abrasive powder when rubbed across the surface. Preventing new scratches is often easier than restoring damaged glass.
12. Be Extra Careful With Mirrors and Coated Glass
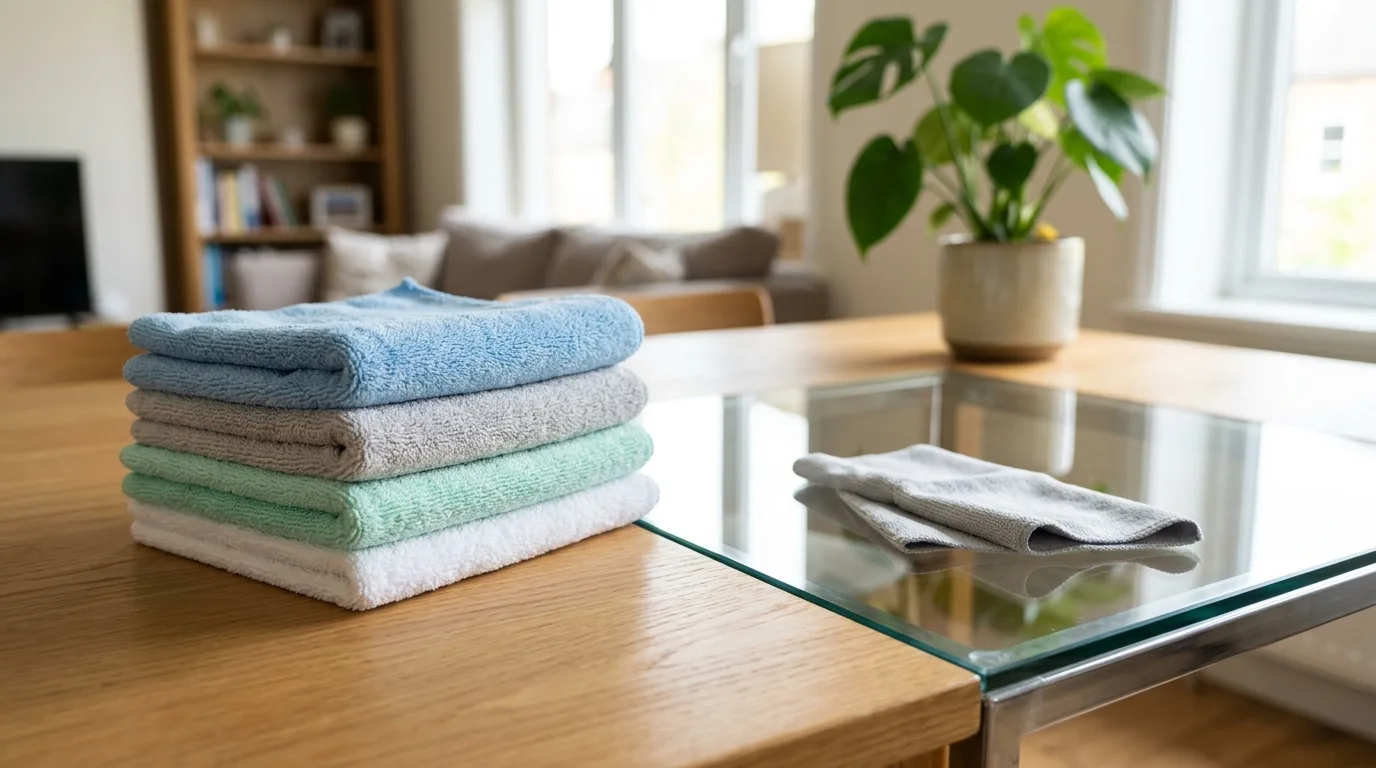
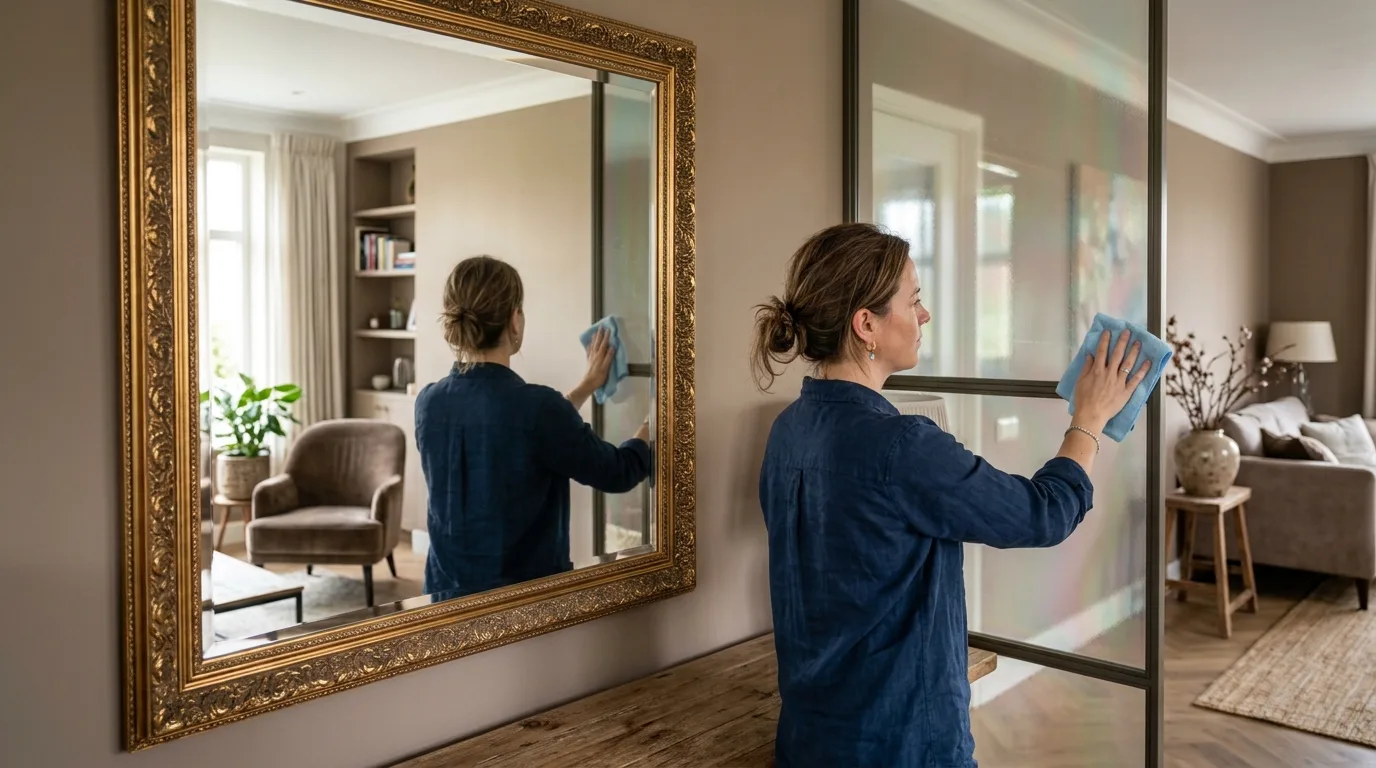
Mirrors and specialty glass require additional caution because their surfaces may have coatings or backing layers that ordinary glass does not have. A polishing method that works on a plain glass tabletop may damage an anti-glare coating, reflective treatment, tint, or protective finish. On a mirror, aggressive polishing can also create a visible difference in reflectivity.
Check the manufacturer’s care instructions before using an abrasive product. If you cannot determine the surface type, start with gentle cleaning and avoid abrasive experiments. For valuable decorative mirrors or large specialty panels, a glass restoration professional can identify the surface and choose an appropriate technique. The goal should not simply be to make the scratch disappear; it should also be to preserve the uniform appearance and optical properties of the entire panel.
13. Consider Professional Glass Polishing for Valuable Surfaces
Professional restoration is worth considering when the glass is expensive, unusually large, heavily scratched, or difficult to replace. Specialists have access to appropriate polishing compounds, pads, and equipment and can judge how much material can safely be removed. This is particularly useful for architectural windows, large mirrors, glass furniture, display cases, and specialty panels.
Professional help is also sensible when previous DIY attempts have created haze or uneven polishing. Tell the technician what caused the damage and which products, if any, have already been used. They can then evaluate the remaining surface before choosing a treatment. Although professional service costs more than a household remedy, it can prevent additional damage on glass that would be expensive or inconvenient to replace. For structural cracks or significant chips, replacement may be more appropriate than polishing.
14. Know When Replacement Is Safer Than Repair
Some scratches are simply too deep or extensive to remove economically. If a scratch catches noticeably on a fingernail, extends across a large portion of the panel, or is accompanied by chips or cracks, polishing may not provide a satisfactory result. Removing a deep defect requires removing enough surrounding glass to reach the bottom of the damage, which can create distortion or weaken the panel depending on its construction.
Replacement should also be considered for damaged safety glass components when the damage is significant. For automotive windshields, doors, shower enclosures, and other applications where glass performance matters, do not rely on a cosmetic DIY treatment when the damage could affect safety. A qualified professional can determine whether repair, polishing, or replacement is appropriate. Sometimes accepting a small cosmetic mark is preferable to creating a larger optical or structural problem.
15. Prevent Future Glass Scratches
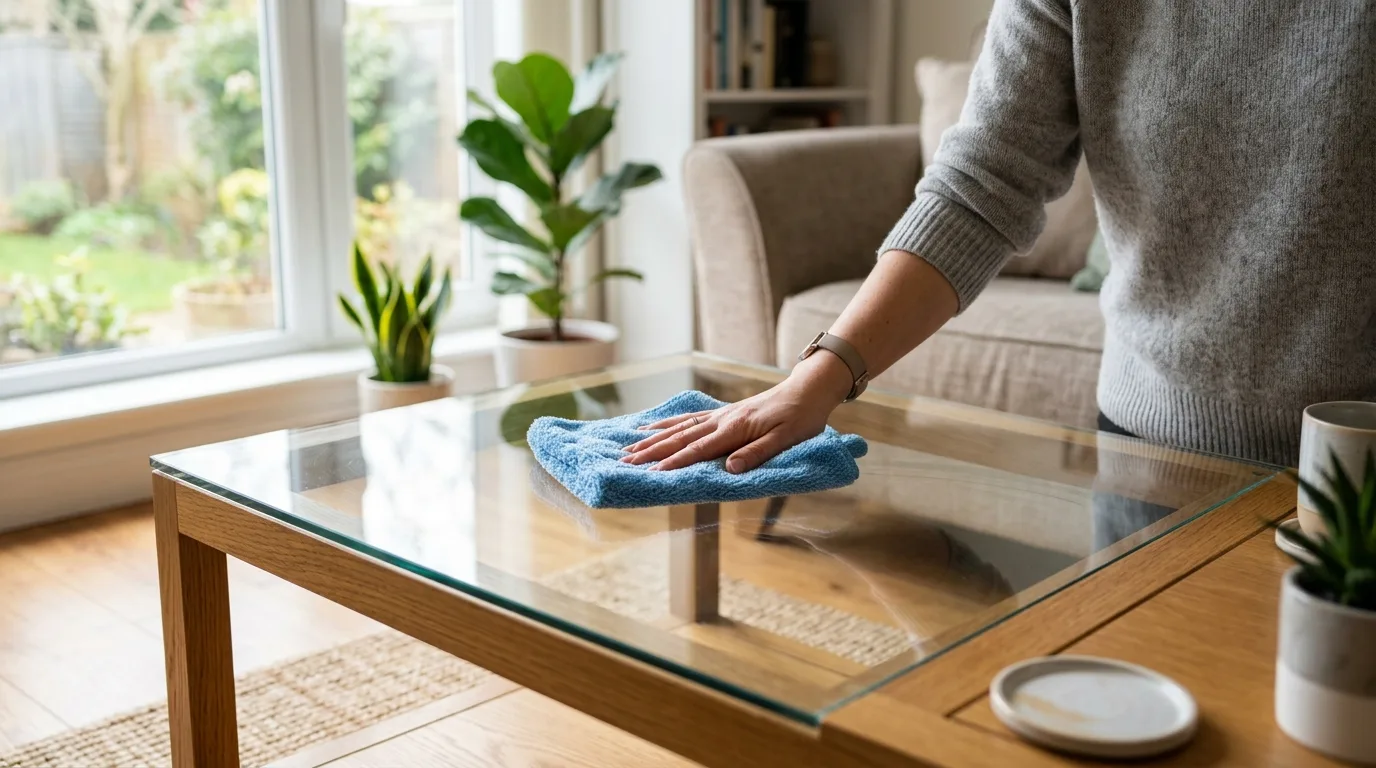
Once you have improved a scratched glass surface, prevention can help keep it looking clear. Clean glass regularly with a soft microfiber cloth so dirt and grit do not accumulate. When placing objects on glass tables or shelves, use felt pads, coasters, or other soft barriers underneath anything that could slide or rub against the surface.
For windows and mirrors, avoid scraping with unapproved blades or rough tools. When removing labels or hardened residue, use a method specifically recommended for the type of glass. Store abrasive cleaning supplies separately from microfiber cloths so loose particles do not transfer onto them. If a glass surface is used frequently, inspect it periodically for small marks and clean away debris before wiping. These simple habits reduce the chance of turning minor surface wear into a collection of deeper scratches and can extend the attractive appearance of glass throughout the home.