
Kitchen grease can be surprisingly stubborn. Fresh splatters are usually easy to wipe away, but baked-on oil around stovetops, greasy cabinet doors, sticky backsplashes, and residue on appliances may need a more deliberate approach. The key is to loosen the grease before scrubbing, use the mildest cleaner that can do the job, and work in manageable sections. These 15 steps will help you tackle tough kitchen grease without relying on unnecessarily harsh cleaning methods. Always check the manufacturer’s care instructions for appliances, countertops, cabinets, and specialty surfaces before applying a cleaner.
1. Remove Loose Dust and Crumbs First
Before attacking a greasy surface, clear away crumbs, food particles, dust, and other loose debris. A dry microfiber cloth, soft brush, or paper towel works well for this first pass. Skipping this step can turn loose dirt into a muddy film once cleaner and water are introduced. On cabinet tops or areas above the stove, use a vacuum with a soft brush attachment if available. Avoid pushing debris across delicate finishes because small particles can scratch glossy surfaces. Once the loose material is gone, you can focus your cleaning solution directly on the grease rather than wasting it on general dirt.
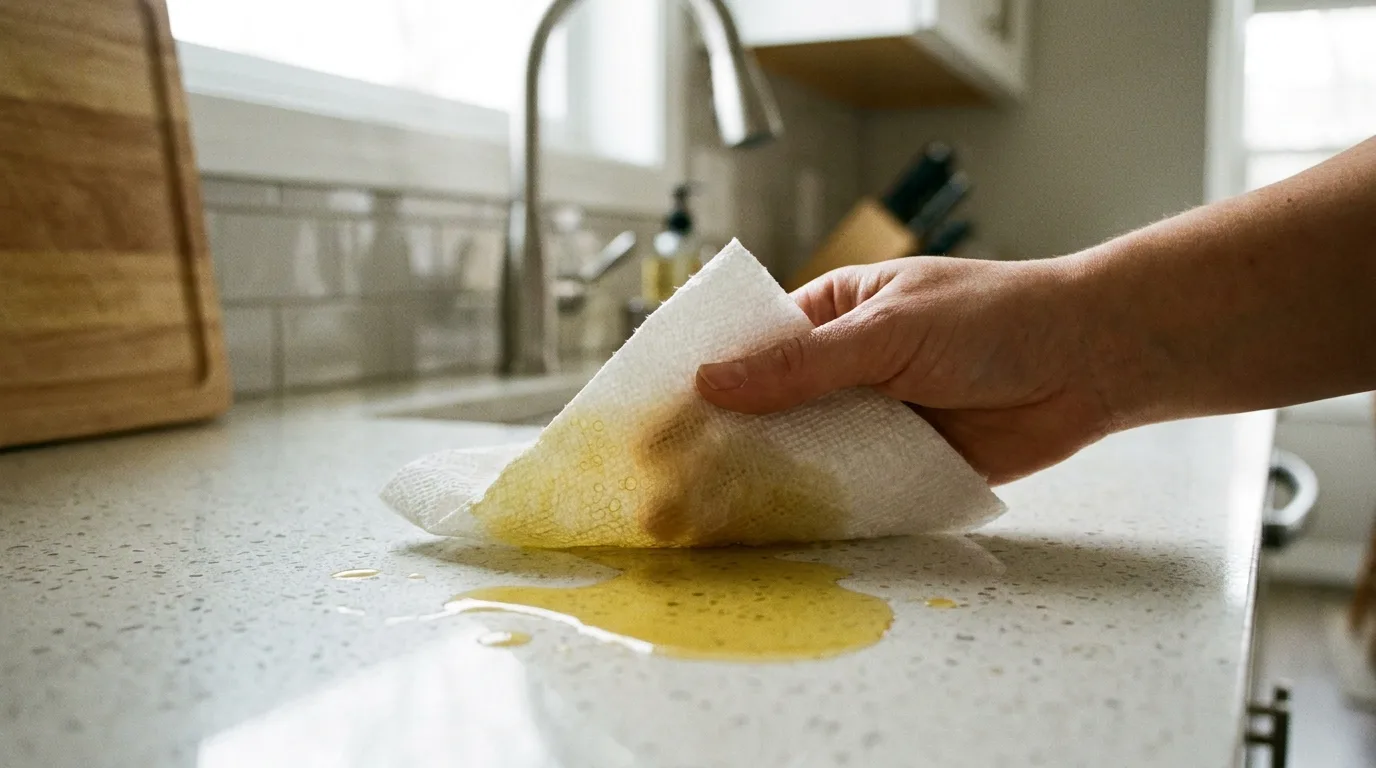
2. Blot Fresh Grease Instead of Spreading It
Fresh grease should be absorbed before it has time to spread or harden. Gently press a paper towel or absorbent cloth onto the spill rather than wiping aggressively from side to side. Replace the towel as it becomes saturated. For a larger spill on a countertop or floor, continue blotting until most of the visible oil has been removed. This simple approach reduces the amount of grease your cleaner has to dissolve later. Once the excess oil is absorbed, wash the area with an appropriate surface cleaner and wipe it dry. Never pour large amounts of water onto an electrical appliance or into areas where liquid could reach electrical components.
3. Start With Warm Water and Dish Soap
For many kitchen grease stains, warm water and a small amount of grease-cutting dish soap are an effective starting point. Add a few drops of dish soap to warm water, dampen a microfiber cloth, and wring it out well. Work over the greasy area in small sections, rinsing the cloth frequently so you do not redistribute the residue. Warm water helps soften hardened oils while dish soap is designed to interact with grease. This method is especially useful for washable cabinet fronts, backsplashes, appliance exteriors, and sealed surfaces. Avoid soaking wood or laminate cabinetry, since excessive moisture can damage edges, seams, or finishes.
4. Let the Cleaning Solution Sit Briefly
One of the easiest ways to make grease removal less strenuous is to give your cleaner time to work. Apply an appropriate diluted cleaning solution to the cloth or surface, then allow it to sit for a short period according to the product’s directions. Do not let a cleaner dry completely on the surface. A brief dwell time gives the solution an opportunity to loosen the sticky film before you begin wiping. This is particularly helpful with old grease around range hoods, cabinet handles, and backsplash areas. If you are uncertain whether a surface can tolerate the cleaner, test it first in a small, inconspicuous spot.
5. Use a Microfiber Cloth for the First Scrub
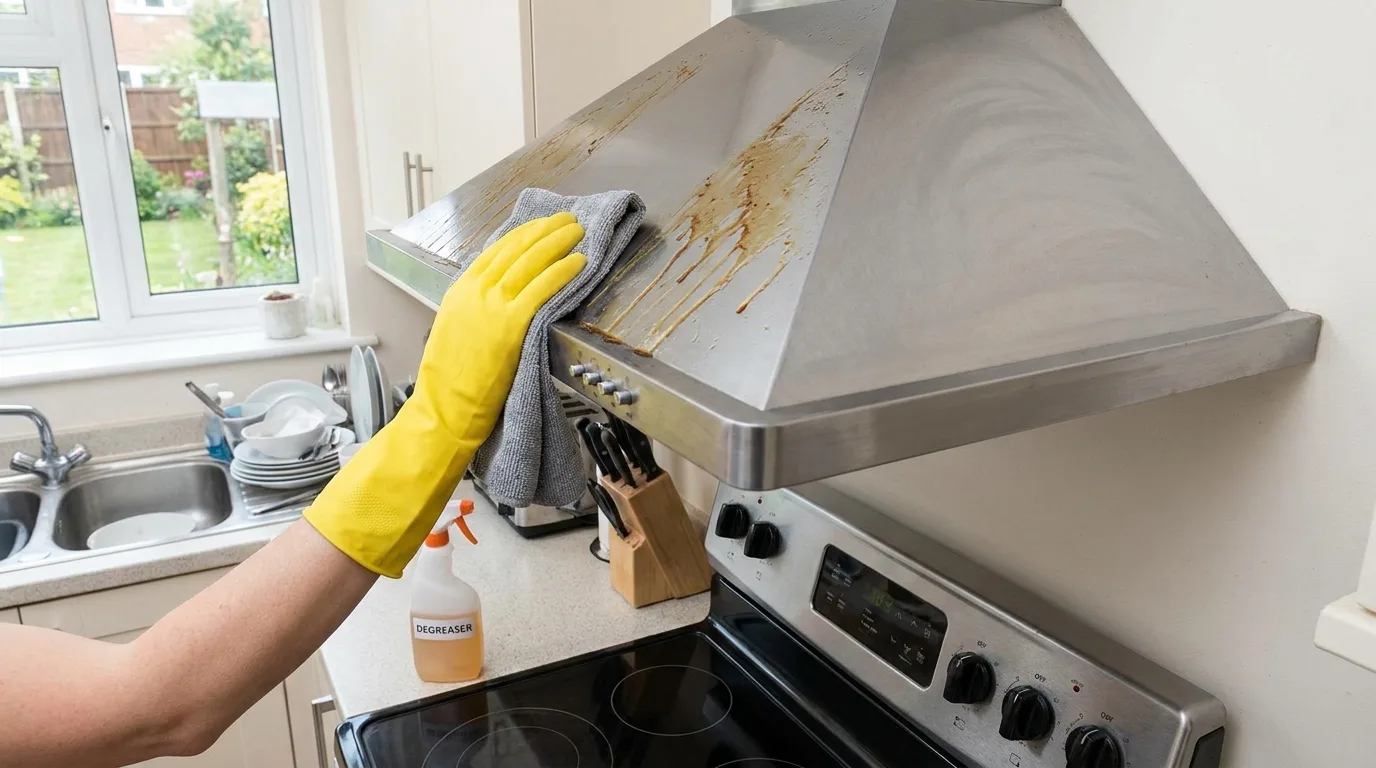
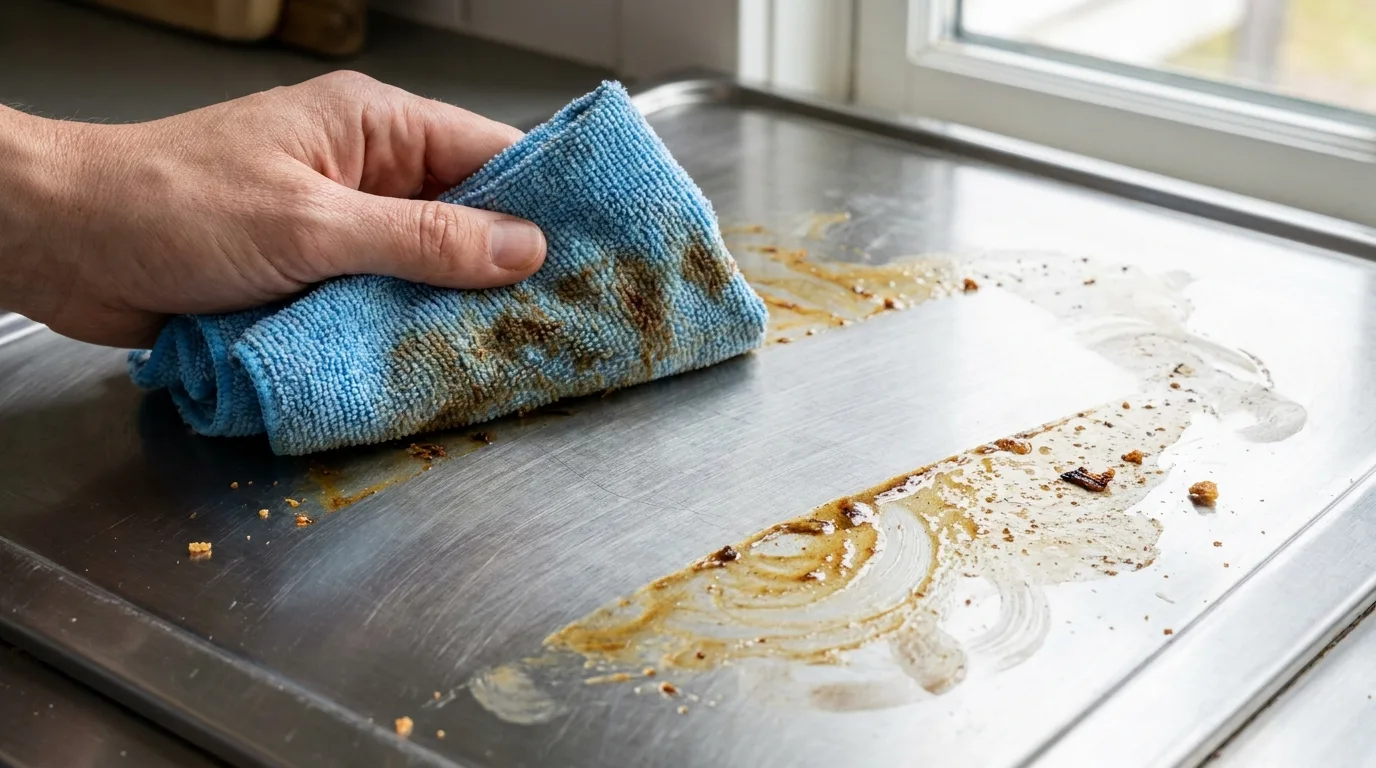
A microfiber cloth provides useful cleaning power without being as abrasive as many rough sponges or scouring pads. Fold the cloth into sections and use a clean portion as grease transfers onto the fabric. For flat surfaces, wipe in overlapping passes rather than repeatedly rubbing the same dirty spot with a saturated cloth. If the grease is stubborn, apply more cleaner and allow another short dwell time instead of immediately increasing pressure. Microfiber is particularly convenient for stainless steel appliance exteriors, painted surfaces, and cabinet fronts when used according to their care requirements. Always follow the direction of any visible grain on brushed metal to reduce streaks.
6. Tackle Baked-On Grease With a Soft Scrub
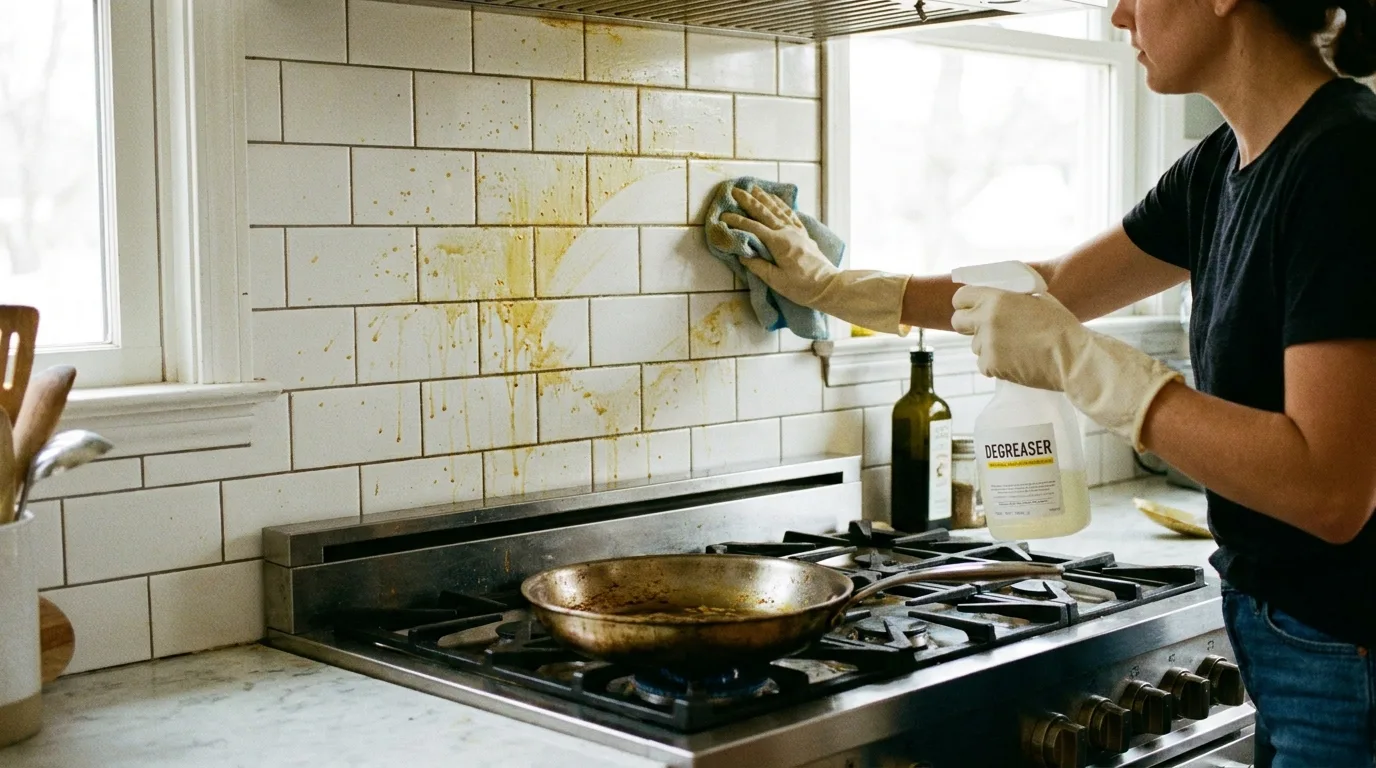
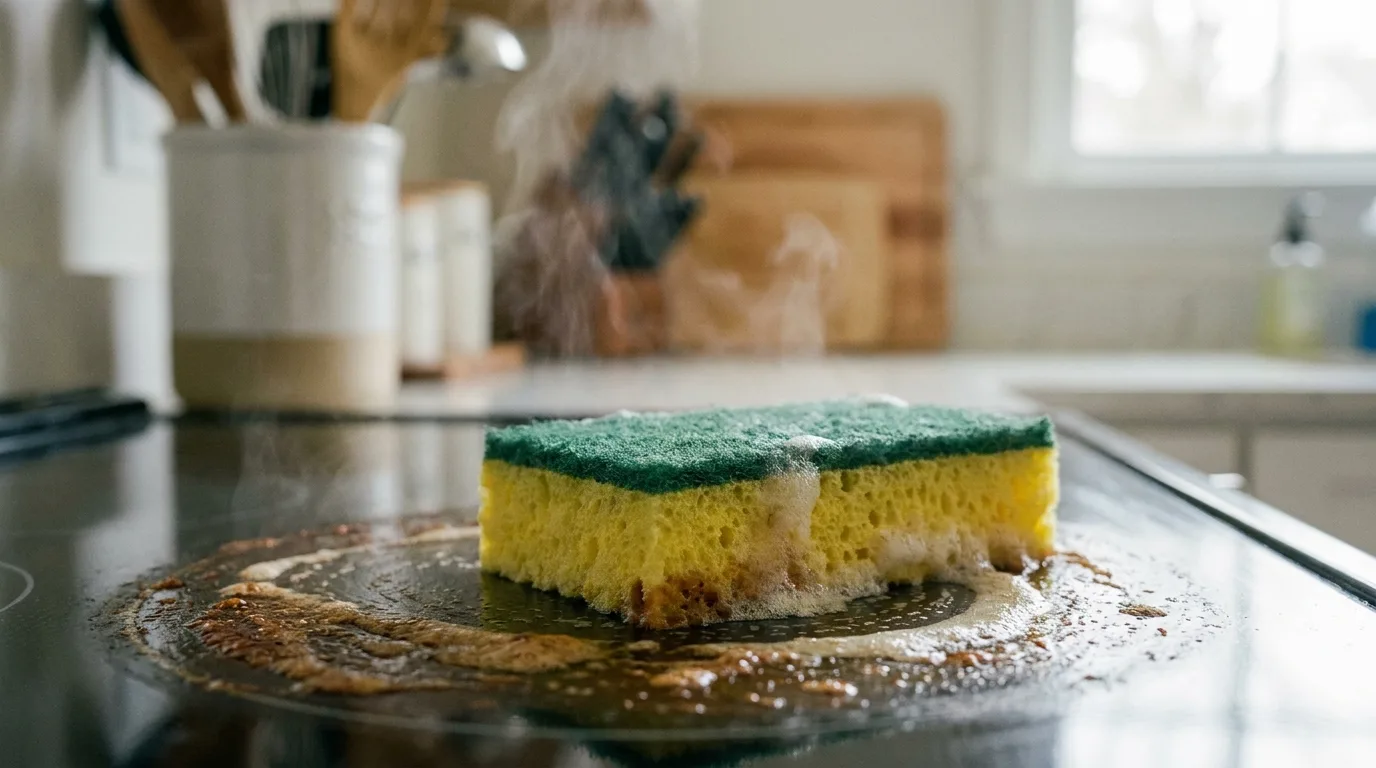
Hardened grease may need gentle mechanical action after it has been softened. Use a non-scratch sponge or soft cleaning pad appropriate for the surface and work in small circles. Avoid aggressive scouring because it can dull finishes, scratch glass, damage coatings, or remove paint. For thick residue, repeat the warm soapy treatment rather than trying to remove everything in one pass. A plastic scraper can sometimes help lift softened buildup from suitable hard surfaces, but use it carefully and only when the surface manufacturer permits it. The goal is to loosen the grease gradually, not to force it off with excessive pressure.
7. Clean Greasy Cabinet Doors From Top to Bottom
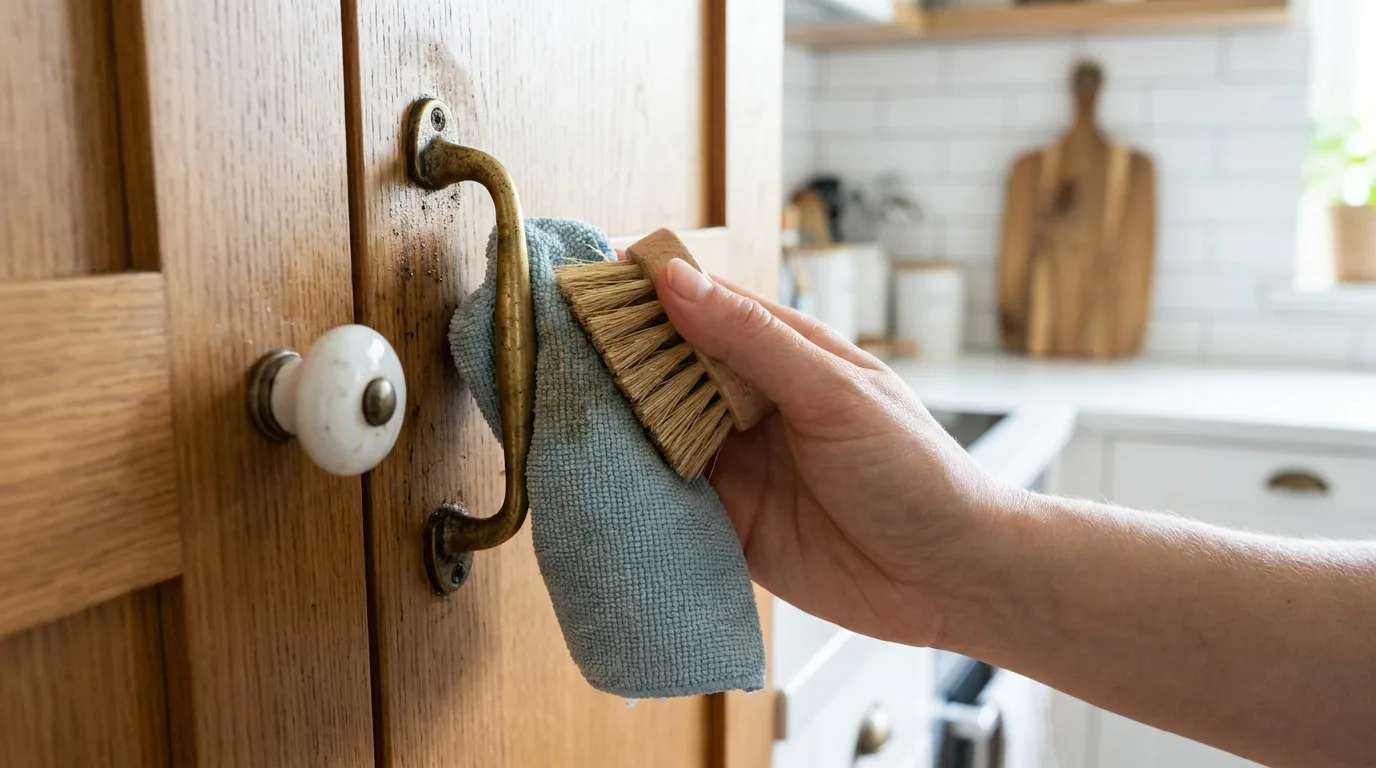
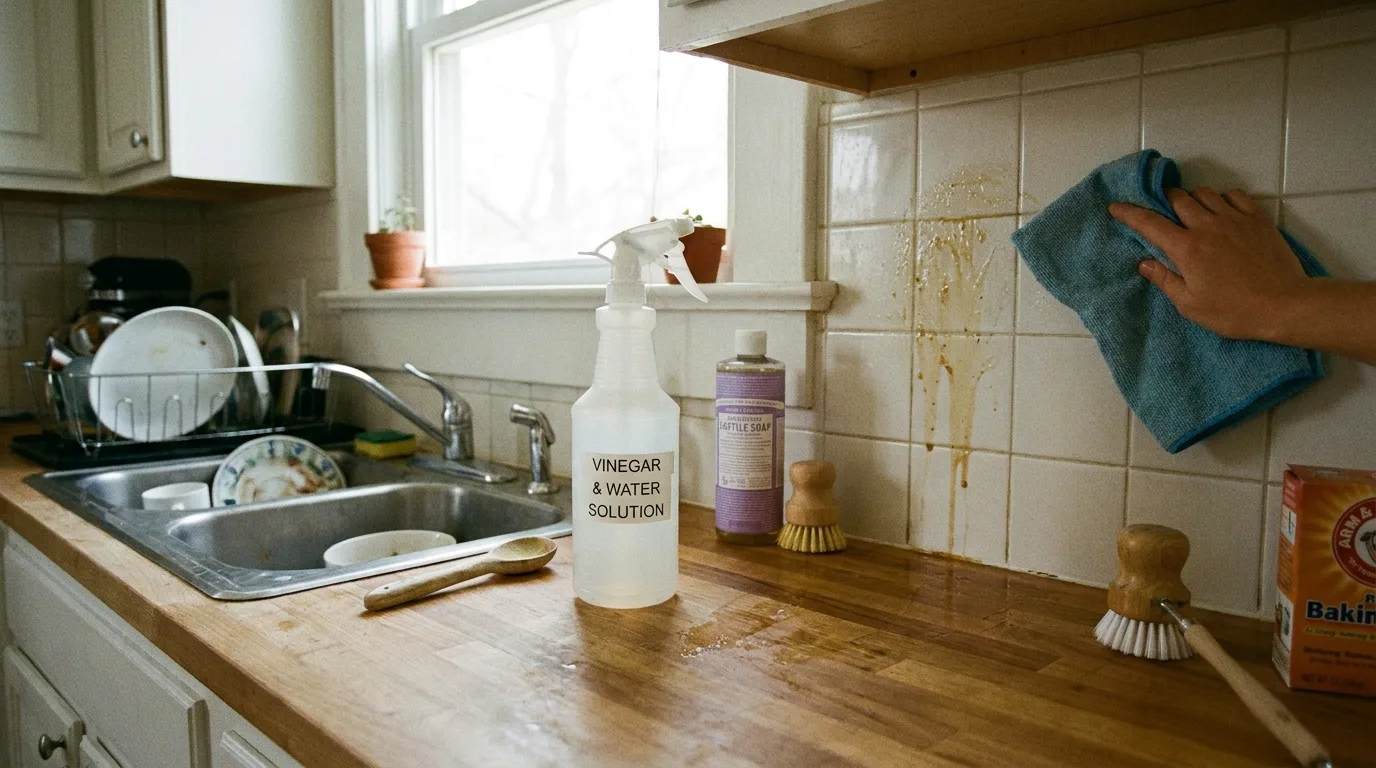
Kitchen cabinets often collect a combination of cooking oil, dust, fingerprints, and airborne residue. Start at the upper sections and work downward so loosened grime does not run onto an already-cleaned area. Use a lightly damp microfiber cloth with a suitable diluted cleaner, paying special attention to the area around knobs and pulls. Wipe the surface again with a clean damp cloth if the cleaner’s directions call for rinsing, then dry it thoroughly. Wood cabinets deserve extra care because prolonged moisture can damage the finish. Avoid soaking seams and edges, and always follow the cabinet manufacturer’s cleaning recommendations before using degreasers or other specialty products.
8. Degrease the Area Around the Stove
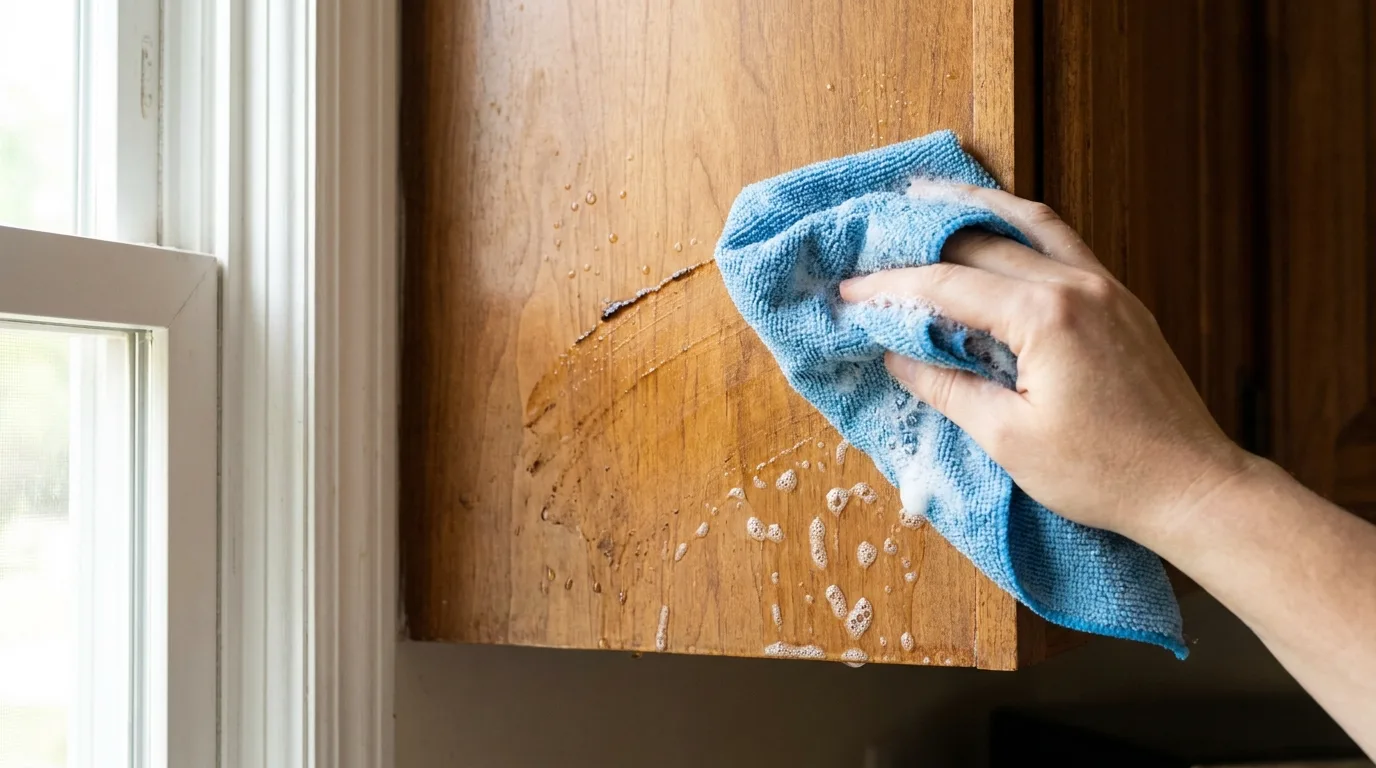
The wall and backsplash behind a stovetop are among the most common places for cooking grease to accumulate. Begin by removing loose debris, then use a suitable kitchen degreaser or warm dish-soap solution. Let the product work briefly before wiping, especially where several layers of residue have accumulated. For tile, clean the surface and then pay attention to grout lines, where grease can become trapped. Do not automatically use the strongest degreaser available; painted walls, natural stone, porous materials, and specialty finishes can react differently to cleaning chemicals. Rinse or wipe according to the cleaner’s directions and dry the area afterward to prevent a new film from forming.
9. Give the Range Hood Extra Attention
Range hoods collect airborne grease as they capture cooking vapors, so their exterior can develop a sticky coating over time. Turn the appliance off and allow heated surfaces to cool before cleaning. Wipe the exterior with a suitable degreasing solution, working gradually instead of flooding the surface with liquid. Filters require special attention: consult the hood manufacturer’s instructions to determine whether they are washable and which cleaning method is approved. Never spray cleaner directly into switches, vents, motors, or other electrical openings. Regular hood cleaning is useful because accumulated grease can become increasingly difficult to remove and may interfere with normal maintenance.
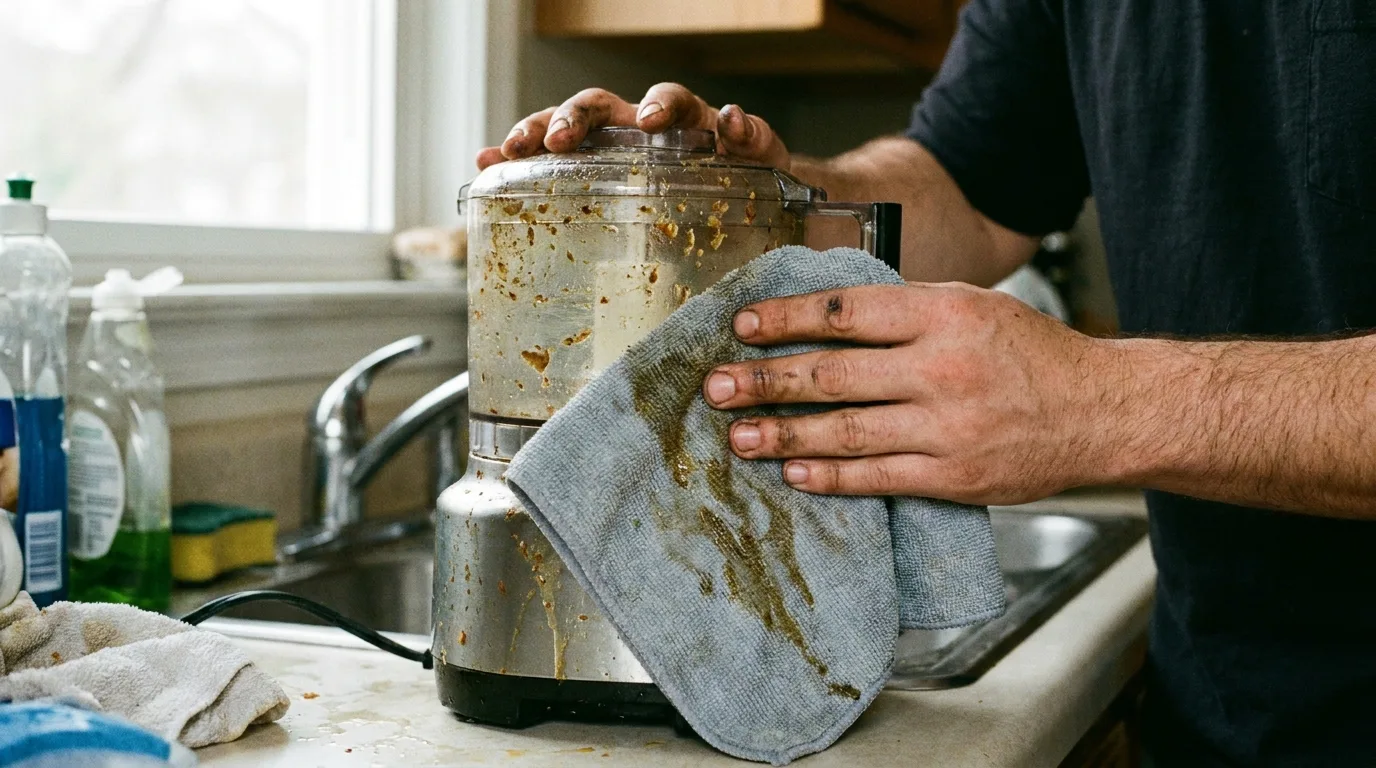
10. Clean Grease From Small Appliance Exteriors
Toasters, microwaves, air fryers, coffee machines, and other countertop appliances can develop greasy fingerprints and cooking residue. Unplug the appliance when appropriate and make sure it is cool before cleaning. Apply cleaner to a cloth rather than spraying directly around buttons, seams, displays, vents, or electrical openings. Use a lightly damp microfiber cloth to remove residue, then follow with a clean cloth if needed. For textured plastic, use gentle repeated passes instead of aggressive scrubbing. Always check the appliance’s manual for approved cleaning products, especially when the exterior has a specialty coating. Keeping appliance surfaces clean also makes future grease removal much quicker.

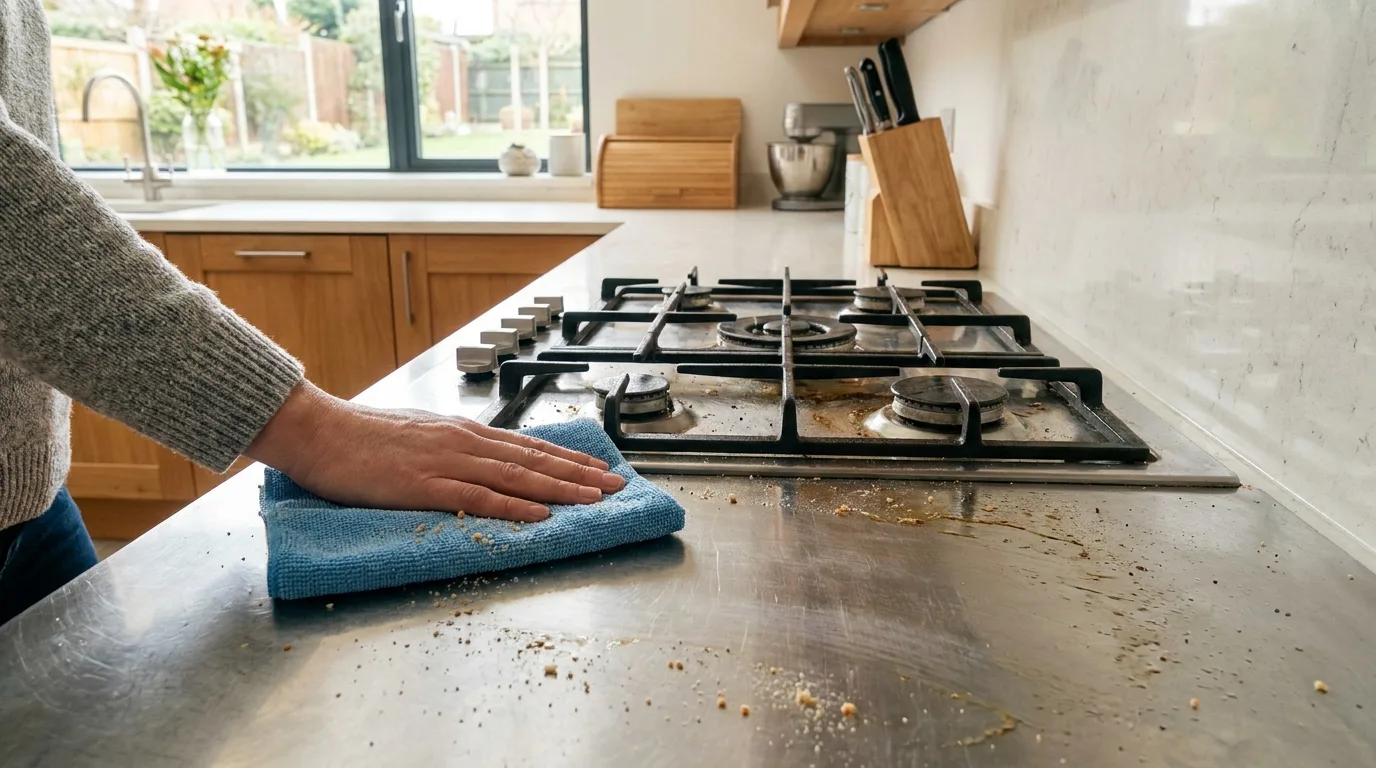
11. Treat Sticky Grease on Stainless Steel Carefully
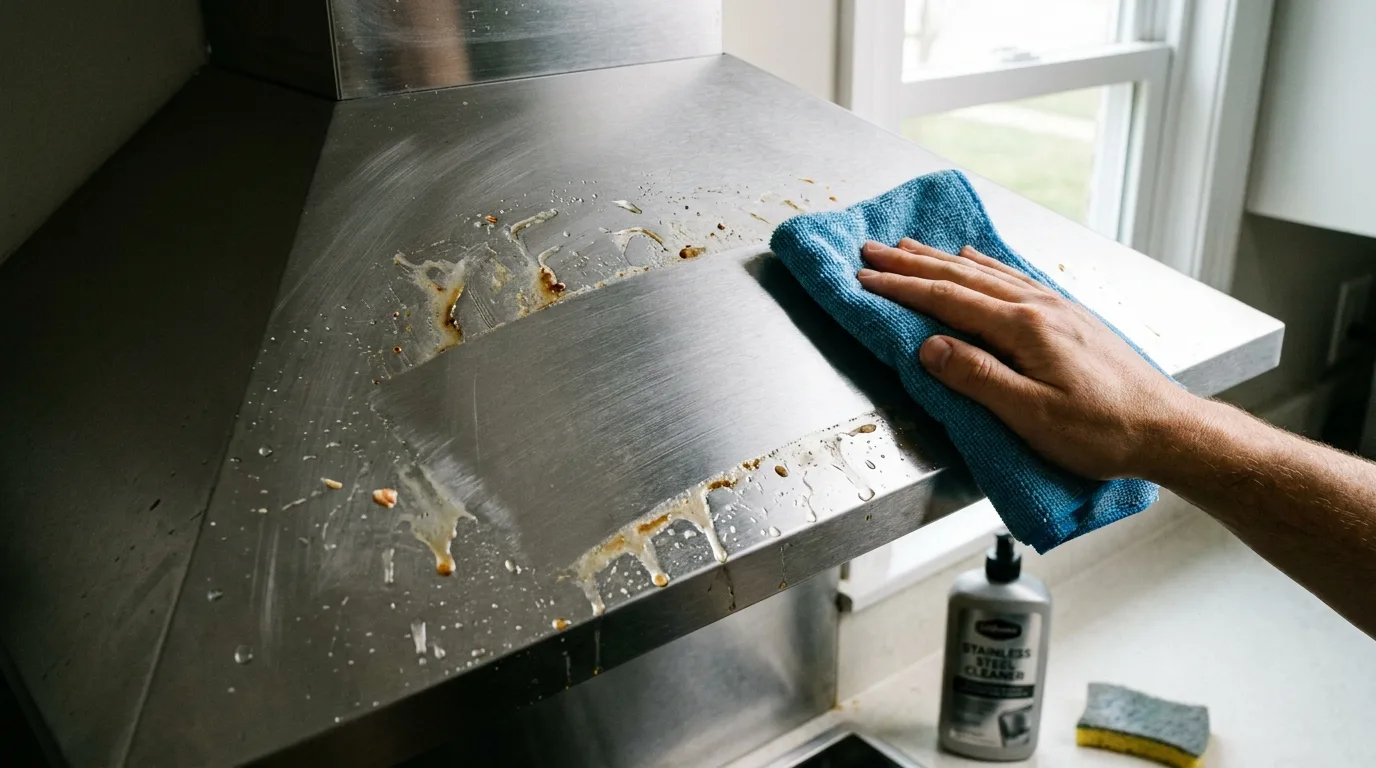
Stainless steel can look clean while still holding a thin greasy film. Start with a soft microfiber cloth and a suitable mild cleaner. Work with the grain rather than scrubbing randomly across the surface. For persistent grease, a cleaner specifically labeled for stainless steel can help, but check the appliance manufacturer’s recommendations first. Avoid abrasive powders, rough pads, and products that may damage the finish. After removing the grease, wipe away cleaner residue and dry the surface with a fresh microfiber cloth to reduce streaking. A final dry pass is especially helpful on refrigerator doors and range surfaces where fingerprints can otherwise make the finish appear dull.
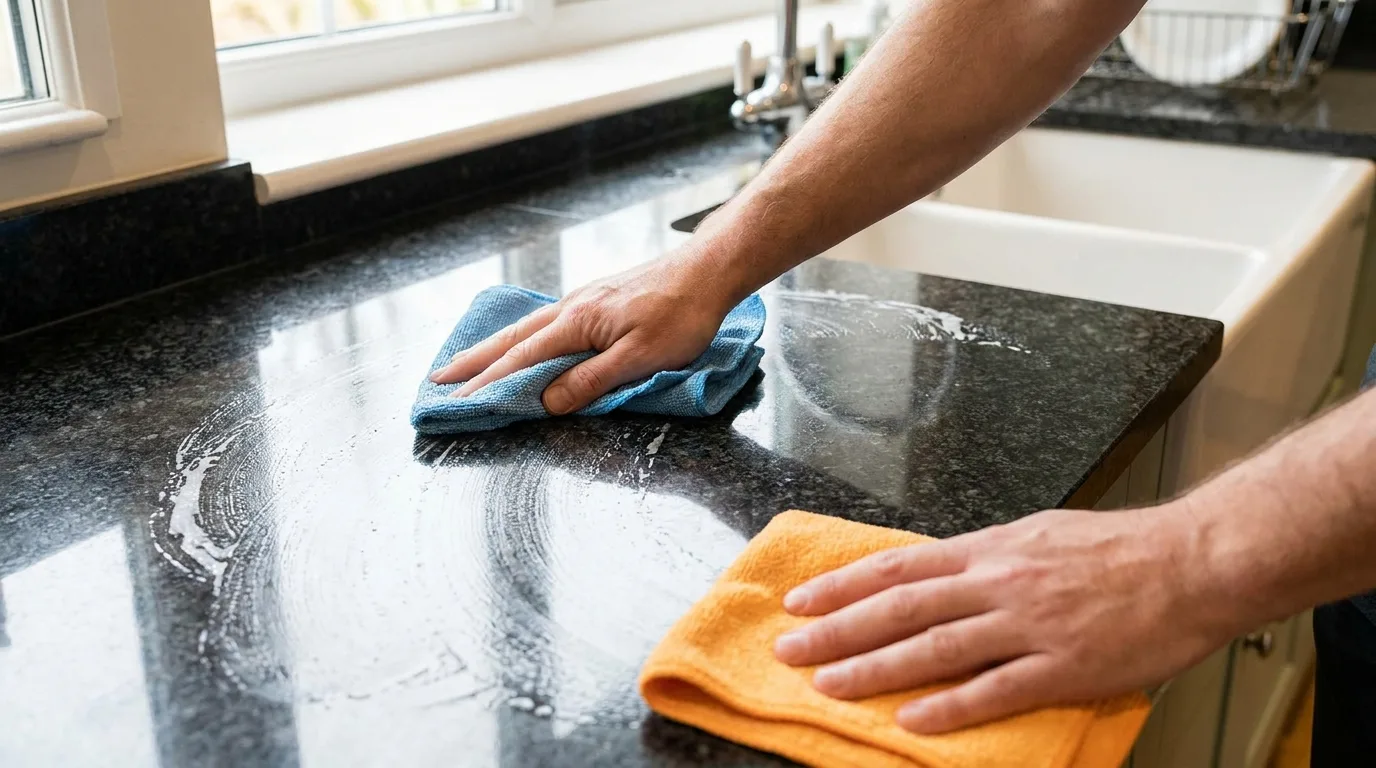
12. Handle Grease on Countertops According to the Material
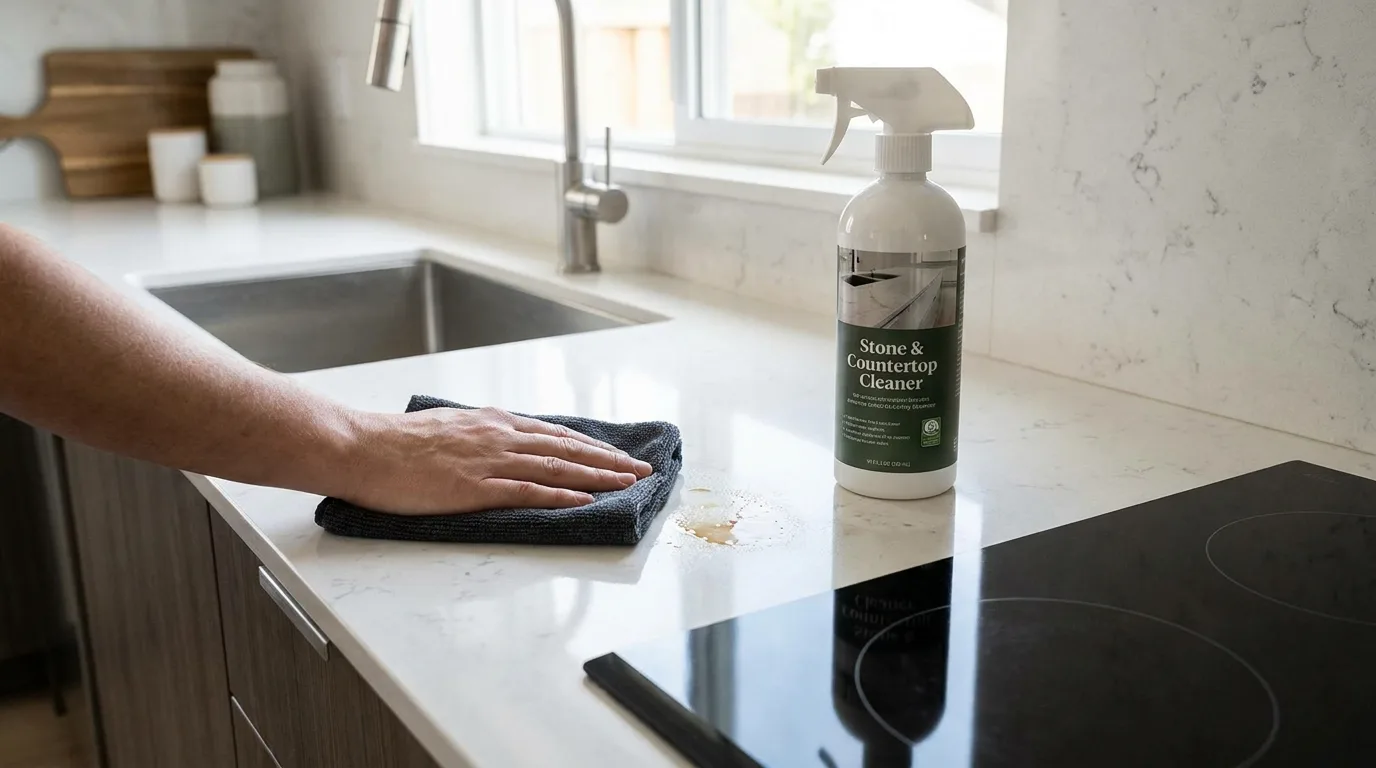
Countertops require a material-specific approach because natural stone, engineered surfaces, laminate, solid-surface materials, and sealed wood do not all respond to cleaners in the same way. Start by identifying the countertop material and checking its care instructions. Use a mild cleaner appropriate for that surface and avoid leaving chemicals sitting longer than recommended. For stubborn cooking oil, repeated gentle cleaning is generally safer than aggressive abrasion. Natural stone deserves particular caution because some cleaners can affect the surface or sealer. Once the grease is removed, rinse or wipe as directed and dry the counter thoroughly. Never mix different cleaning chemicals together in an attempt to create a stronger degreaser.
13. Remove Grease From Handles and Knobs
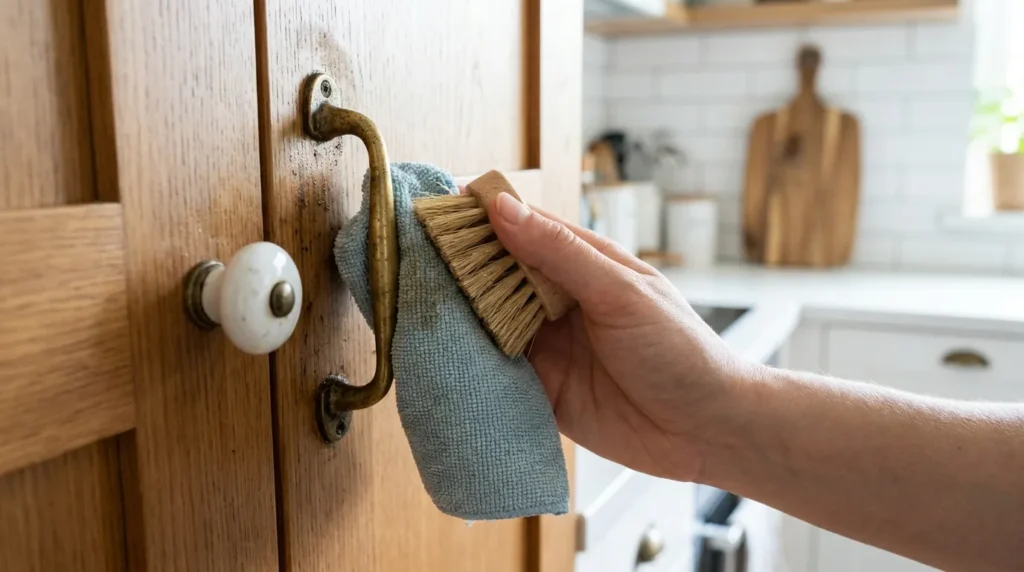
Cabinet handles, drawer pulls, appliance controls, and stove knobs can become surprisingly greasy because they receive frequent contact. Remove detachable knobs only if the manufacturer’s instructions allow it, then clean them according to the recommended method. For fixed handles, use a lightly damp cloth with an appropriate cleaner and work around the edges where residue collects. A soft toothbrush can help reach narrow crevices on compatible surfaces. Avoid allowing liquid to run behind appliance controls or into electrical components. After cleaning, wipe away residue and dry thoroughly. Because these high-touch areas accumulate grease quickly, adding them to a regular weekly cleaning routine can prevent thick buildup.

14. Rinse Away Cleaner Residue
Removing grease is only part of the process. Cleaner residue left behind can create its own sticky film and attract dust, making the surface appear dirty again. If the product directions recommend rinsing, use a clean cloth dampened with fresh water and wipe the area thoroughly. Do not oversaturate wood, laminate seams, or electrical appliances. Follow with a dry microfiber cloth to remove remaining moisture and reveal whether any grease is still present. If the surface remains tacky, repeat the cleaning process rather than layering additional products over it. A clean, dry finish is a useful sign that both the grease and excess cleaning solution have been removed.
15. Prevent New Grease From Building Up
The easiest tough grease stain to remove is the one you prevent from becoming tough in the first place. Wipe cooking splatters as soon as surfaces are cool enough to clean safely, and give high-grease zones such as the stovetop, backsplash, hood exterior, and cabinet area around the range regular attention. Use the ventilation system while cooking when appropriate, and clean filters according to their maintenance instructions. Keep a dedicated microfiber cloth and suitable surface cleaner readily available so small messes take only a minute to address. For larger cleaning sessions, work from cleaner areas toward dirtier ones and change cloths when they become saturated. Consistent maintenance keeps grease from developing into thick, hardened layers.
Final Cleaning Tips for Tough Kitchen Grease
Successful grease removal usually comes down to patience rather than harsher chemicals. Absorb fresh oil, soften hardened residue, allow cleaners appropriate to the surface to work, and use gentle mechanical action when necessary. Always read product labels and surface-care instructions, ventilate the room when using cleaning products, and never mix cleaners unless the manufacturer explicitly states that they are compatible. With a simple routine and the right technique for each material, even neglected kitchen surfaces can become much easier to maintain. For especially old, extensive, or unknown stains, test your chosen method in a hidden area first.