
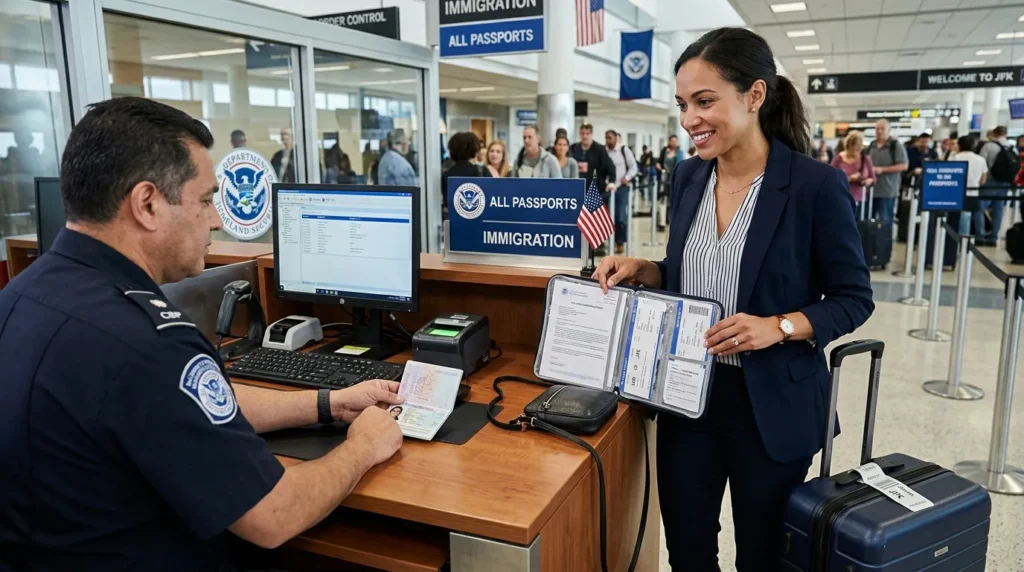
Traveling to a country that requires a visa takes more preparation than simply booking a flight and packing a suitcase. Visa rules can affect your documents, finances, accommodation plans, travel insurance, and even how early you need to begin planning. Requirements also vary by destination, nationality, visa type, and purpose of travel, so careful preparation can prevent avoidable delays or refused applications. The best approach is to treat the visa process as part of your overall travel plan rather than as a last-minute administrative task. The following checklist covers 15 practical things to prepare before traveling to a visa-required country, helping you organize your application and arrive with greater confidence.
1. Check the Exact Visa Requirements
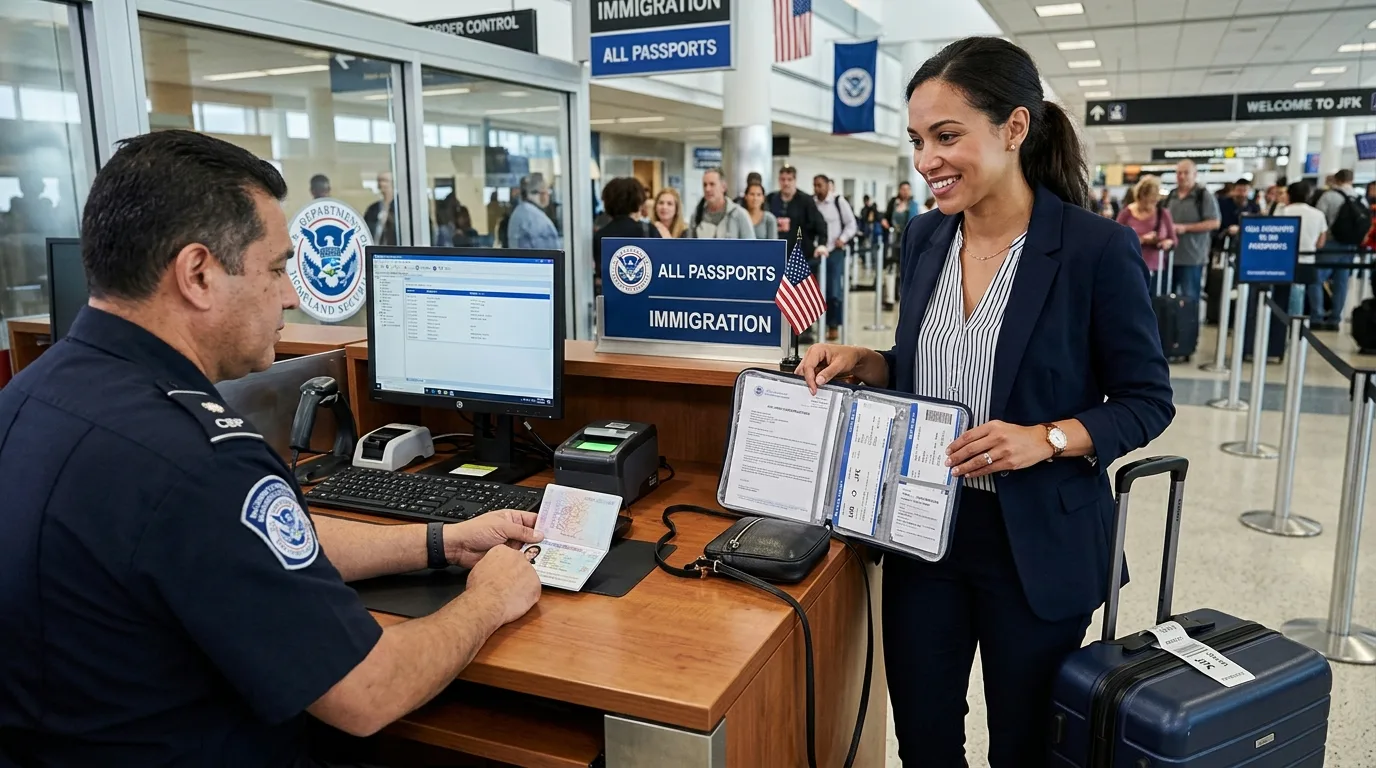
Start by confirming exactly what type of visa you need and whether you are eligible to apply. A country may offer different requirements for tourists, business travelers, students, family visits, transit passengers, or longer stays. Check the destination country’s official immigration or embassy information rather than relying only on old blog posts or social media advice. Pay attention to permitted length of stay, number of entries, passport validity, application location, processing times, and whether an appointment is required. Requirements can change, so verify the information close to the time you apply. Make a personal checklist of every required document and note any special rules that apply to your nationality. This first step gives you a reliable foundation and helps you avoid preparing an application around assumptions that may no longer be correct.
2. Make Sure Your Passport Is Valid
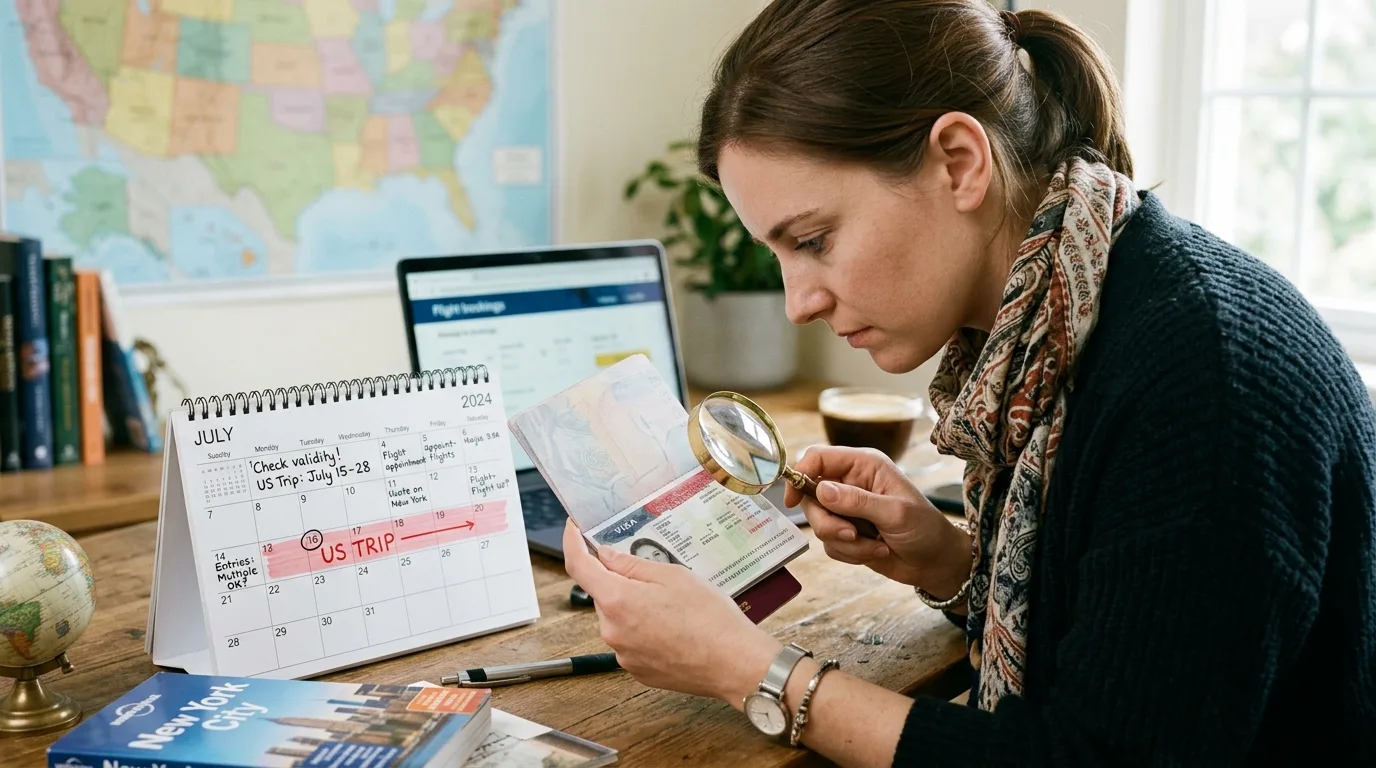
Your passport is one of the most important documents in the entire process, so check it before making expensive travel arrangements. Many destinations require a passport to remain valid for a certain period beyond the intended departure or return date. Some also require blank pages for visa stickers, entry stamps, or other immigration endorsements. Check the condition of your passport as well, because severely damaged documents can create problems during travel. If your passport is close to expiration, consider renewing it before applying for a visa because the visa application may depend on passport details. Keep copies of the identification page and any relevant previous visas in a secure location. If you have more than one passport or recently changed your name, verify which document must be used throughout the application and journey.
3. Complete the Visa Application Carefully
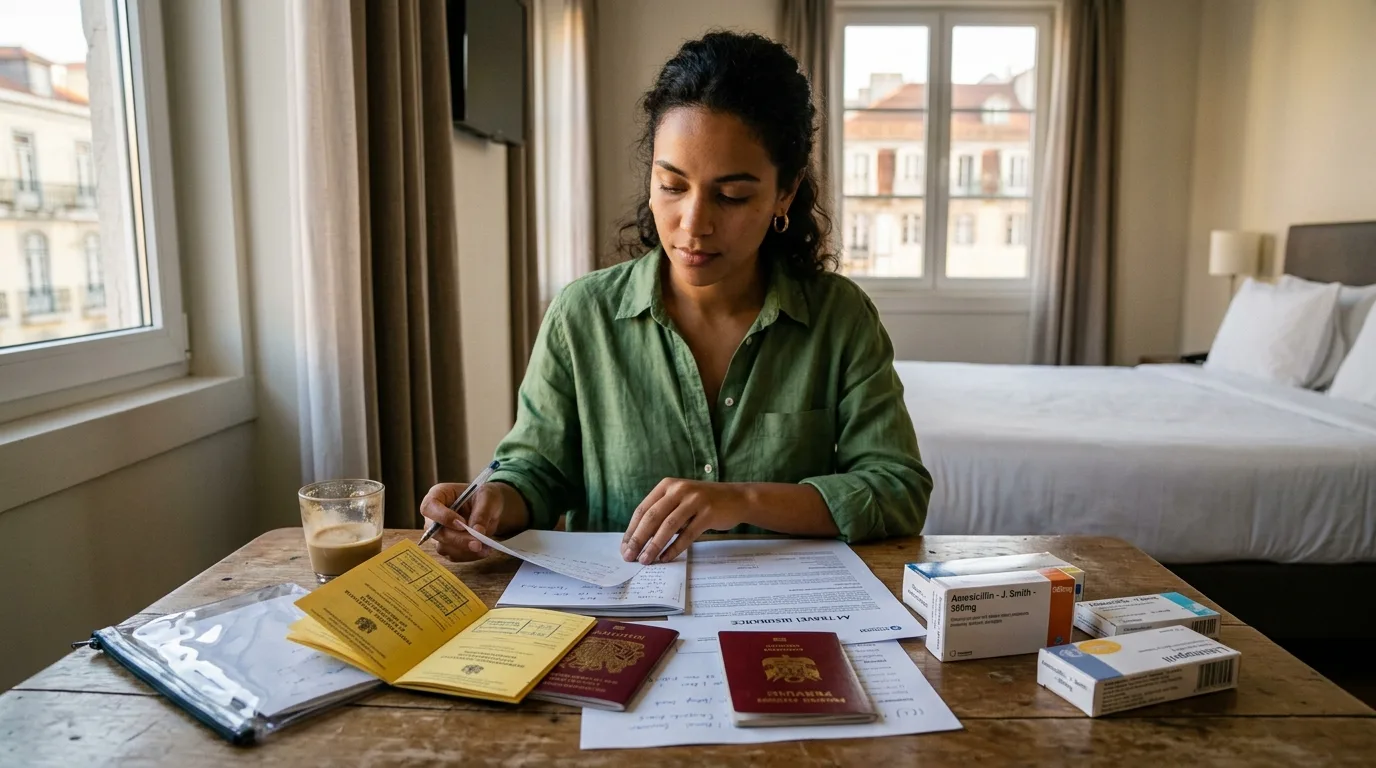
Visa applications should be completed with the same level of care you would give to a legal or financial document. Read every question before answering and make sure names, dates, passport numbers, employment information, addresses, and travel details match your supporting documents. Do not guess when you can verify an answer. Inconsistent information can cause delays or raise questions about your application. Before submitting the form, review it from beginning to end and check that no mandatory field has been overlooked. Save a copy of the completed application if the system allows it. If the application requires an online account, keep your login information somewhere secure. Most importantly, provide truthful information throughout the process. Never alter documents or invent details simply to make your travel plans appear more convincing.
4. Prepare Recent Passport Photos
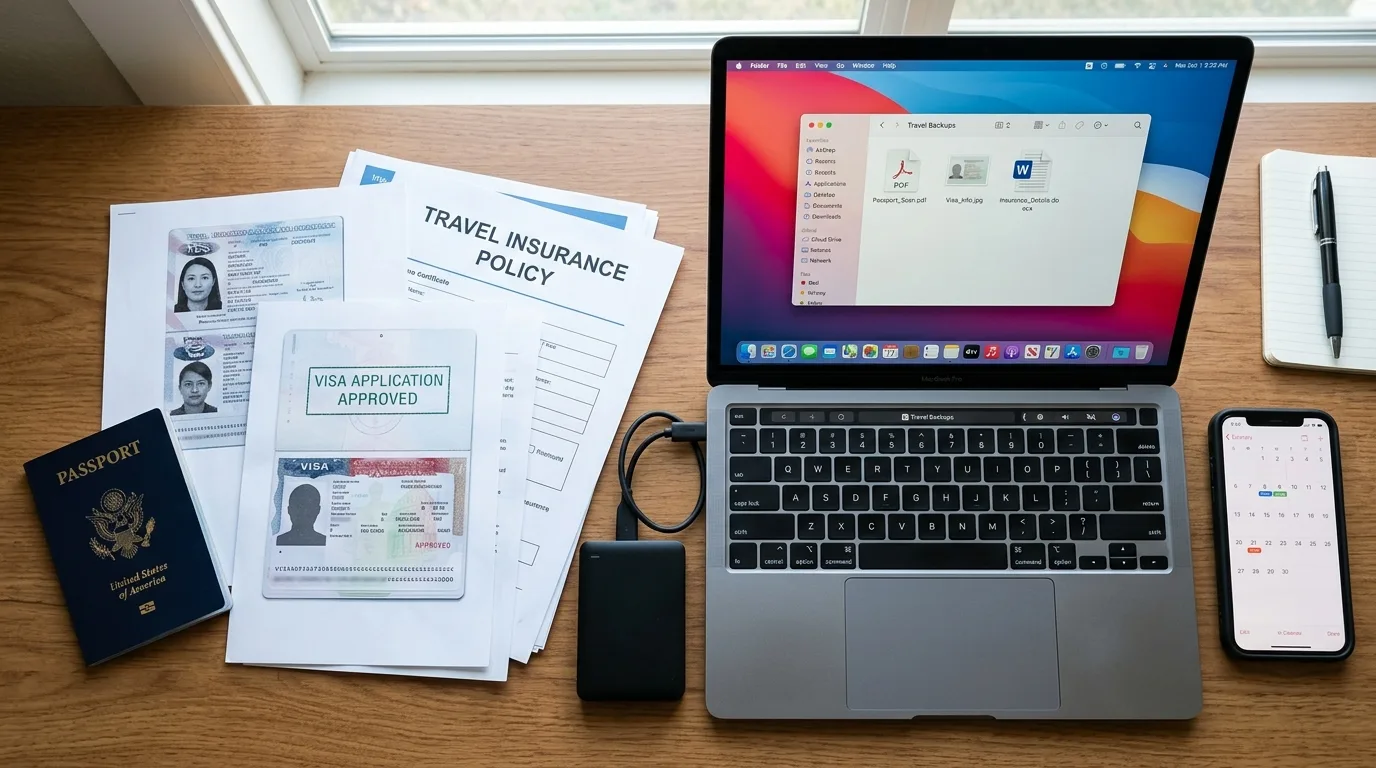
Many visa applications require one or more recent passport-style photographs, but the specifications are not always identical between countries. Requirements may cover dimensions, background color, facial expression, lighting, head position, clothing, and whether glasses or head coverings are permitted. Do not assume that a photograph accepted for your passport will automatically satisfy a visa application’s rules. Check the official specifications before having your photos taken. If digital photographs are required, pay attention to file size, resolution, format, and upload instructions. For paper applications, print photographs to the specified dimensions and avoid attaching them in a way that damages the image. Having several compliant copies can also be useful if you need photographs for related travel documents or applications.
5. Organize Proof of Accommodation
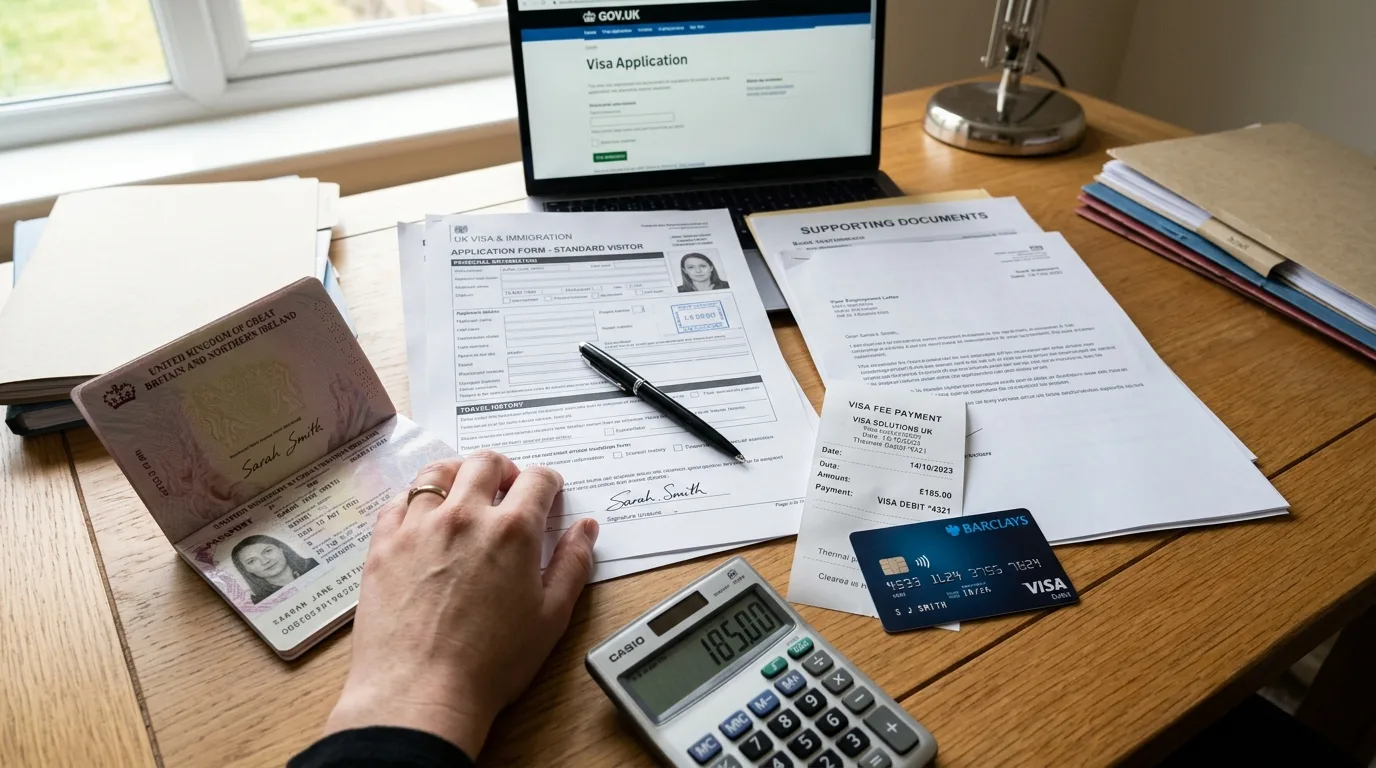
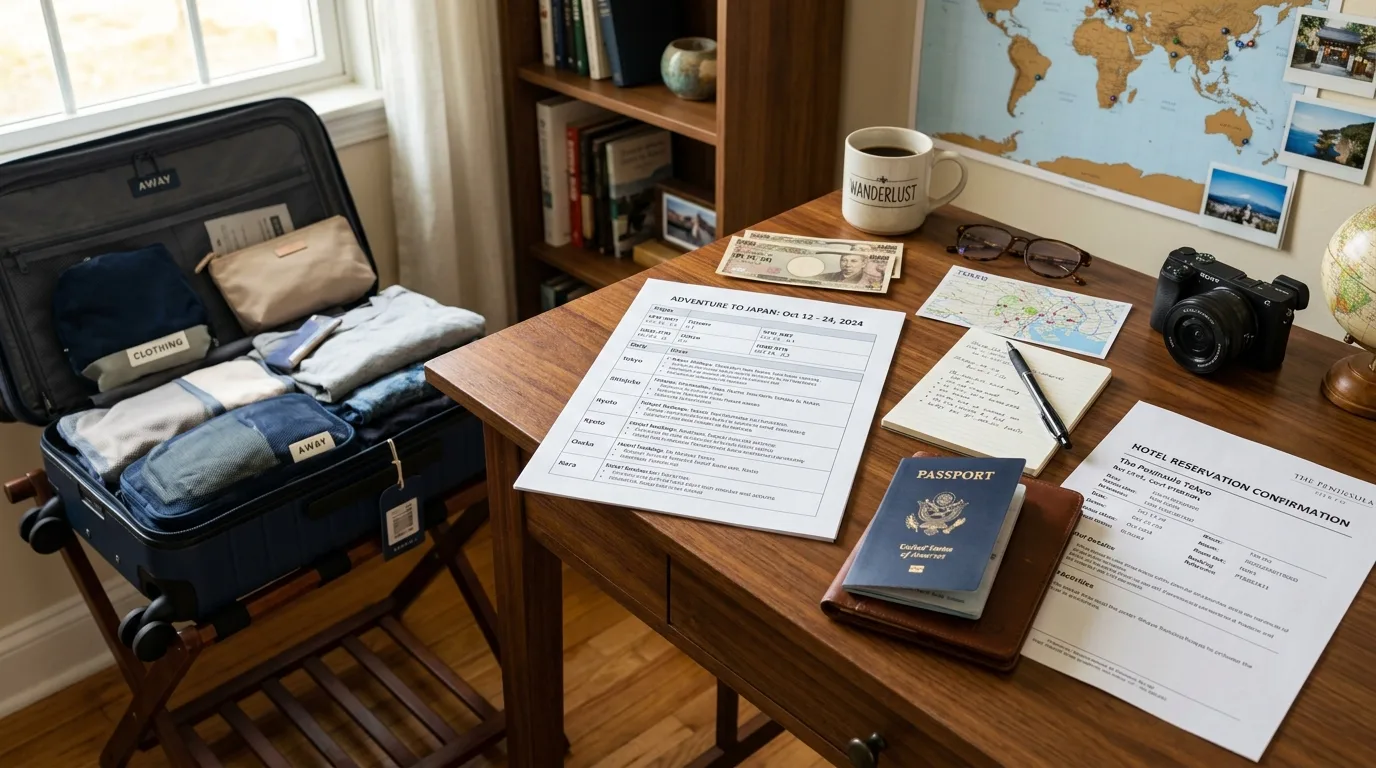
Proof of accommodation may be requested to demonstrate where you intend to stay during your visit. Depending on the destination, this could be a hotel reservation, rental confirmation, invitation from a host, or another acceptable document. Make sure the dates on the accommodation evidence make sense alongside your proposed travel itinerary. If you are staying in multiple cities, organize confirmations for each relevant period. Avoid submitting random or outdated reservations that conflict with the rest of your application. Some travelers choose refundable accommodation when permitted because plans can change before a visa decision is issued. However, never assume that a reservation guarantees visa approval. Keep digital and printed copies of your accommodation details so you can access the address, booking reference, and contact information if immigration officials ask about your plans after arrival.
6. Prepare Evidence of Sufficient Funds
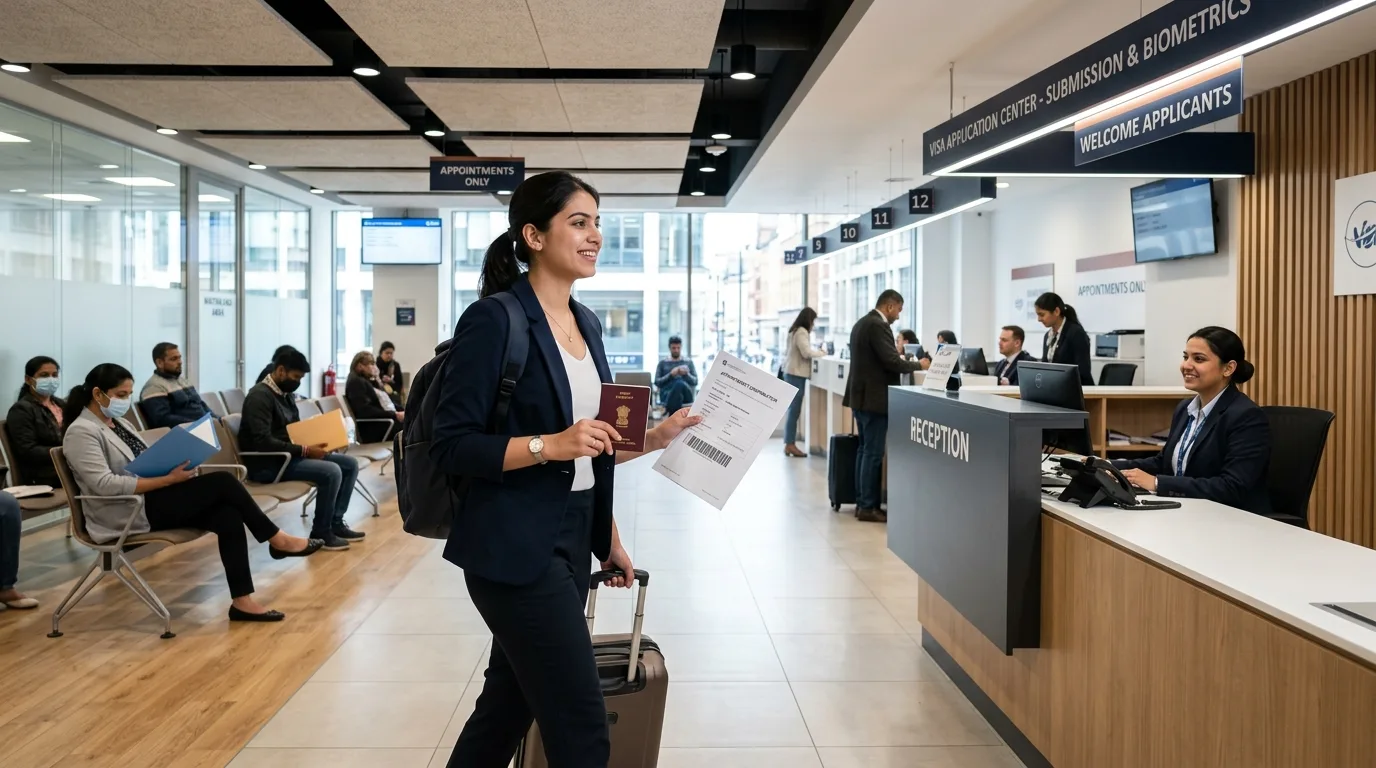
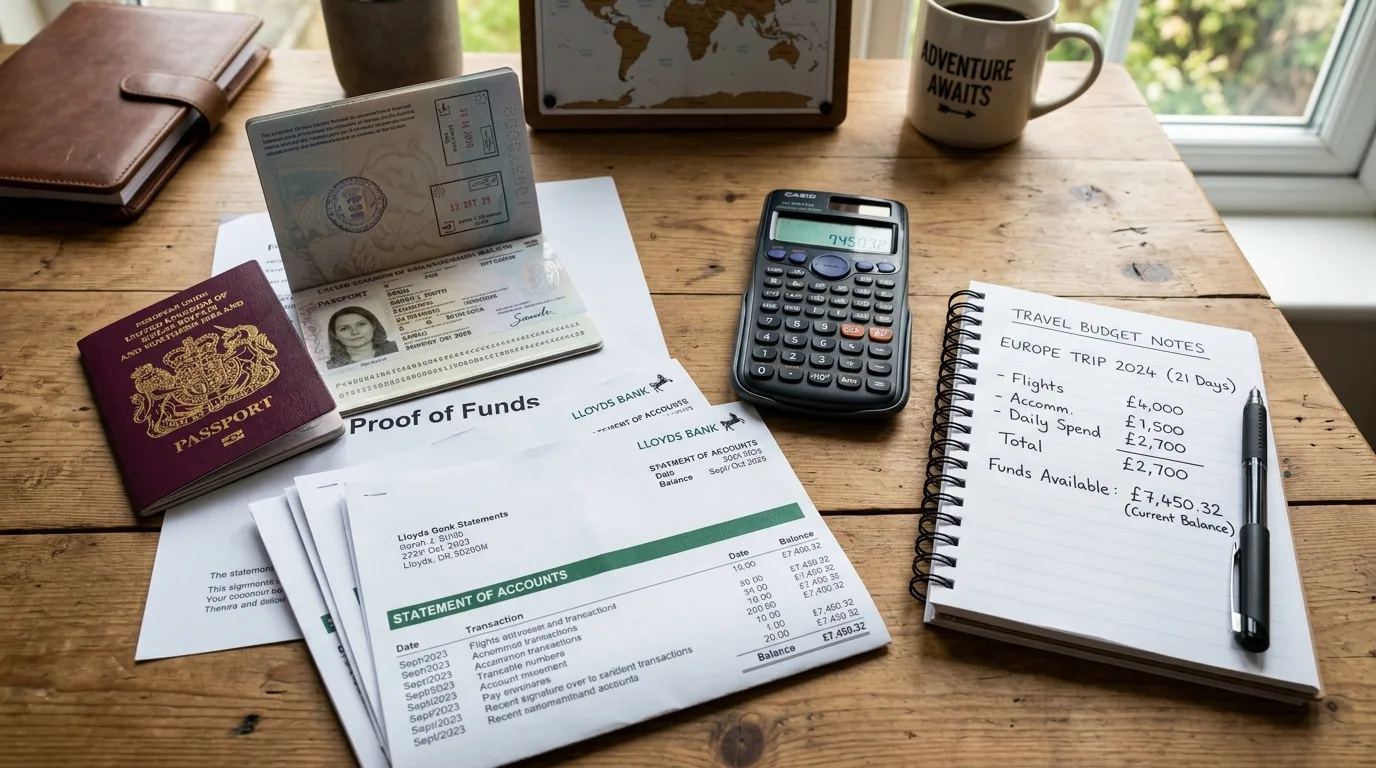
Visa authorities may want evidence that you can financially support yourself during your trip without relying on unauthorized work or public assistance. Accepted evidence varies, but may include bank statements, salary records, employment documents, sponsorship letters, or other proof of available funds. Review the destination’s stated financial requirements carefully if a specific amount is mentioned. Your documents should be recent and easy to understand, and the information should be consistent with the trip you are proposing. For example, an unusually expensive itinerary may require stronger financial evidence than a short budget-conscious visit. Do not suddenly move unexplained large sums into an account simply to create an attractive balance. Instead, provide legitimate documentation that accurately reflects your financial circumstances. If another person is sponsoring your trip, check whether additional sponsor documents are required.
7. Build a Clear Travel Itinerary
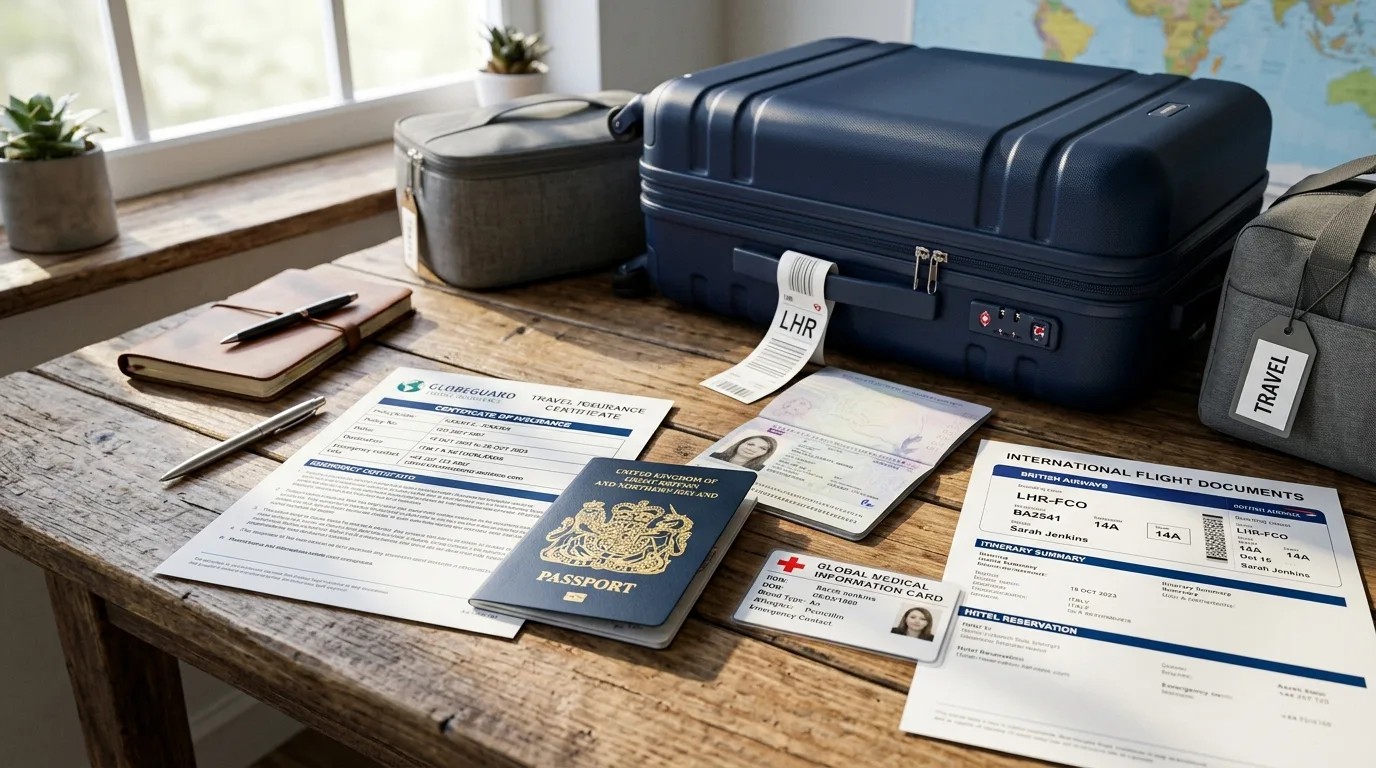
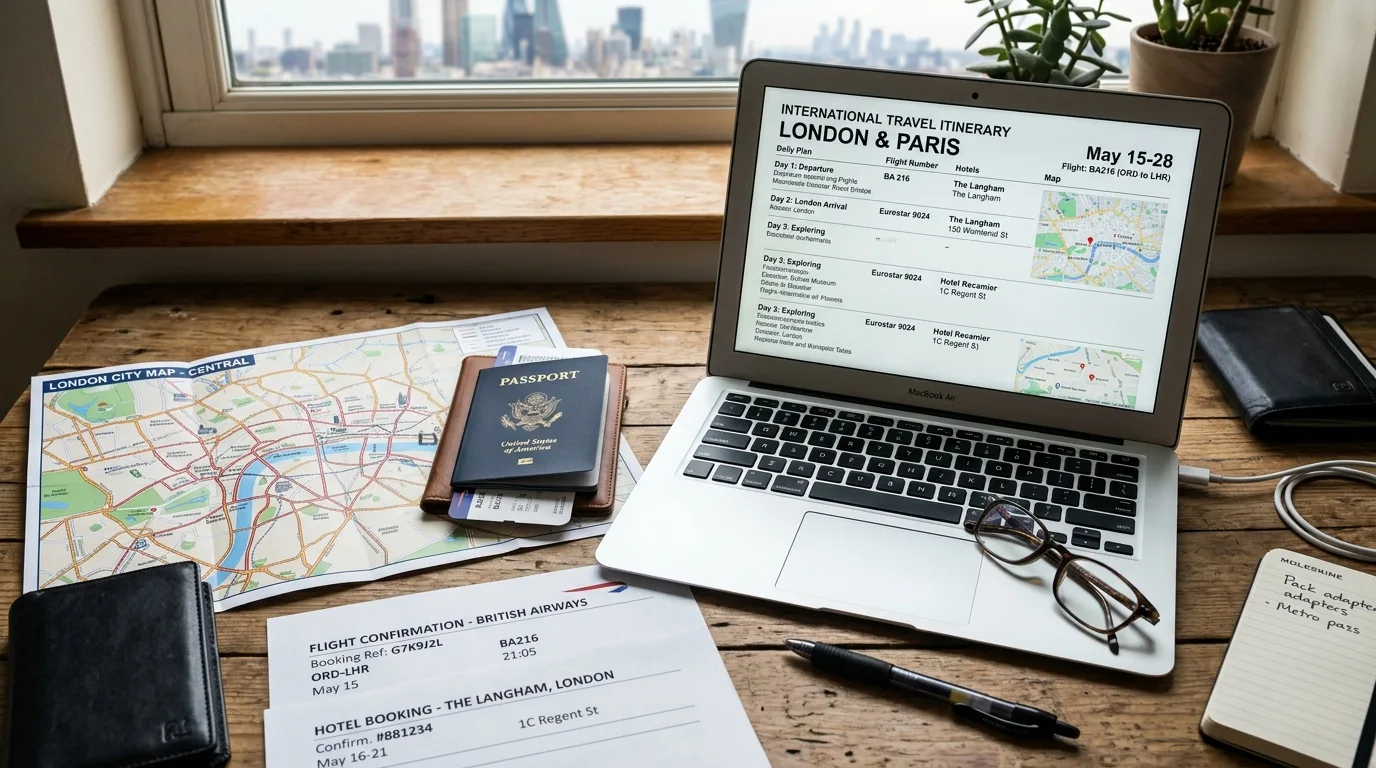
A simple, realistic itinerary can make your travel plans easier to explain and organize. It does not necessarily need to contain every hour of your trip, but it should show your intended destinations, approximate dates, accommodation, and major transportation arrangements where relevant. Make sure the itinerary agrees with your visa application and supporting documents. If you plan to visit several cities or countries, check whether your visa permits the proposed movement and number of entries. Keep flight reservations and transportation details organized, especially if they are requested as part of the application. Avoid creating an unnecessarily complicated schedule merely to make the application look detailed. A practical itinerary is more useful than an elaborate one that you cannot realistically follow. After the visa is issued, keep a final version with your travel documents.
8. Gather Proof of Employment or Study
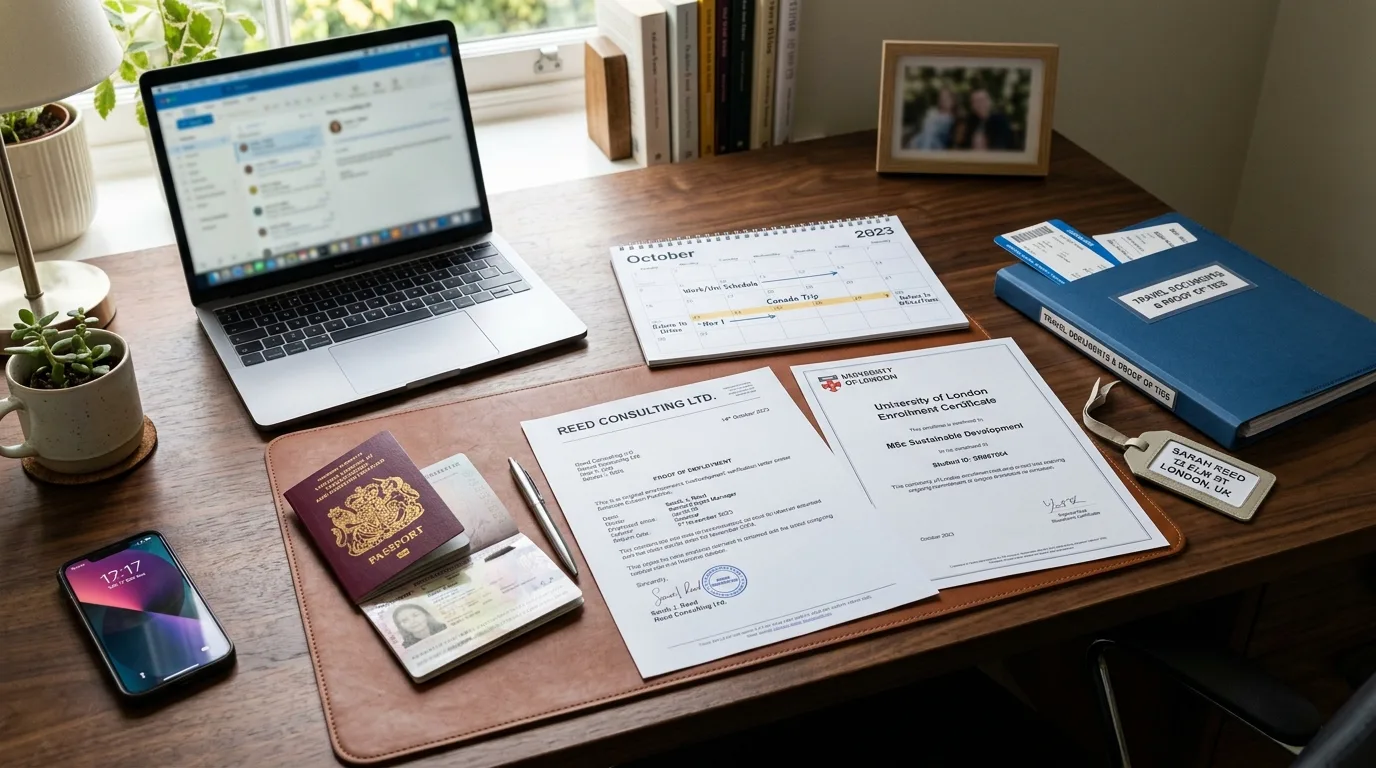
Evidence of employment or education can help establish your circumstances at home and explain why you intend to return after your trip. Depending on the visa rules, this might include an employment letter, approved leave confirmation, recent payslips, business registration documents, or a school or university enrollment letter. The document should clearly identify your position or status and, where appropriate, the dates of approved leave. Self-employed travelers may need different evidence, such as business records or registration documents. Students can usually prepare current enrollment evidence and information about their academic schedule. Make sure names and dates match the rest of your application. These documents should not be viewed as a guarantee of approval; they are simply part of the evidence authorities may consider when assessing your circumstances and travel purpose.
9. Arrange Travel Insurance If Required or Advisable
Some destinations require travelers to have travel medical insurance that meets specific coverage conditions, while other destinations simply recommend it. If insurance is mandatory, check the required coverage amount, geographical area, duration, medical benefits, and documentation format before purchasing a policy. The policy dates should cover the appropriate period of your trip. Even when insurance is optional, it can protect you from significant expenses caused by medical emergencies, trip interruptions, lost luggage, or other covered problems. Read the policy wording rather than choosing solely on price. Keep your certificate and emergency contact information with your other travel documents. If your visa application requires proof of insurance, make sure the submitted certificate clearly displays the information requested by the relevant authority.
10. Check Whether You Need a Visa Appointment
Some visa processes require applicants to attend an embassy, consulate, visa center, or other authorized location for document submission, photographs, fingerprints, or an interview. Appointment availability can become limited during busy travel seasons, so check this requirement early. If an appointment is necessary, confirm the location, opening hours, permitted documents, payment method, and whether you must bring originals as well as copies. Arrive with enough time to complete security and administrative procedures. If the application center uses an online appointment system, save the confirmation and any reference number. You should also check its rules about phones, bags, electronic devices, and accompanying people. Preparing these practical details in advance can make the appointment much less stressful and reduce the risk of having to return because something was missing.
11. Prepare for Visa Fees and Payment Rules
Visa fees vary widely depending on the destination, visa category, applicant nationality, and processing option. Before applying, confirm the current fee and determine whether additional service, biometric, courier, or appointment charges apply. Payment methods can also differ. An application center may accept cards, bank transfers, cash, or another approved method, while some fees may be non-refundable even when an application is refused. Do not rely on an old fee amount found in an unofficial travel guide. Check the current instructions associated with your application. If you pay online, save the receipt or transaction confirmation. If someone else is paying for you, make sure the payment is correctly linked to your application. Budgeting for these costs early prevents an avoidable delay when you are otherwise ready to submit your documents.
12. Prepare Copies and Digital Backups
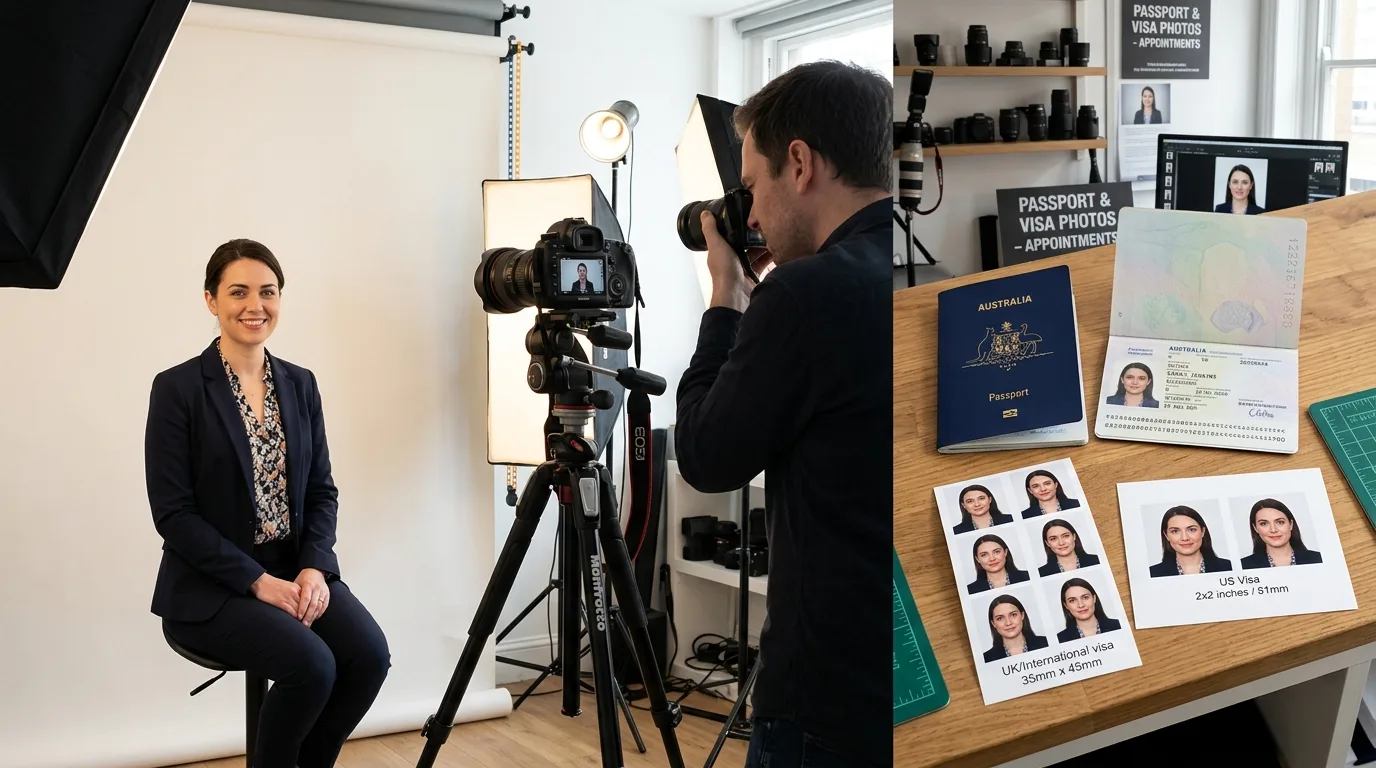
Keeping organized copies of your travel documents is a simple preparation step that can save considerable time. Make copies of your passport identification page, visa, application confirmation, travel insurance, accommodation records, transportation bookings, financial evidence, and important contact details. Store digital copies in a secure location that you can access while traveling, and consider keeping an additional offline copy on a protected device. Do not leave sensitive documents publicly accessible or send them casually through unsecured channels. Organize files with clear names so you can find them quickly. It is also useful to keep emergency contact information separately from your phone in case your device is lost or unavailable. While copies do not replace original documents, they can make it much easier to report a problem, prove key details, or arrange replacements during an unexpected situation.
13. Check Health and Entry Requirements
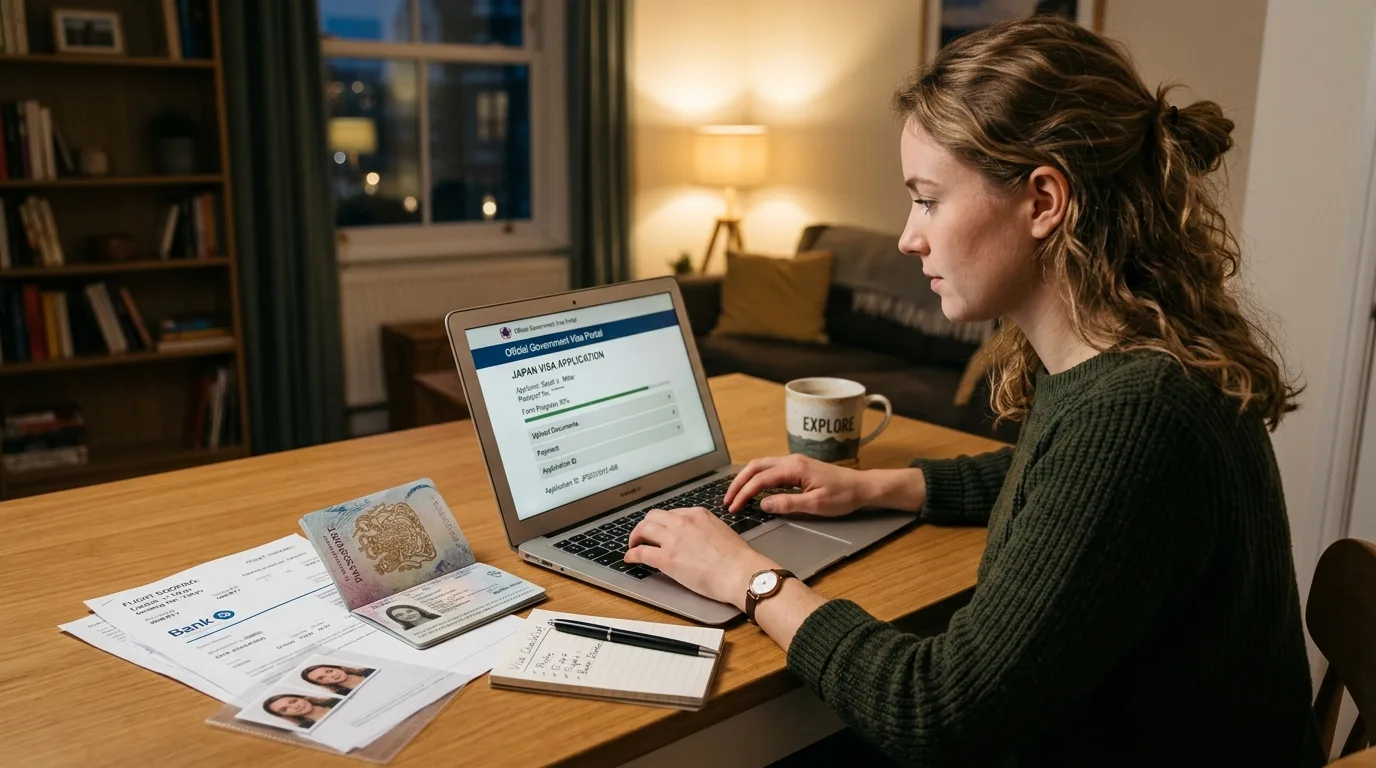
A visa is only one part of preparing for international travel. Depending on your destination and recent travel history, you may need to meet additional health or entry requirements. These can include vaccination certificates, health declarations, medication documentation, or other requirements that change according to current regulations. Check official government or immigration information well before departure because some health preparations may take time. If you take prescription medication, keep it in its original packaging and carry appropriate documentation when necessary. Also check whether your destination has restrictions on particular medicines or substances. Do not assume that receiving a visa means you automatically satisfy every entry condition. Requirements can be checked separately at the border, and airlines may also verify certain documents before allowing you to board. Review the latest rules shortly before departure.
14. Understand Your Visa Conditions
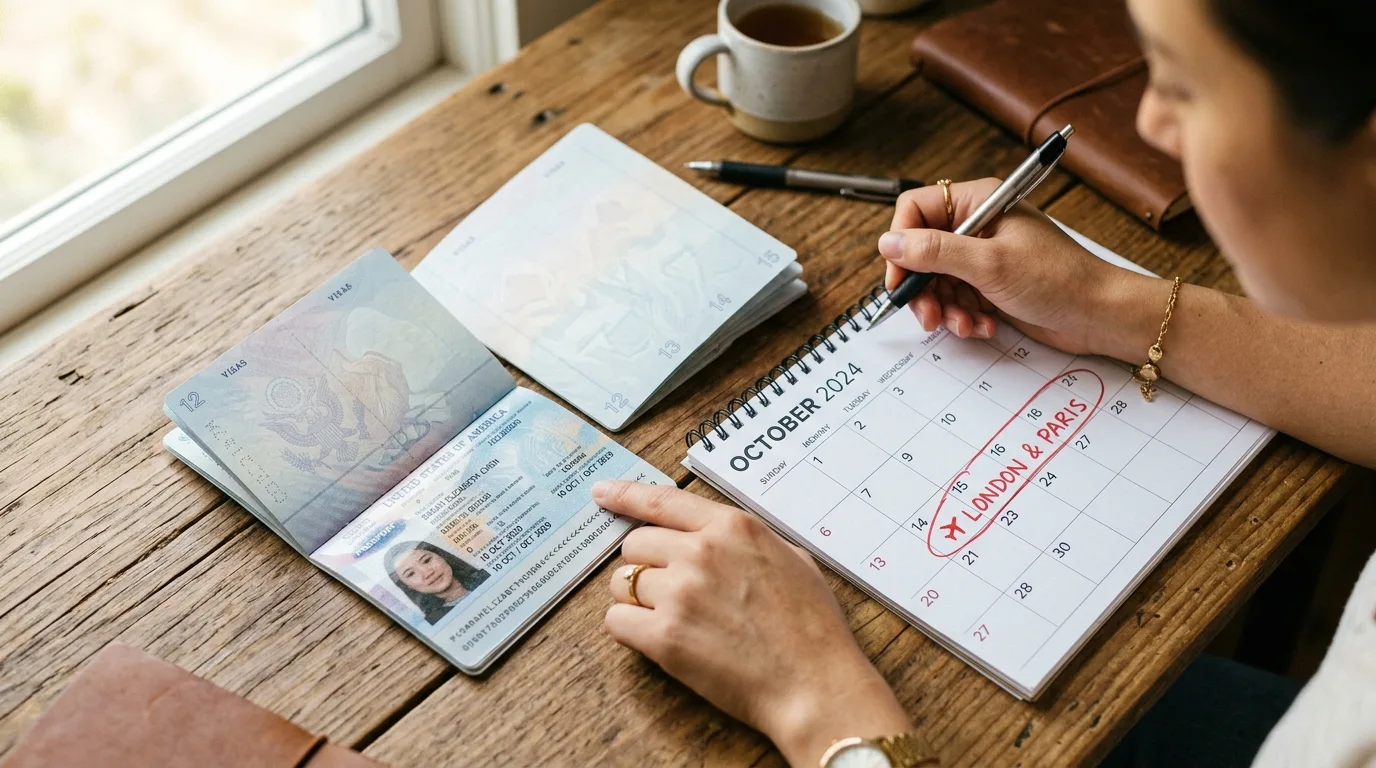
Receiving a visa does not mean you can travel without restrictions. Read the visa carefully after it is issued and verify the name, passport number, validity dates, number of entries, and permitted duration of stay. These details matter because a visa may allow entry only during a specific period or may limit how long you can remain after arrival. Some visas also restrict employment, study, or other activities. If anything appears incorrect, contact the appropriate authority before traveling rather than assuming it can be corrected at the border. Keep the visa accessible throughout your journey and understand whether it is electronic or attached to your passport. Knowing the conditions in advance helps you avoid accidental overstays or activities that are not permitted under your visa category.
15. Plan for Border Control After Approval
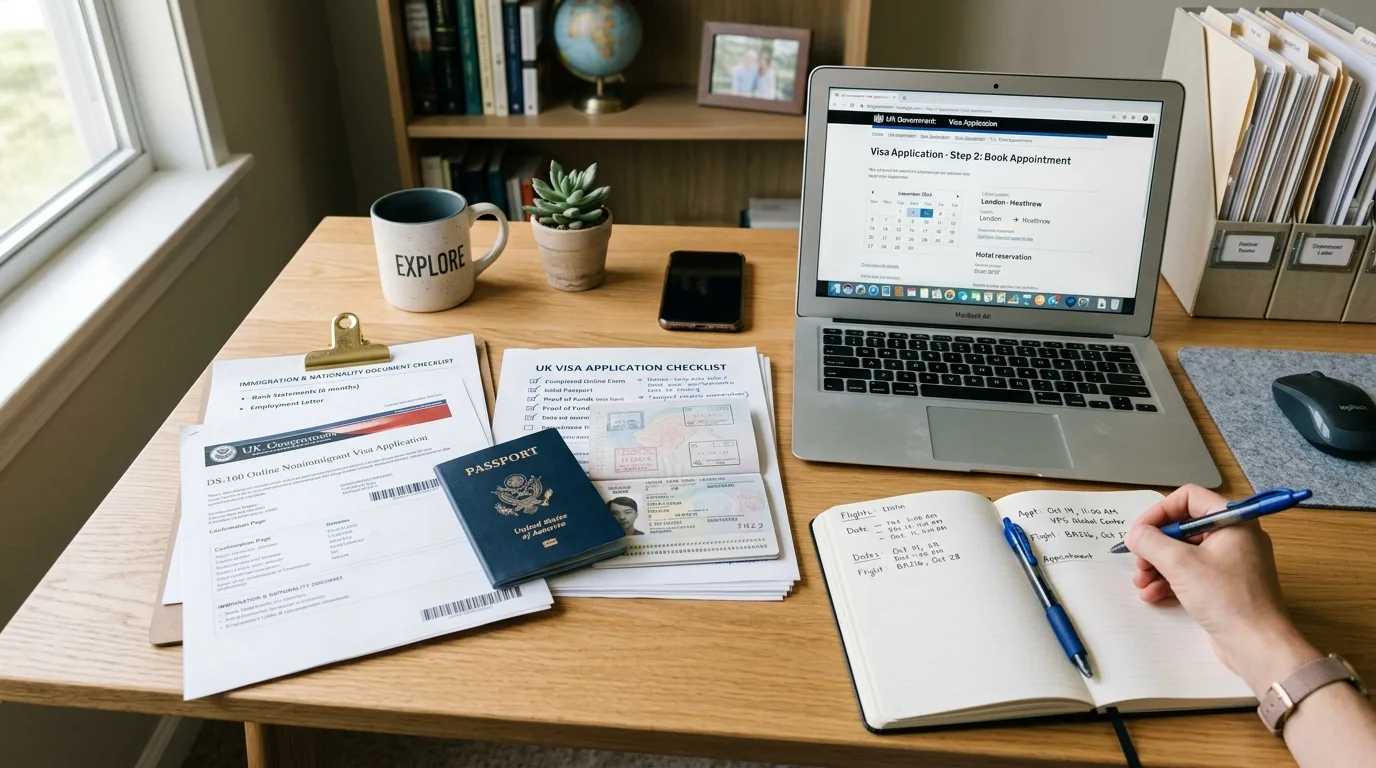
Your preparation should continue after the visa is approved. Border officials may ask about your purpose of travel, accommodation, return plans, finances, or intended length of stay, so keep relevant documents accessible in your carry-on rather than packed in checked luggage. Have your passport and visa ready, along with accommodation information, return or onward travel details, and insurance evidence if relevant. Answer questions honestly and clearly, and avoid giving inconsistent information about your trip. Remember that a visa generally allows you to seek entry; the final admission decision is made according to the destination’s border rules. Before leaving home, review your flight details, airport requirements, baggage restrictions, and entry conditions once more. A calm final document check can turn weeks of visa preparation into a much smoother arrival experience.