
Scratched glass can make windows, mirrors, tables, shower doors, and other surfaces look old and neglected. Fortunately, many light surface scratches can be reduced at home with simple materials and careful polishing. The right method depends on the type of glass, the depth of the scratch, and where the glass is used. Before trying any technique, clean the surface thoroughly and test your chosen method on a small, hidden area. Deep scratches, cracks, chips, or scratches on safety-critical glass should be assessed by a professional rather than aggressively polished. The following easy glass scratch removal methods range from gentle household solutions to more specialized polishing techniques. With patience and a light touch, you may be able to restore clarity and improve the appearance of lightly scratched glass without replacing it.
1. Clean the Glass Thoroughly First
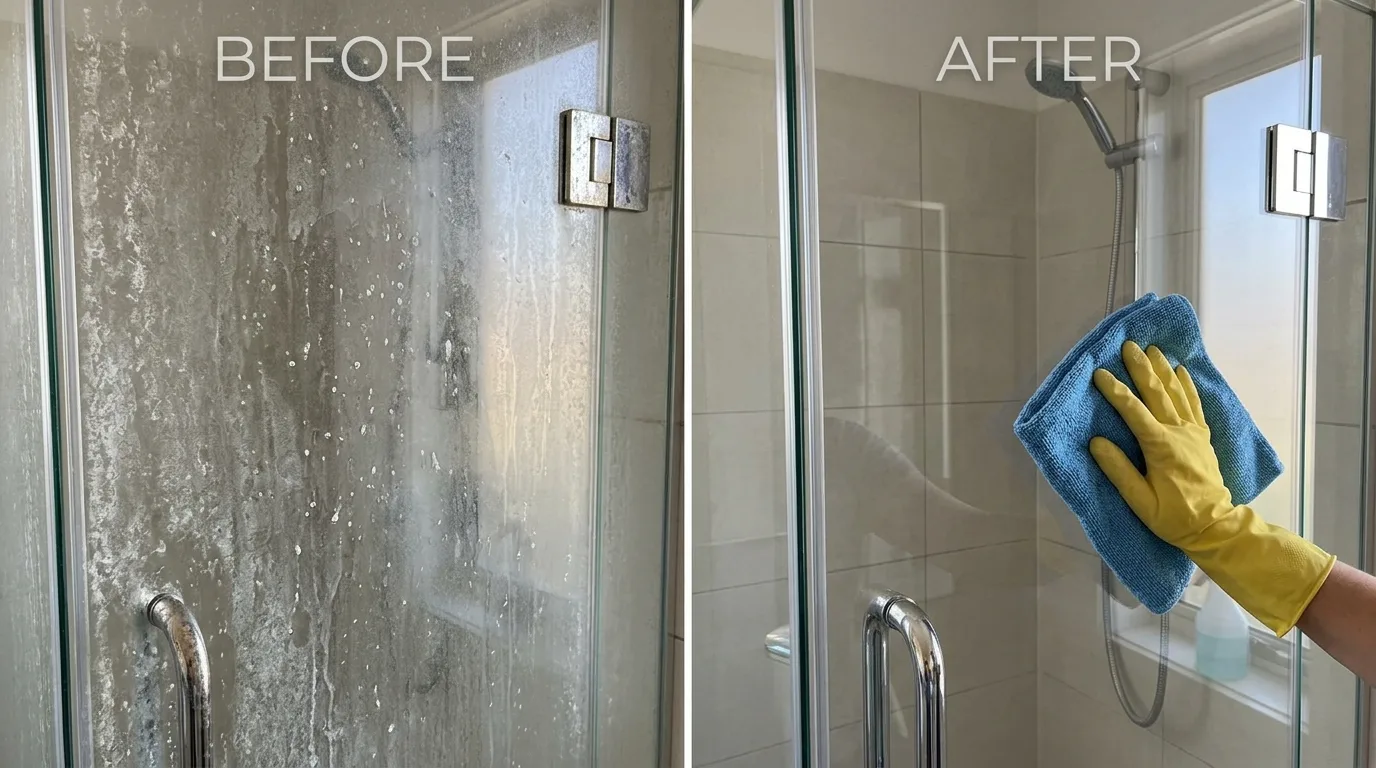
Before attempting to remove scratches, clean the glass carefully to remove dust, grit, fingerprints, and other debris. Small particles trapped beneath a cloth or polishing pad can create additional scratches while you work. Spray a mild glass cleaner onto a soft microfiber cloth rather than directly onto delicate surfaces, then wipe the area gently. For stubborn residue, use clean water and a small amount of mild dish soap. Dry the glass completely with another lint-free cloth and inspect the scratch under good lighting. Cleaning will not remove an actual scratch, but it helps you determine its true depth and prevents dirt from interfering with later polishing. Never begin rubbing a visibly gritty surface.
2. Try Baking Soda for Very Light Scratches
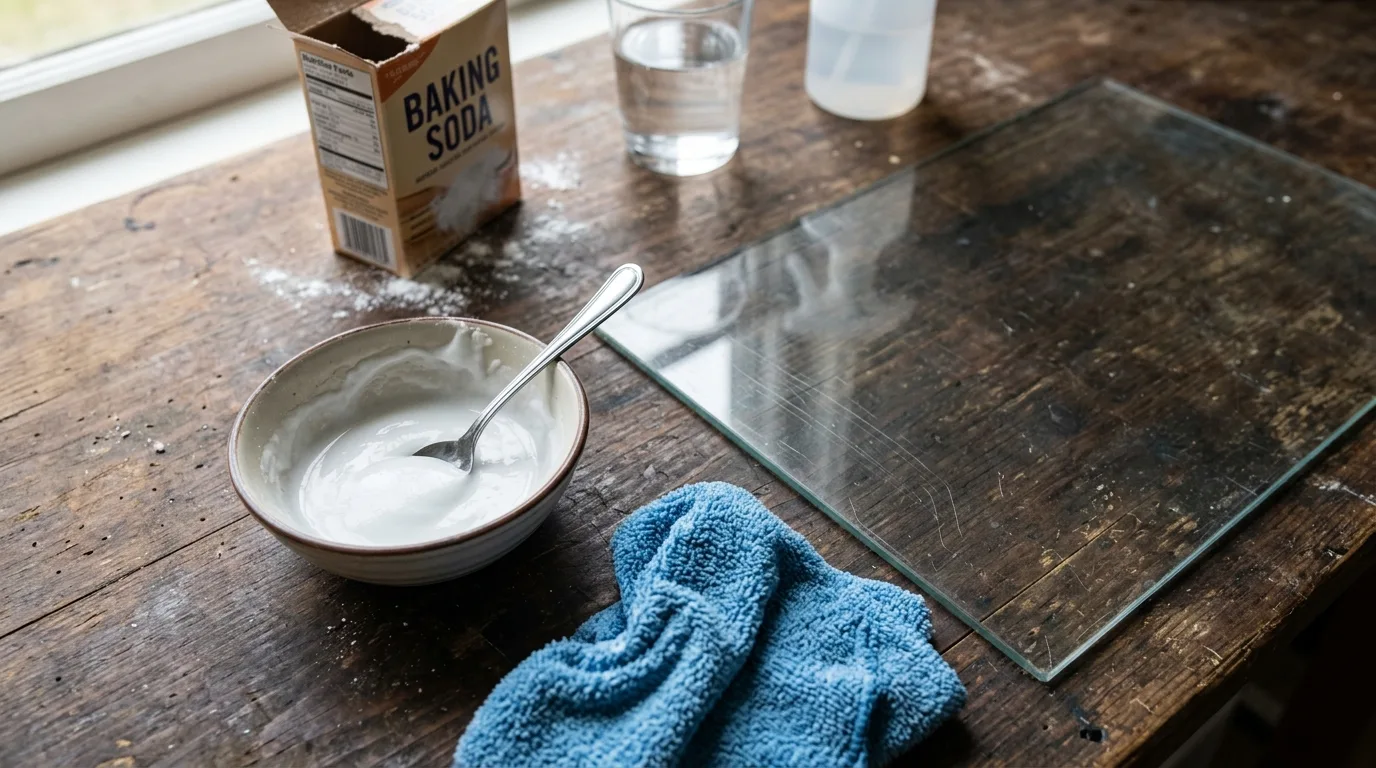
Baking soda can work as a mild abrasive for extremely shallow marks on ordinary glass. Mix a small amount of baking soda with water until it forms a smooth, toothpaste-like paste. Apply a tiny amount to a soft microfiber cloth and gently rub the scratched area using small circular motions. Keep the pressure light and work for only a short period before wiping the surface clean. Check the result before repeating the process. Baking soda is more appropriate for faint surface imperfections than deep scratches. Avoid using a dry powder directly on glass because loose particles can behave like grit. Always test this method on an inconspicuous section first.
3. Use White Toothpaste on Minor Marks
Plain white, non-gel toothpaste is sometimes useful for reducing the appearance of very fine scratches because it contains mild polishing particles. Put a small dab on a clean microfiber cloth and gently work it over the scratch with circular movements. Avoid applying heavy pressure, since aggressive rubbing can create a cloudy patch or additional fine marks. After about a minute, remove the toothpaste with a damp cloth and dry the glass. Inspect the area before deciding whether another short application is worthwhile. This approach is best reserved for minor cosmetic scratches on common household glass. Avoid whitening formulas, abrasive gels, or specialty toothpastes with strong additives unless the manufacturer specifically indicates they are suitable for polishing.
4. Polish with Cerium Oxide
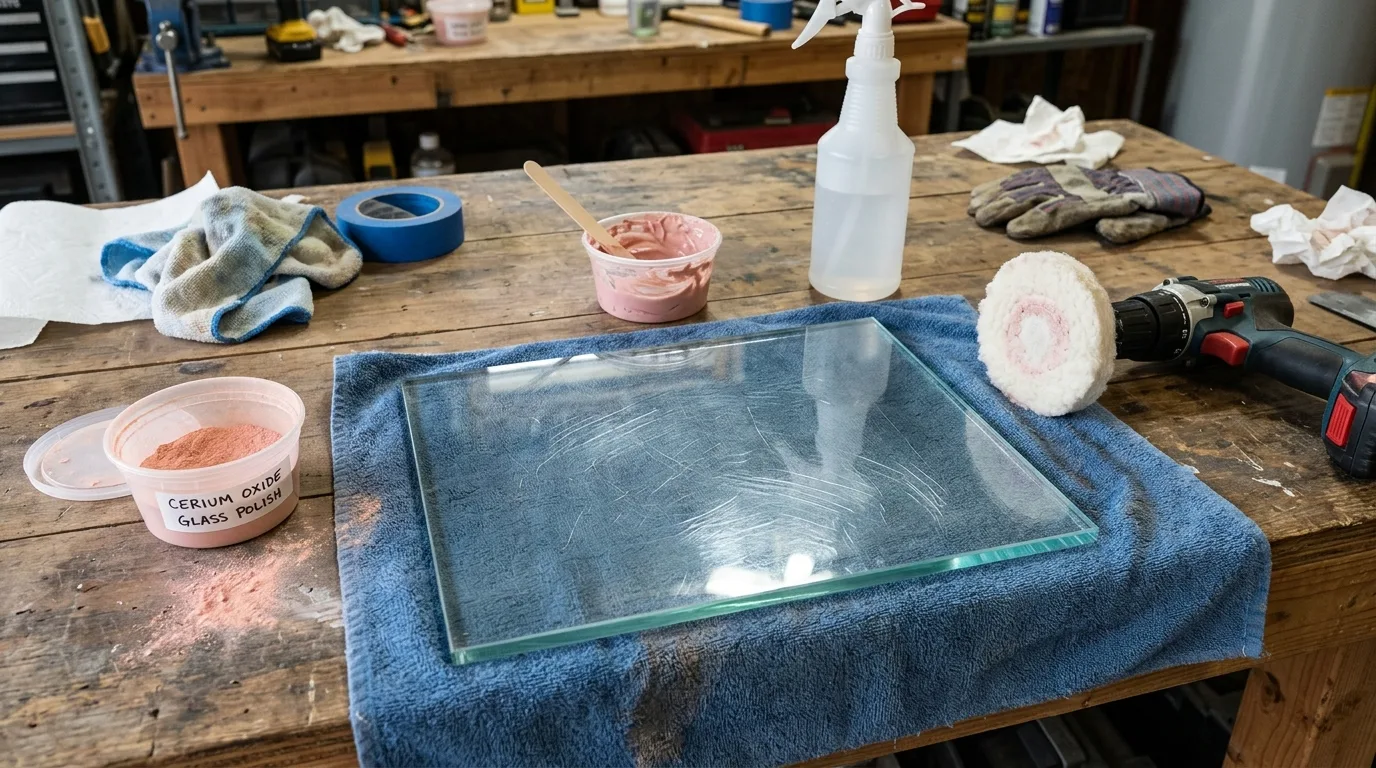
Cerium oxide is a professional-style glass polishing compound that can be effective against certain surface scratches. It is commonly mixed with water to create a slurry and applied with a suitable polishing pad. Work slowly, keeping the pad moving so that one area does not become excessively polished or heated. Follow the product instructions carefully because the correct concentration and technique matter. Cerium oxide is more aggressive than household remedies, so it should not be treated like an ordinary cleaning product. Wear appropriate eye and respiratory protection according to the product label, and protect surrounding surfaces from splashes. This method is generally better suited to people comfortable with careful polishing rather than first-time DIY repairs.
5. Use a Glass Polishing Kit
A commercial glass polishing kit can simplify scratch removal because it typically includes a polishing compound, pads, and instructions designed for glass. Choose a kit specifically intended for the type of glass you are repairing. Before starting, clean the surface and read the instructions completely. Most kits require gradual polishing rather than prolonged pressure in one spot. Keep the polishing area controlled and frequently check your progress. If the glass begins looking distorted, hazy, or uneven, stop and reassess the technique. A kit can be particularly useful when household remedies are not strong enough but the scratch is still relatively shallow. Do not assume that every kit is suitable for coated, tinted, laminated, or specialty glass.
6. Apply a Jeweler’s Polishing Compound Carefully
Some fine jeweler’s polishing compounds can help improve the appearance of tiny scratches because they are designed for controlled polishing. If using one on glass, select a product whose manufacturer permits glass applications. Apply only a very small amount to a clean, soft polishing cloth and use gentle, consistent movements. Avoid coarse compounds because they can make the surface worse instead of better. After polishing, clean away all residue and inspect the glass from different angles. This technique is most appropriate for small cosmetic imperfections rather than deep scratches. Because compounds vary considerably in abrasiveness, checking the product instructions is essential. When in doubt, choose a dedicated glass polishing product instead.
7. Use a Microfiber Cloth for Gentle Polishing
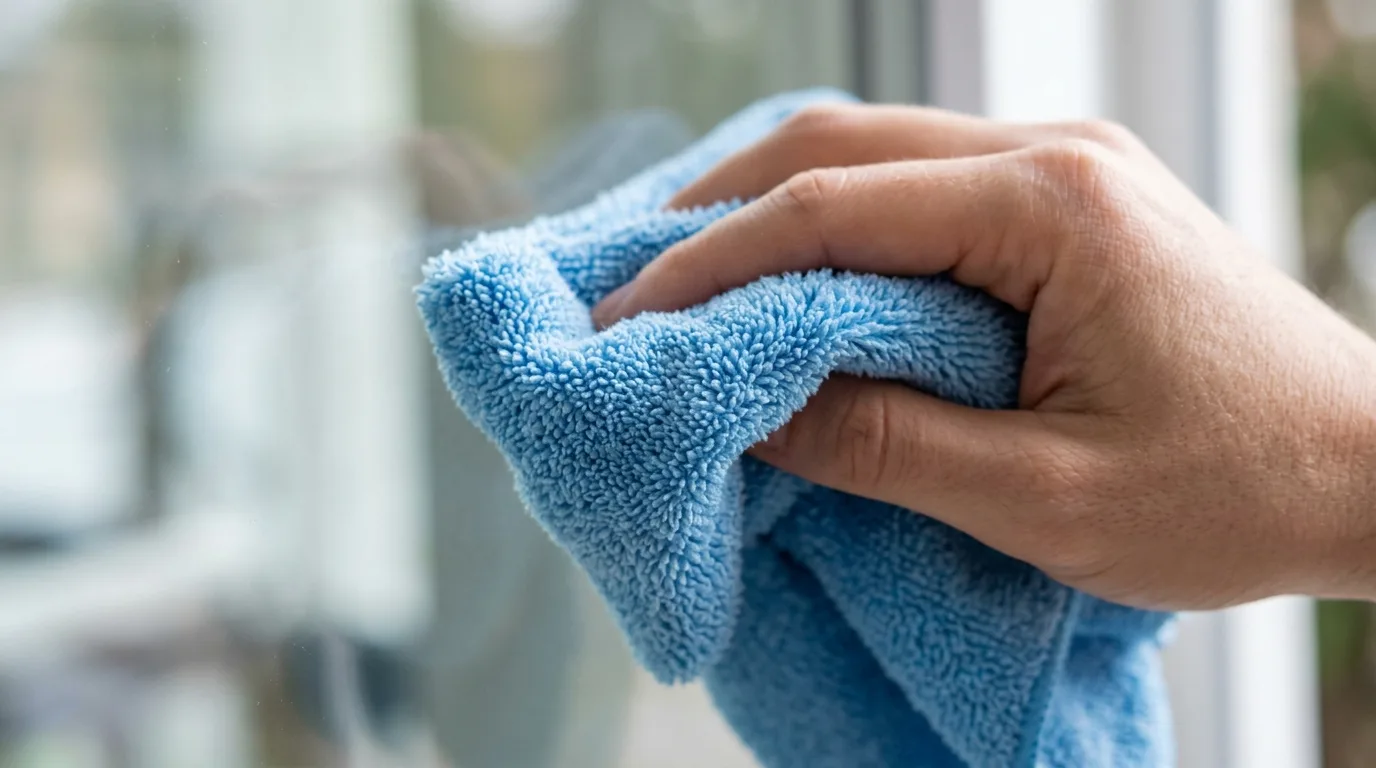
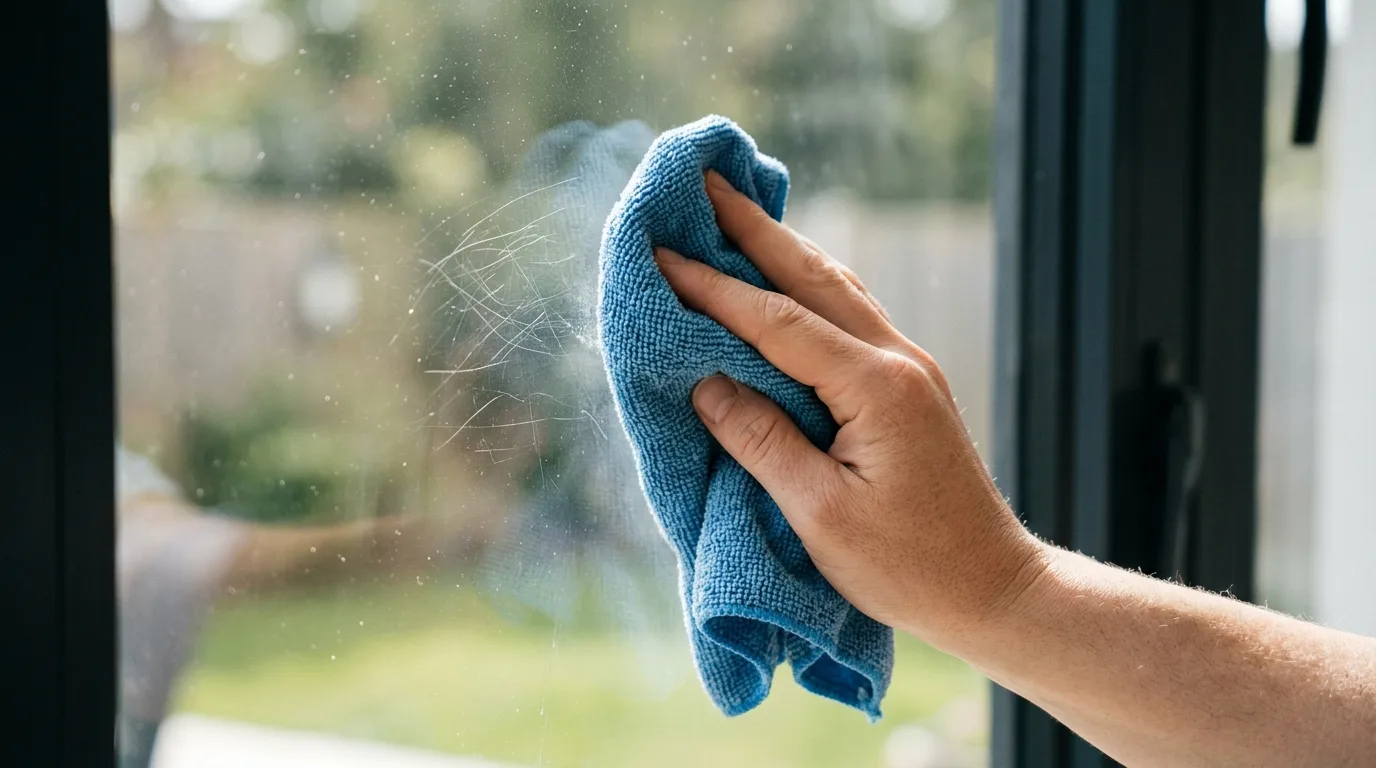
A high-quality microfiber cloth can sometimes improve the appearance of extremely faint scuffs without introducing additional abrasion. This is especially useful when what looks like a scratch is actually a surface mark, residue, or fine transfer from another material. Fold the cloth into a clean section and gently buff the area after washing and drying the glass. Do not use excessive pressure or scrub rapidly. If the mark remains unchanged after gentle cleaning, it may be a genuine scratch requiring a polishing compound. Microfiber is also an important tool for every other method because it reduces the chance of leaving lint or hard particles behind. Keep separate cloths for cleaning and polishing.
8. Try a Mild Dish-Soap Solution
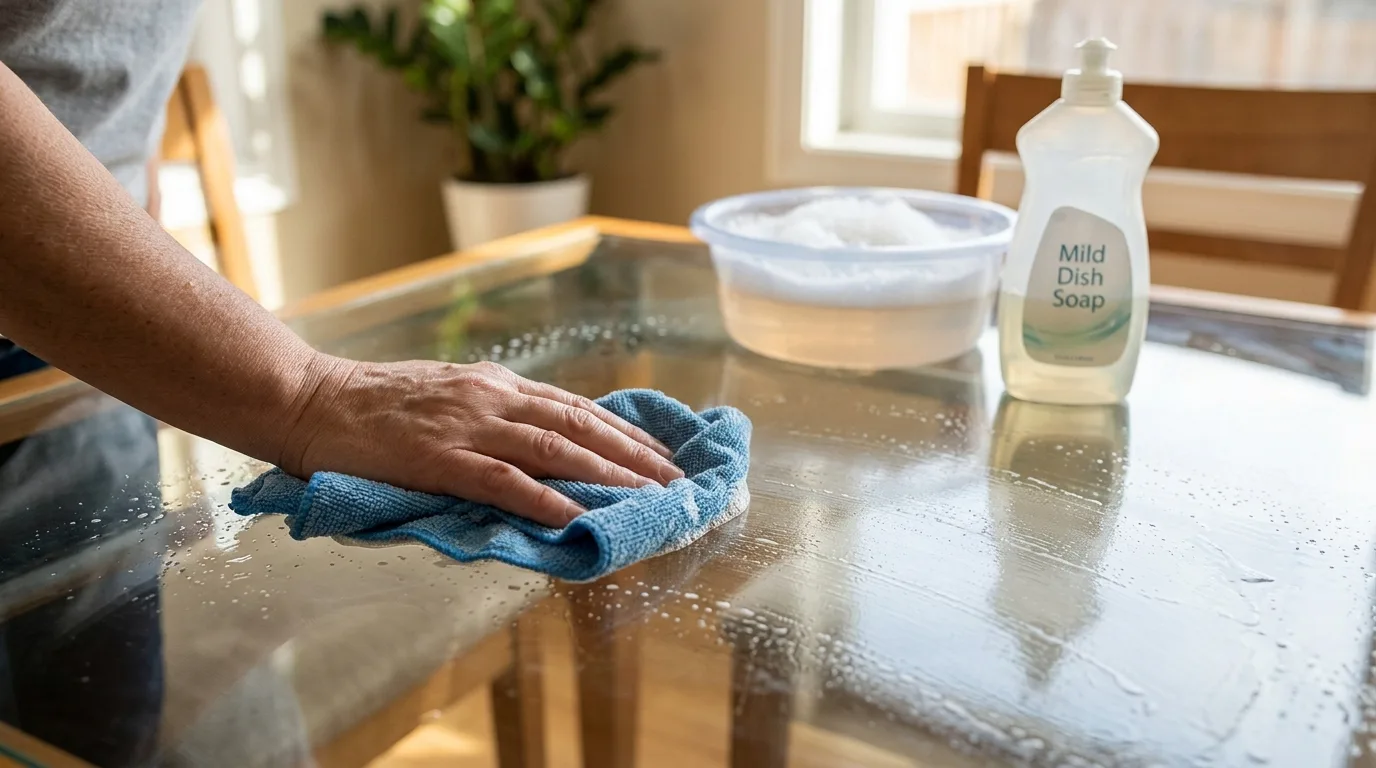
Sometimes a supposed scratch is actually a layer of dried residue, grease, adhesive, or mineral buildup. Before using an abrasive treatment, make a mild cleaning solution with warm water and a few drops of dish soap. Dampen a soft cloth, gently clean the affected area, and rinse with clean water. Dry it completely and examine the surface again under direct light. This method will not repair genuine scratches, but it can reveal whether the mark is sitting on top of the glass rather than inside it. It is particularly useful for mirrors, windows, glass shelves, and shower doors. Starting with the least aggressive method is always sensible because unnecessary polishing can permanently alter a glass surface.
9. Use a Dedicated Glass Scratch Remover
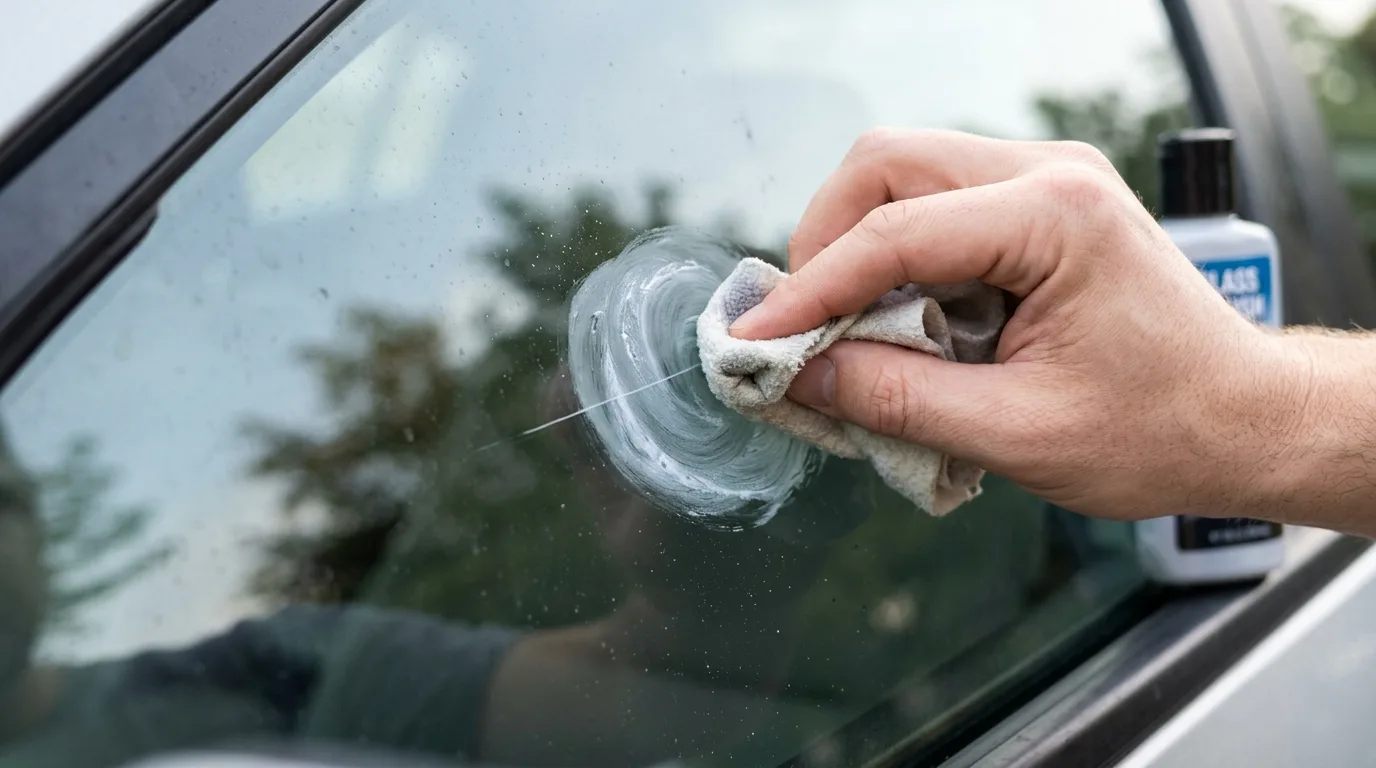
Products marketed specifically for removing or polishing glass scratches can be convenient when you want a ready-to-use solution. Look for a product designed for glass rather than plastic, metal, or automotive paint. Read the directions carefully and check whether it is appropriate for coated or treated surfaces. Apply the recommended amount with the supplied applicator or a clean microfiber cloth, using controlled movements. Do not assume that applying more product will produce faster results. Many scratch removers are intended for light imperfections and may not repair deep damage. Test the product in a discreet location first. After treatment, remove all residue and inspect the glass under natural and artificial light.
10. Polish Small Areas by Hand
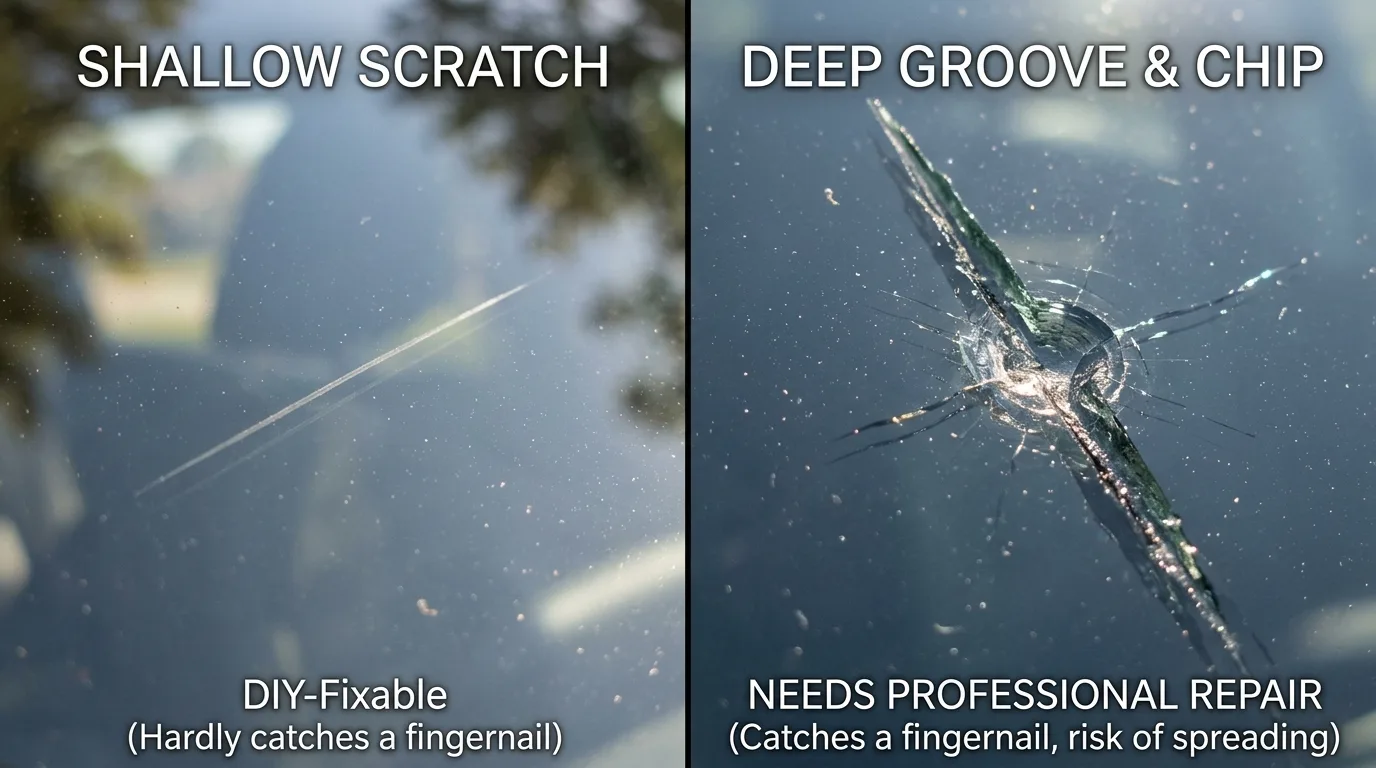
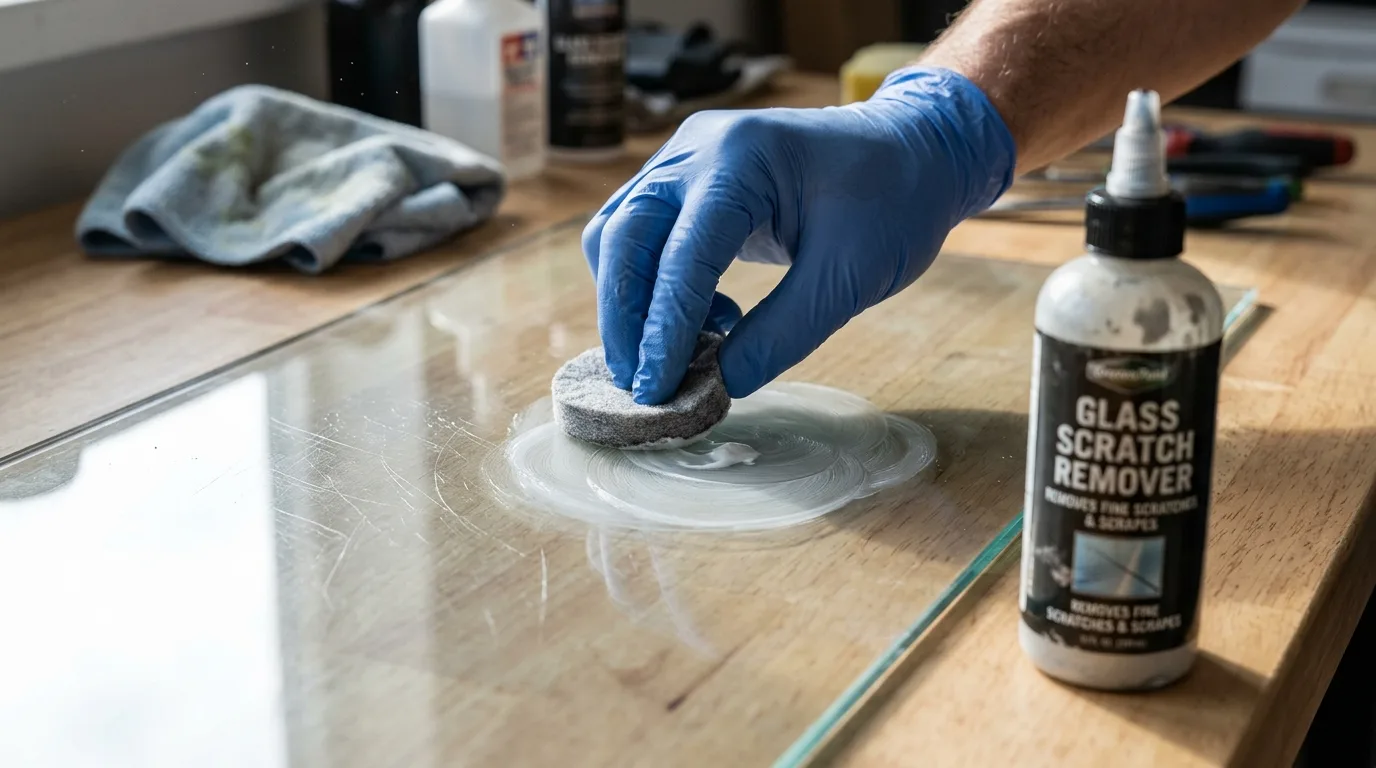
Hand polishing gives you better control when dealing with a small scratch. Use a suitable glass polishing compound and a soft applicator, then work over the damaged area with slow circular or back-and-forth movements. Keep the pressure consistent and avoid expanding the polished area unnecessarily. Stop regularly to wipe away residue and evaluate the result. Hand polishing takes longer than using a machine, but the slower process makes it easier to avoid overworking one section. This approach works particularly well for small cosmetic scratches on flat glass surfaces. If the scratch catches your fingernail deeply or remains clearly visible after careful polishing, continuing to rub harder is unlikely to provide a safe or attractive repair.
11. Use a Low-Speed Polisher with Care
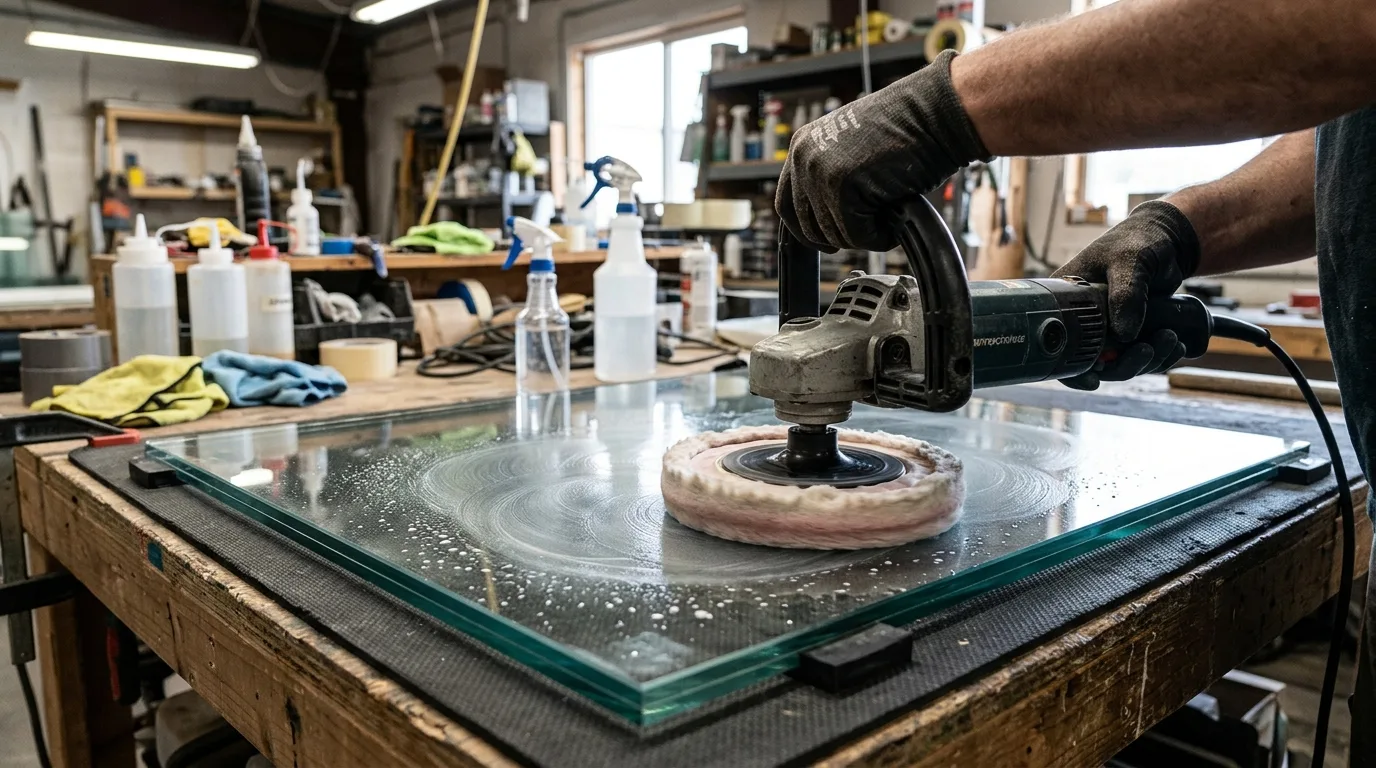
A low-speed polishing tool can make glass scratch removal faster, but it requires considerably more care than hand polishing. Use a pad and compound specifically suitable for glass, and follow the tool and product instructions. Keep the pad moving continuously instead of holding it over one spot. Excessive pressure, speed, or heat can produce optical distortion or damage the surface. Beginners should practice on a disposable piece of glass before working on an important window or tabletop. Protect nearby surfaces and wear the recommended safety equipment. A machine is most useful for larger areas with light scratches, while small marks can often be handled more safely by hand. Stop immediately if the glass becomes unusually hot or hazy.
12. Try Glass Polishing Powder
Fine glass polishing powders can help reduce shallow scratches when mixed and applied according to their instructions. Some are formulated specifically for glass and are designed to be used with water and a polishing pad. Measure the powder carefully and create the recommended slurry rather than guessing the ratio. Apply it gradually while keeping the polishing motion controlled. Because polishing powder can be abrasive, avoid using it on coated or specialty glass unless the manufacturer confirms compatibility. Clean the surface thoroughly after polishing so no residue remains around edges or hardware. This method can be effective, but it requires more precision than simple household cleaning. If you are unfamiliar with polishing powders, a dedicated beginner-friendly glass kit may be easier to control.
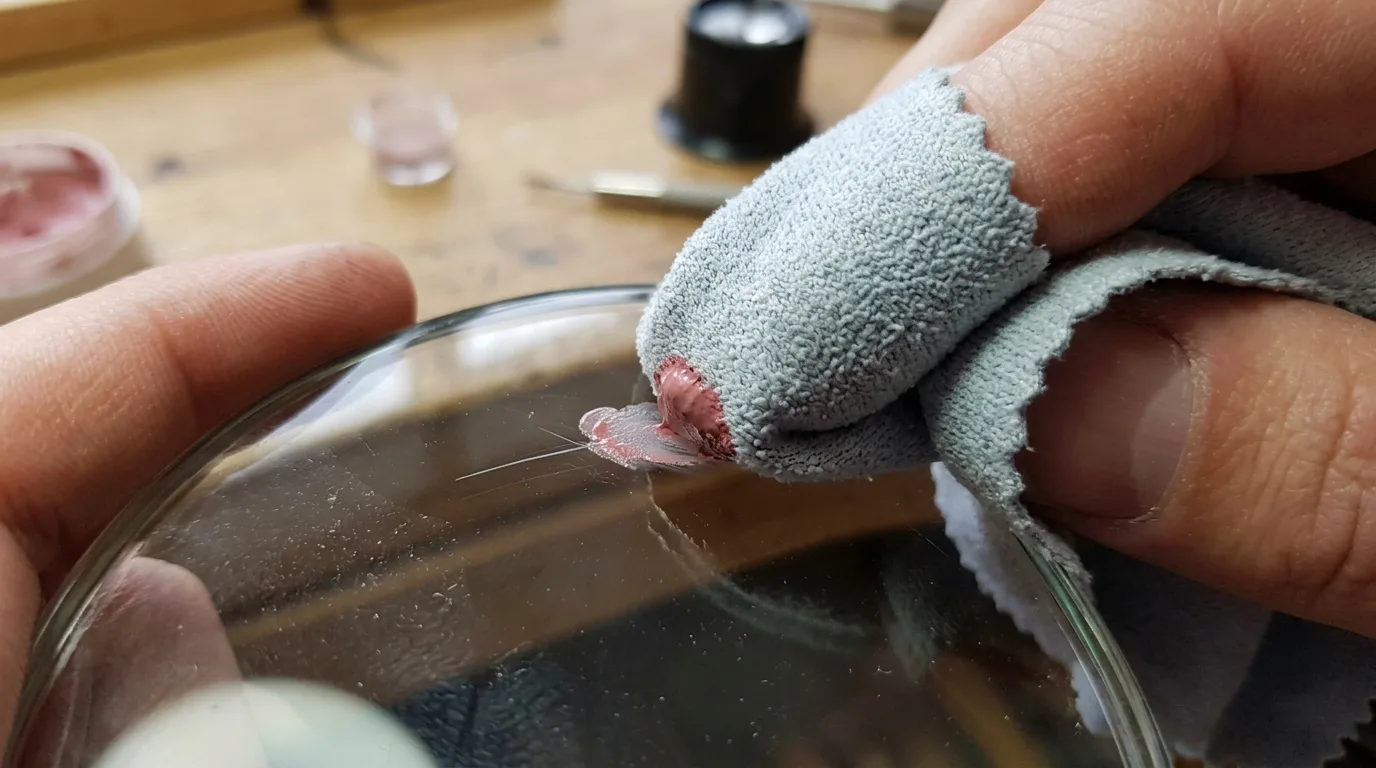
13. Remove Mineral Deposits Before Polishing
Hard-water deposits can create cloudy lines and spots that are easily mistaken for scratches. Removing these deposits first can sometimes make the glass appear dramatically clearer without any abrasive treatment. Use a cleaner appropriate for the glass and follow its directions. For surfaces exposed to mineral buildup, such as shower doors, a suitable descaling solution may loosen deposits. Never mix different cleaning chemicals, especially acidic cleaners with bleach-based products. Once the residue is removed, rinse the glass thoroughly and dry it with a microfiber cloth. If the original mark remains and you can feel it with a fingernail, you are likely dealing with actual surface damage. Identifying the problem correctly prevents unnecessary polishing and protects the glass.
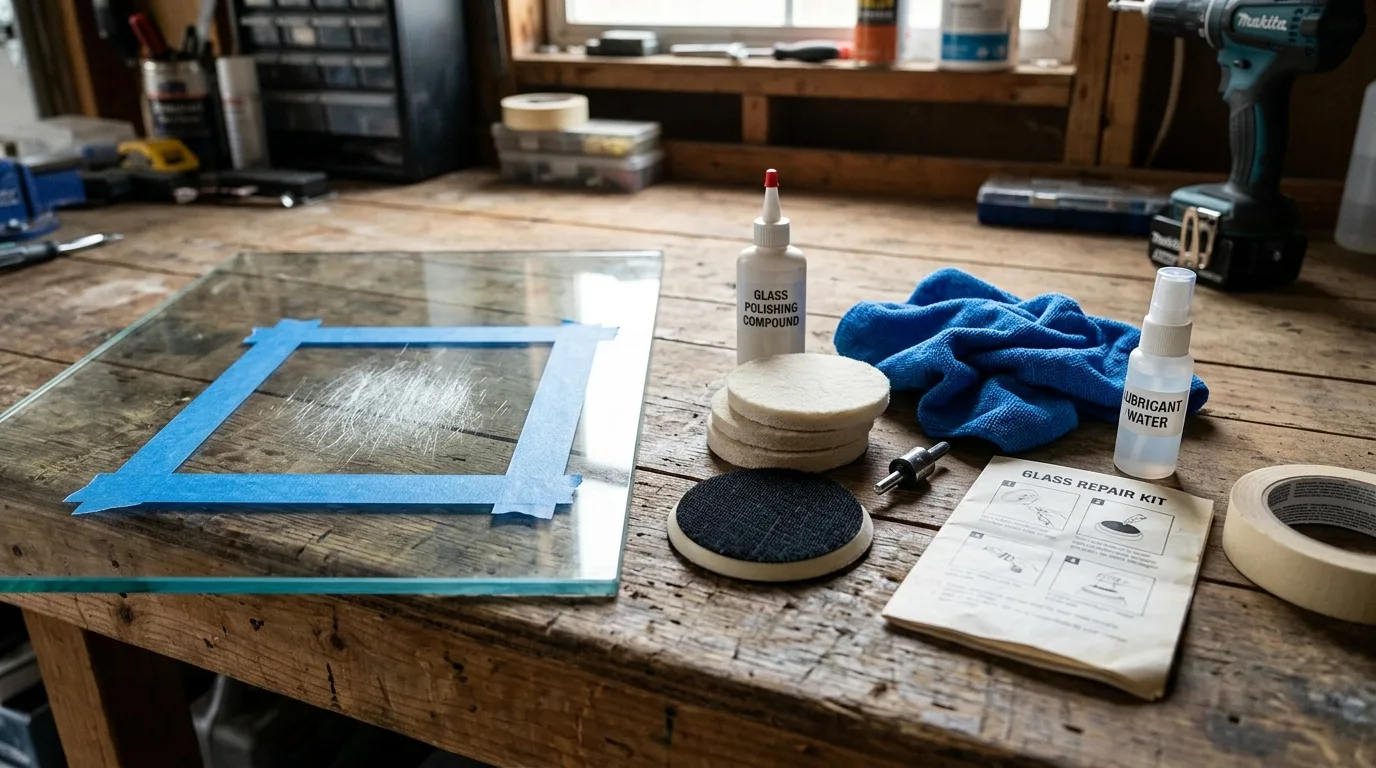
14. Reduce Scratches on Glass Tables with Gentle Polishing
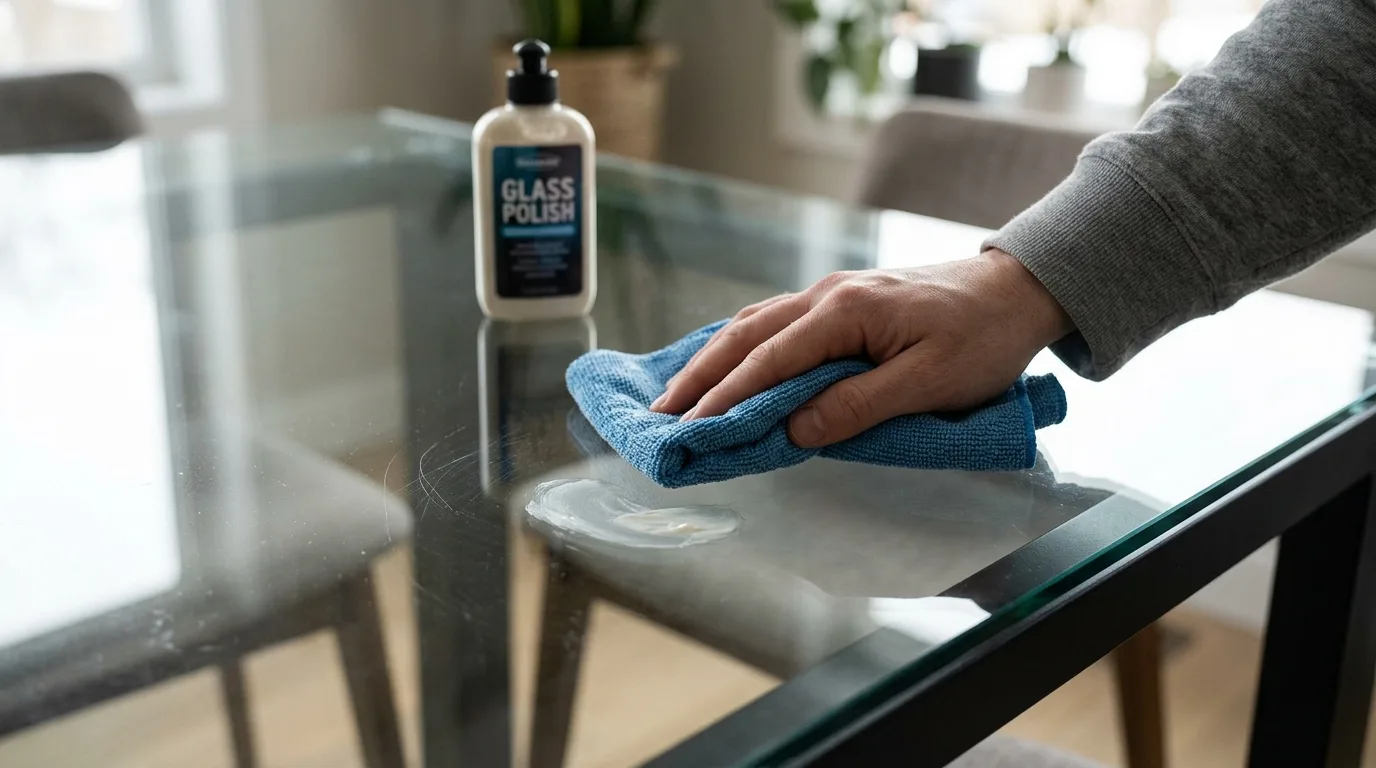
Glass tabletops often develop fine scratches from dishes, decorative objects, grit, or everyday use. For shallow cosmetic marks, clean the tabletop completely before attempting any polishing. Move decorations and objects away from the work area and protect the table’s edges. A mild polishing compound intended for glass can be applied by hand with a microfiber cloth or suitable pad. Work in a small section and check the appearance frequently. Remember that polishing removes a tiny amount of material, so aggressive treatment can create an uneven optical surface. For tempered tabletops, avoid drilling, grinding, or other techniques that could compromise the glass. If scratches are deep, widespread, or accompanied by chips, professional evaluation is safer.
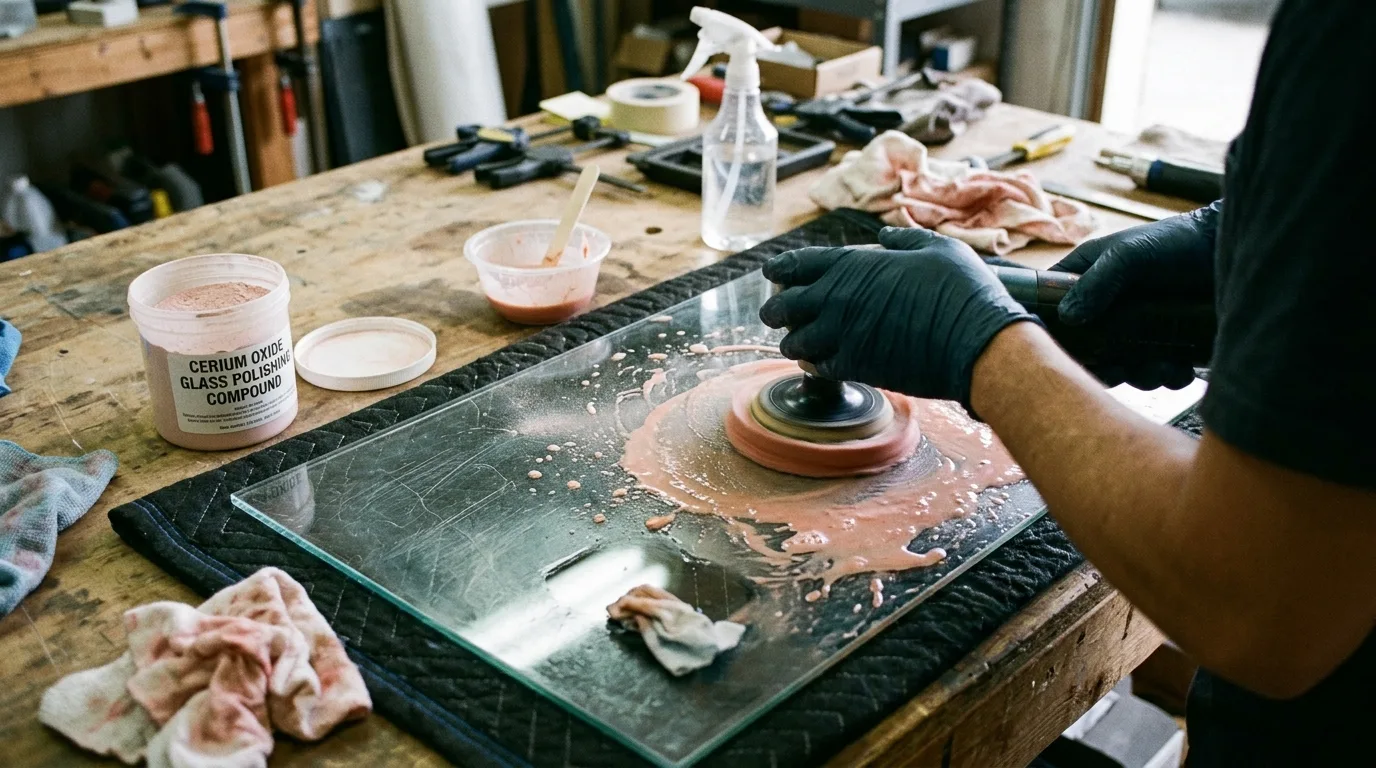
15. Handle Mirror Scratches with Extra Care
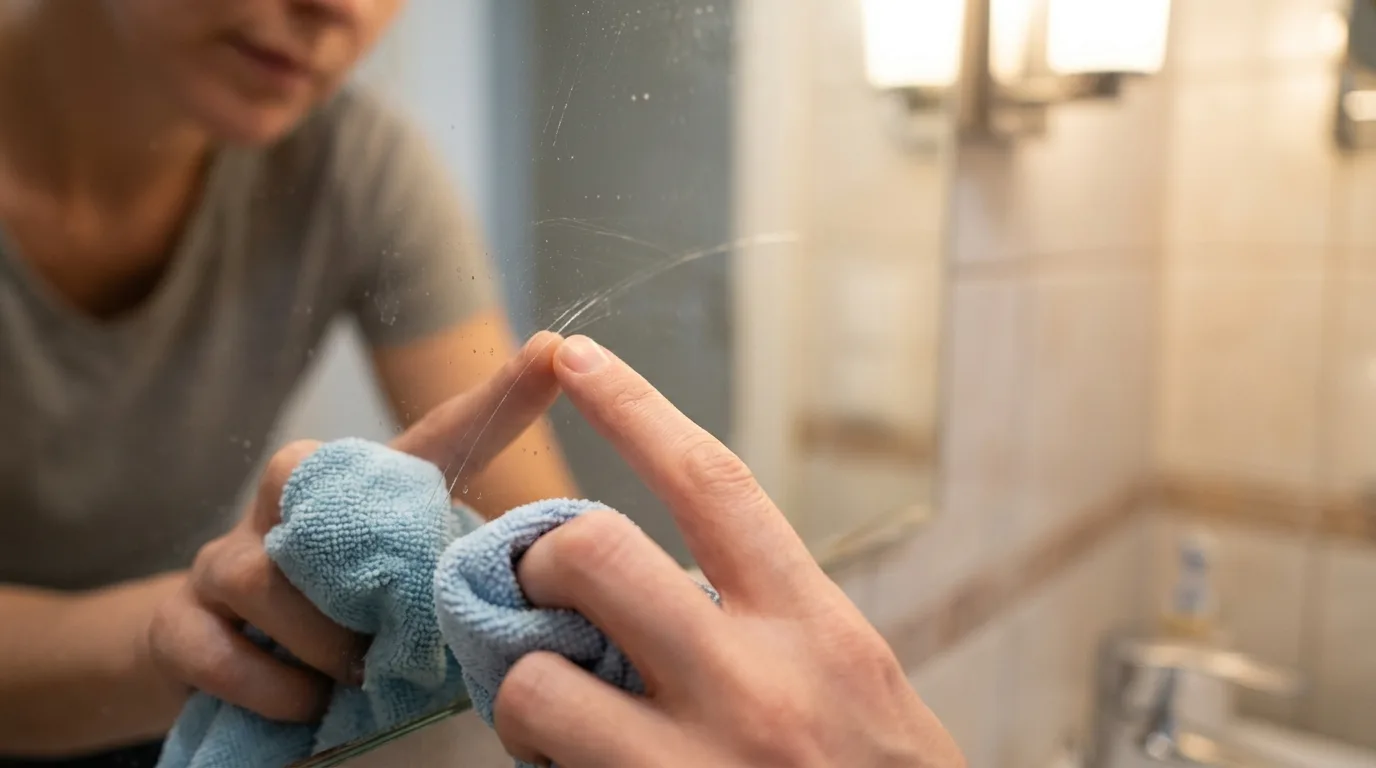
Mirrors require special attention because their reflective coating is usually located on the back of the glass. A scratch in the glass itself may sometimes be polished, but damage that has reached the reflective backing cannot simply be polished away from the front. Start by cleaning the mirror gently with a non-abrasive cloth and inspecting the mark from several angles. Avoid soaking the edges, since excessive moisture can damage some mirror backings. If the scratch is shallow and only affects the glass surface, a carefully selected glass polishing product may help. If you see black spots, peeling, discoloration, or damage behind the reflective surface, replacement or professional restoration may be more appropriate than continued polishing.
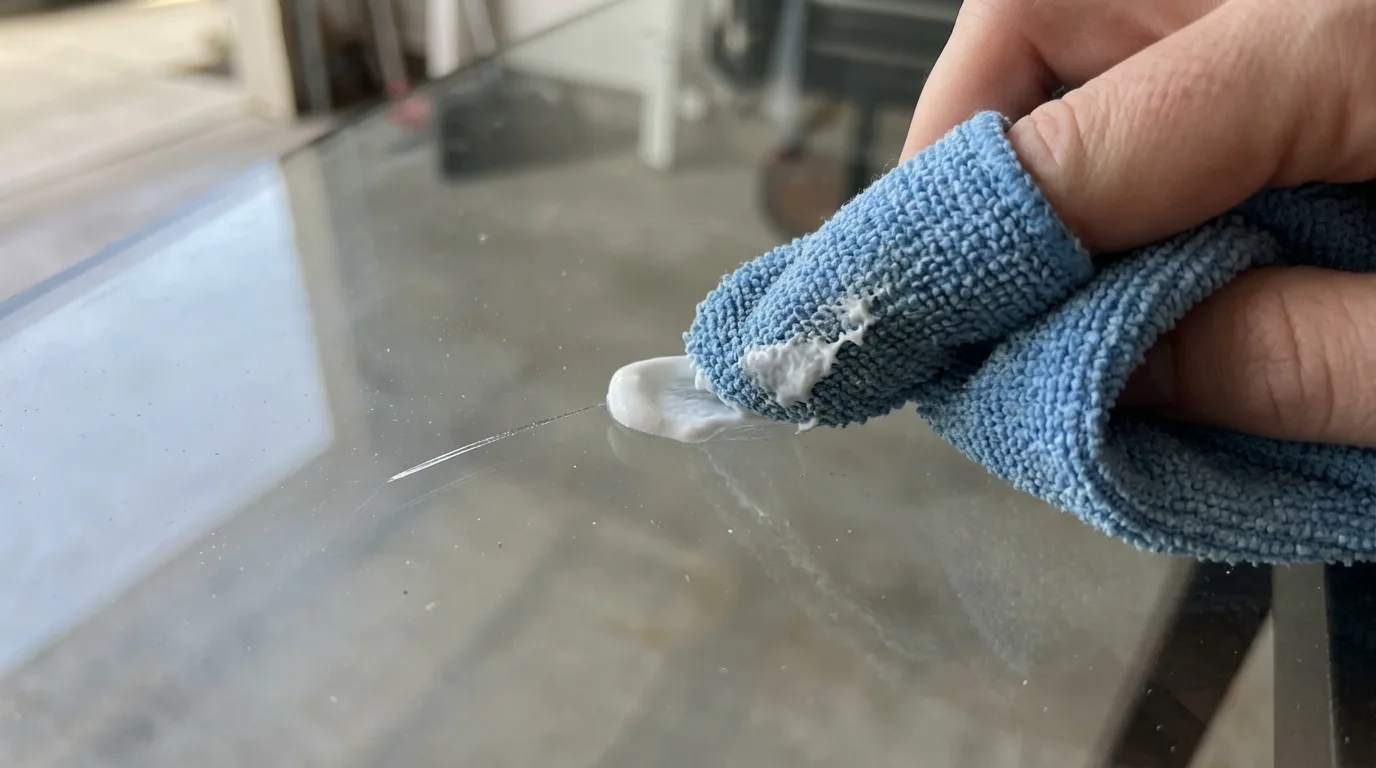
16. Know When a Scratch Is Too Deep to Remove
Not every glass scratch is a good DIY repair. A useful warning sign is a scratch that catches strongly on your fingernail, appears white or deeply grooved, or is accompanied by a chip or crack. Scratches across large areas can also require extensive polishing that may create visible distortion. Do not aggressively grind or sand ordinary glass in an attempt to eliminate deep damage. This is especially important for windshields, doors, shower enclosures, railings, and other applications where glass safety matters. If the damaged area affects visibility, structural integrity, or a safety-rated component, consult a qualified glass professional. Sometimes replacement is the safer solution and may provide a clearer result than attempting a deep repair.
17. Prevent New Glass Scratches
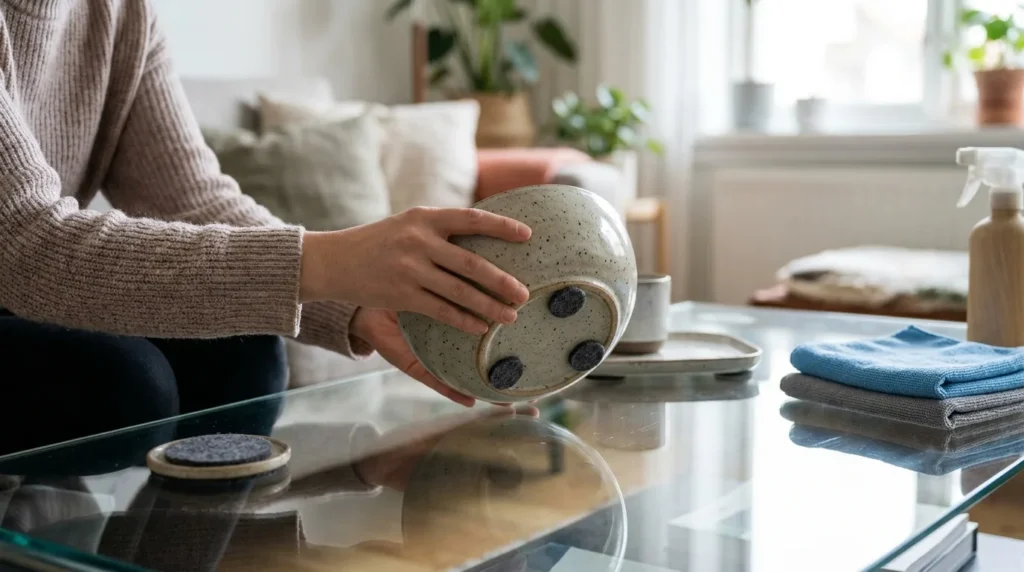
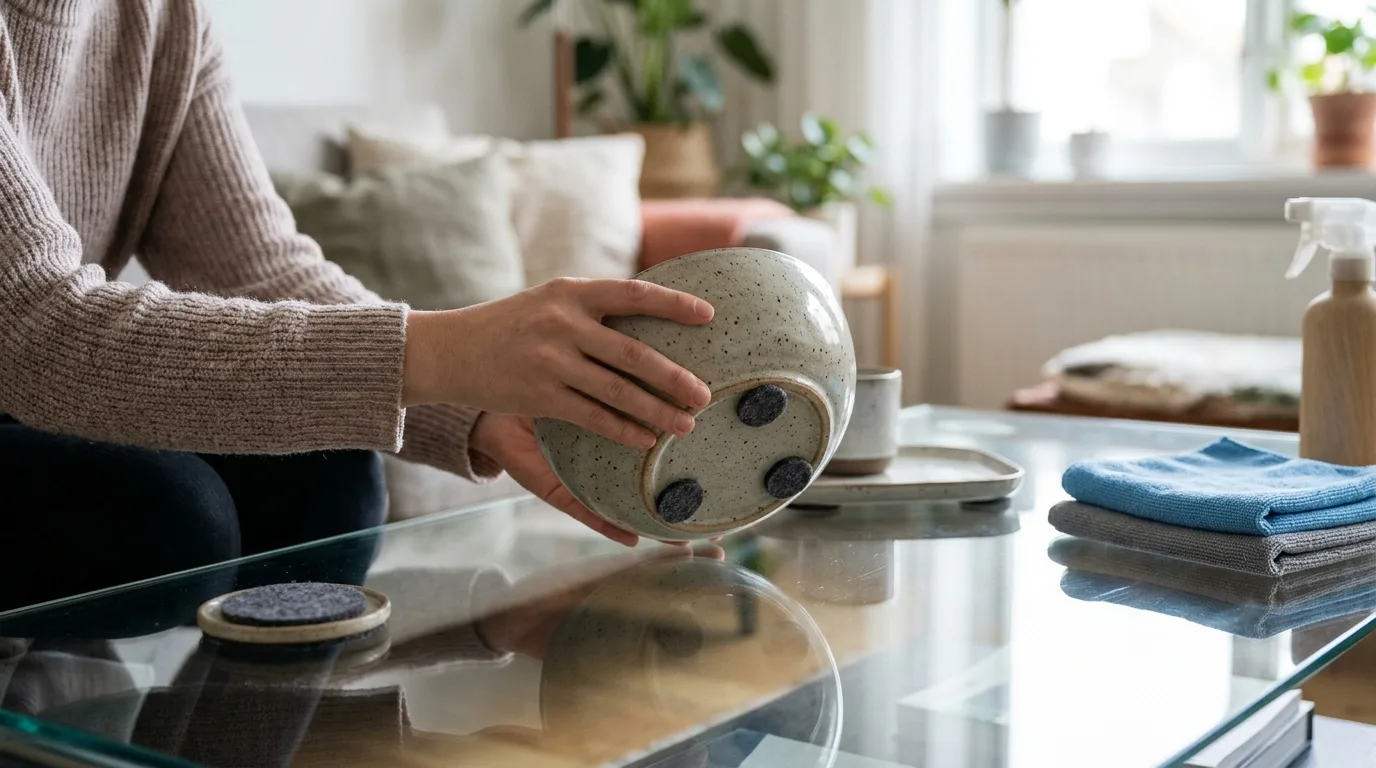
Once your glass looks better, prevention is the easiest way to keep it that way. Always use clean, soft cloths when wiping glass and remove loose grit before rubbing the surface. Add felt pads beneath decorative objects, vases, lamps, and other items placed on glass tables. Avoid sliding ceramics, metal objects, or gritty containers across glass. For shower doors, regular cleaning can reduce mineral buildup that encourages abrasive scrubbing. Store cleaning cloths separately from tools or materials that may contain hard particles. When moving furniture with glass panels, lift rather than drag it. These small habits reduce everyday wear and make future cleaning easier. Prevention is especially valuable because repeated polishing gradually removes material from the glass surface.
Conclusion
Removing scratches from glass is mainly about matching the gentlest effective method to the damage. Start by cleaning the surface and confirming that the mark is actually a scratch. Very light imperfections may respond to careful hand polishing, while deeper or more persistent scratches may require a dedicated glass compound or professional equipment. Always use light pressure, follow product directions, and stop if the surface becomes cloudy or distorted. For cracks, chips, deep grooves, or safety-critical glass, professional assessment is the safest choice. With careful cleaning, controlled polishing, and better everyday handling, you can reduce the appearance of many minor scratches and keep your glass surfaces looking clearer for longer.